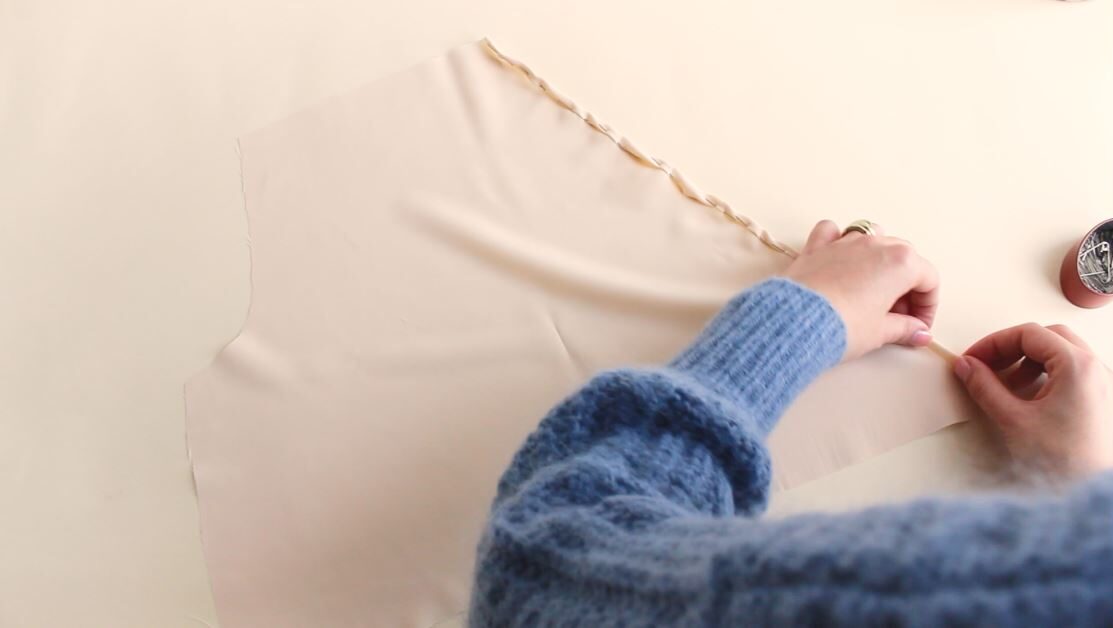
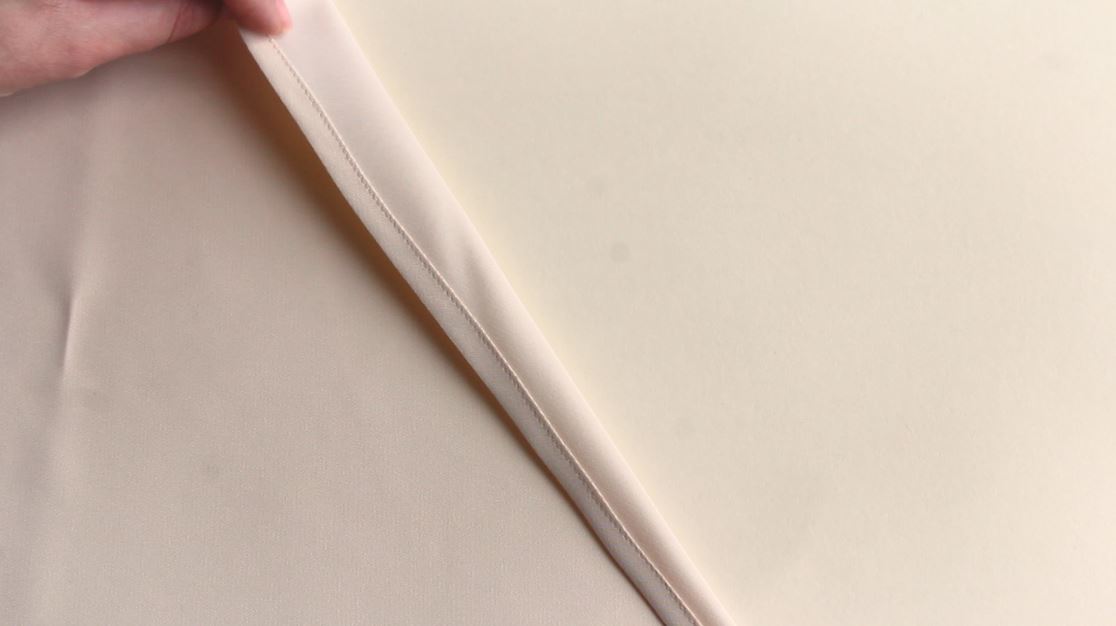
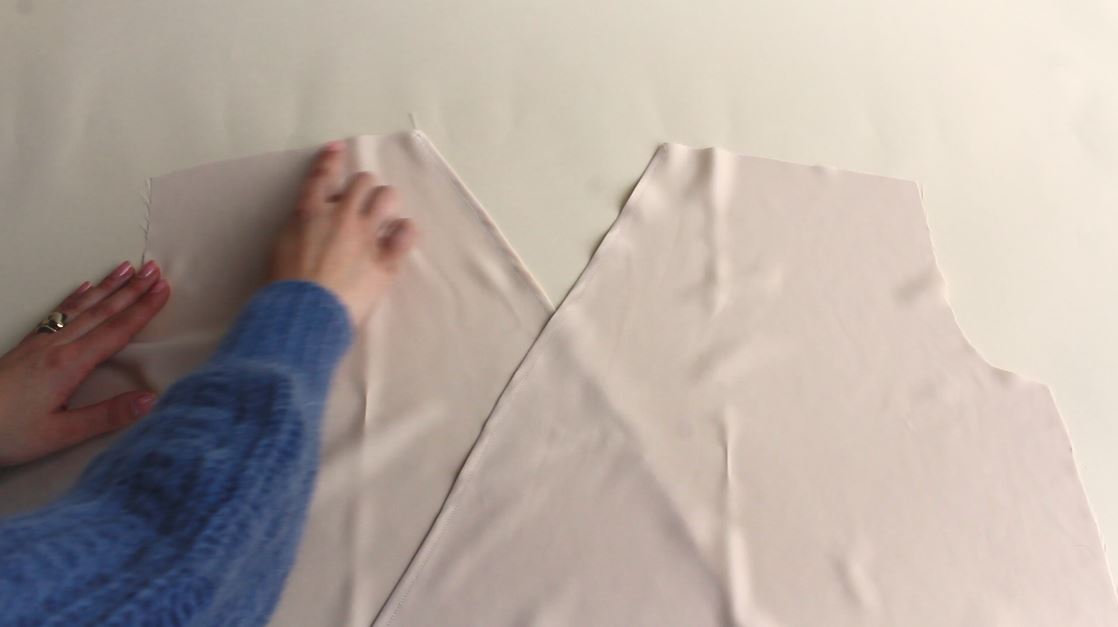
To start double fold the neckline edges of the front panels and topstitch.
Remember to do not stretch the edge and press it afterwards.
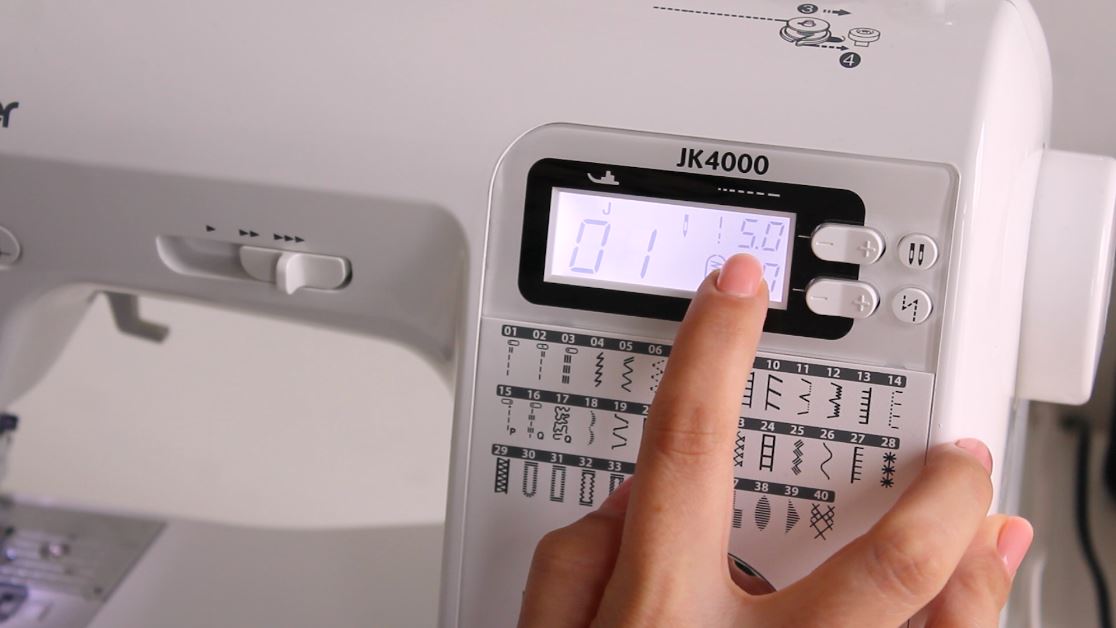
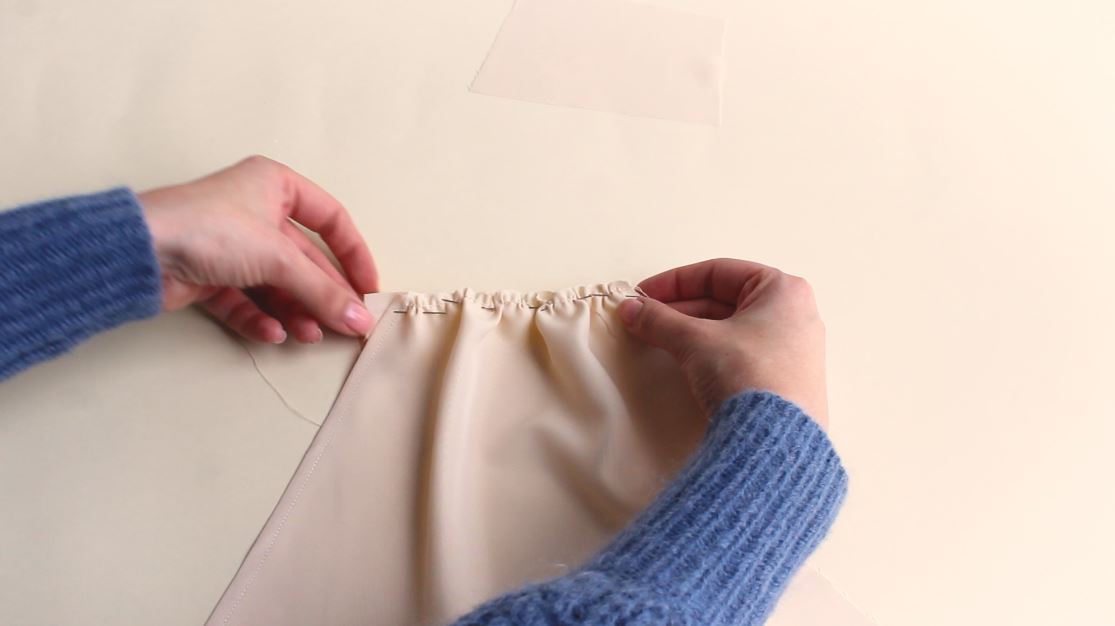
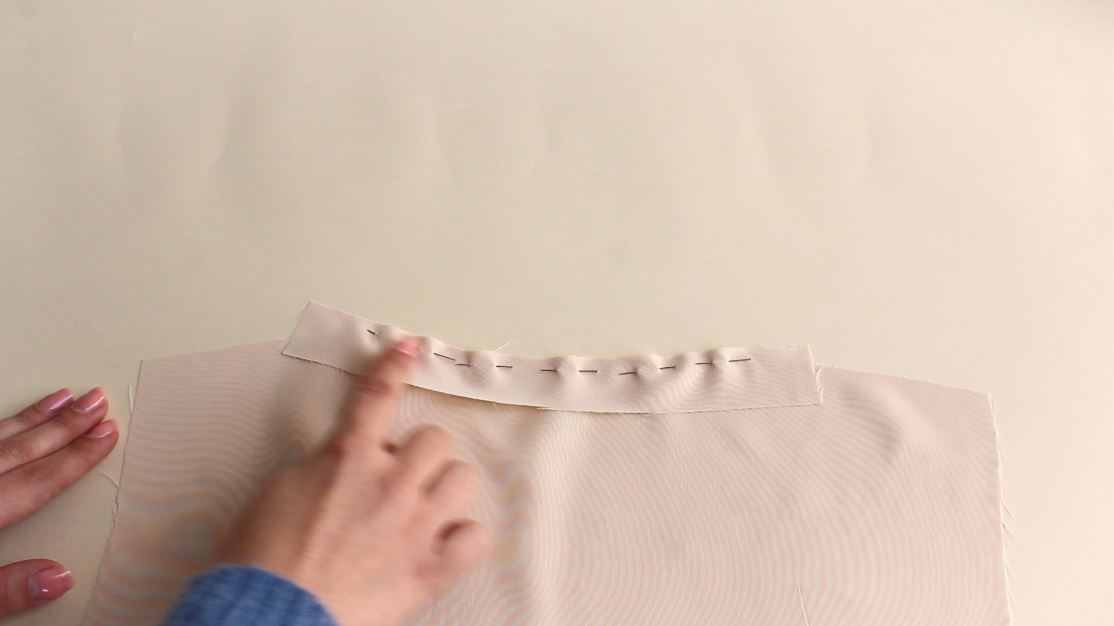
Select the longest stitch length on your sewing machine.
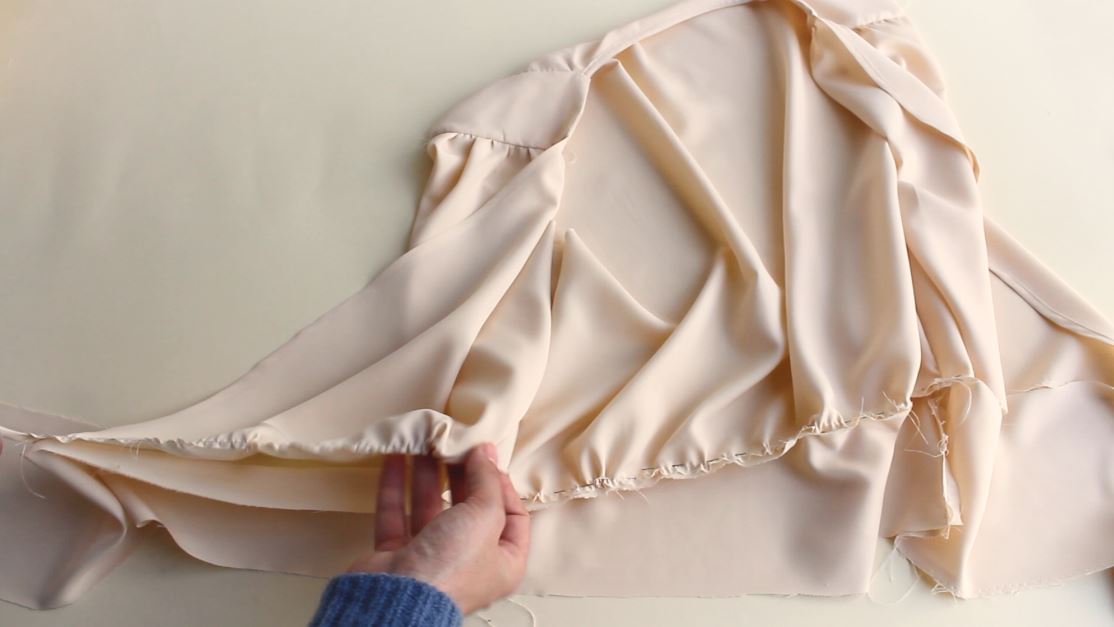
Make a straight stitch on the shoulders to create gathers.
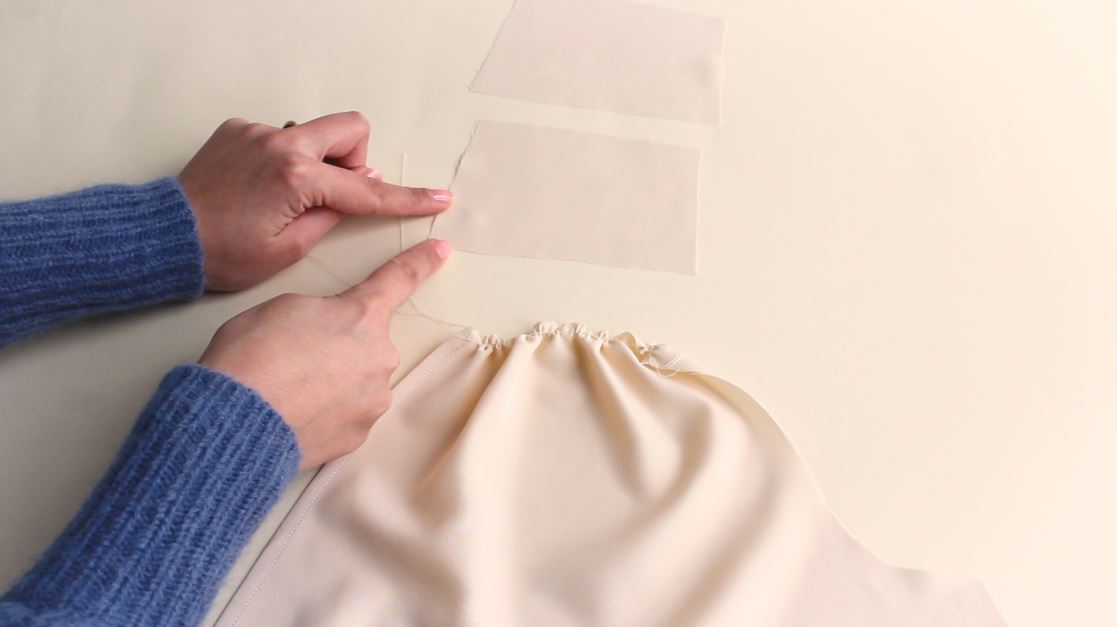
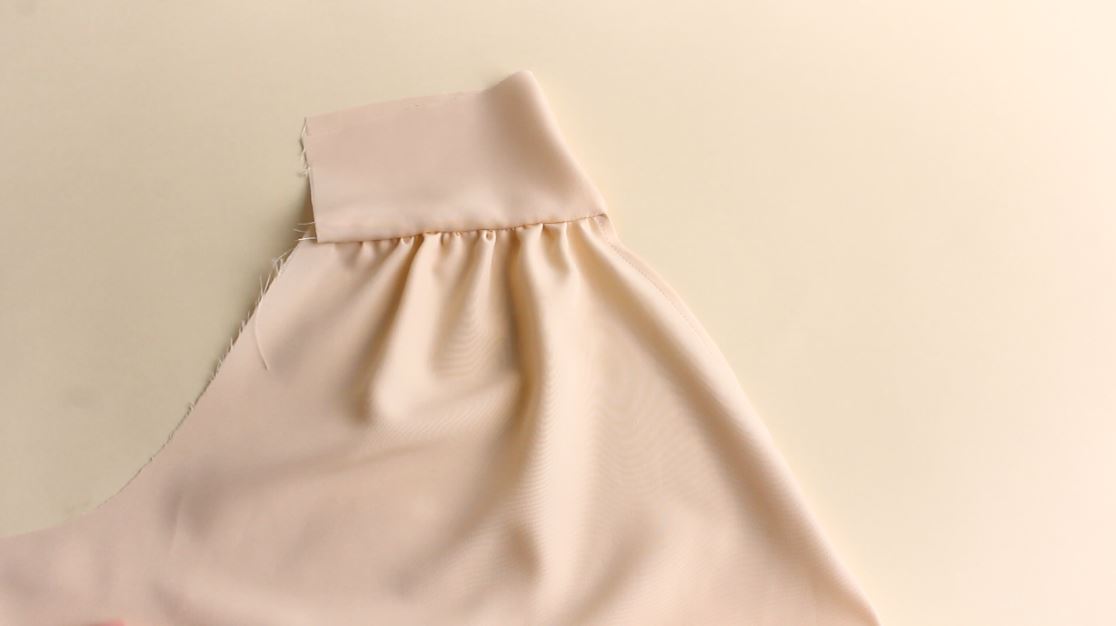
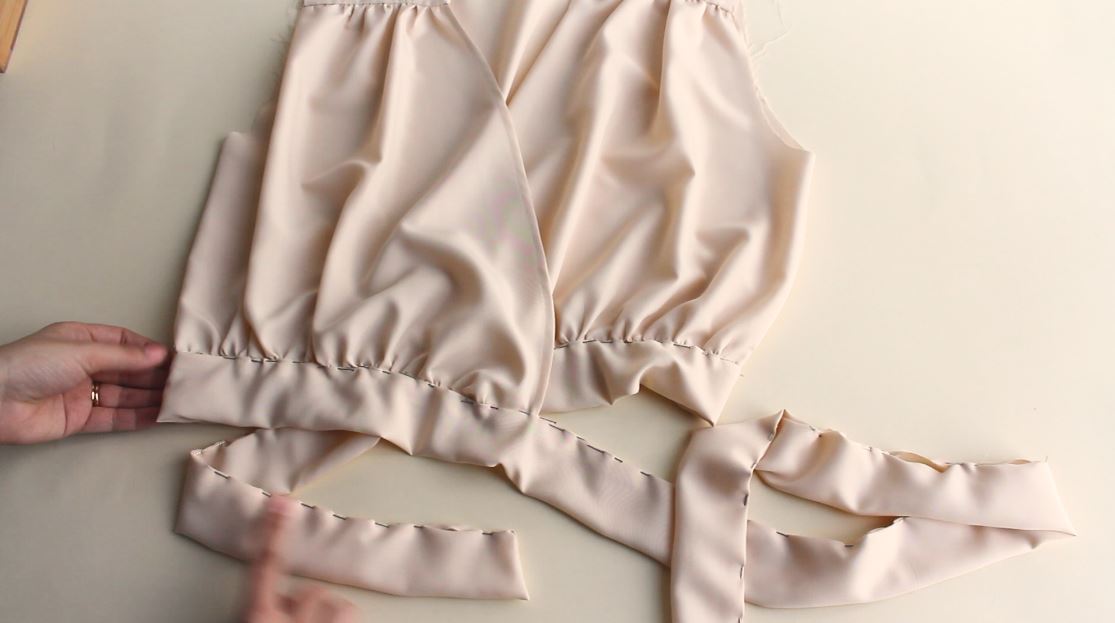
Prepare two shoulder yoke panels.
Pull the thread to create gathers until they are 1cm shorter than the shoulder yoke panels.
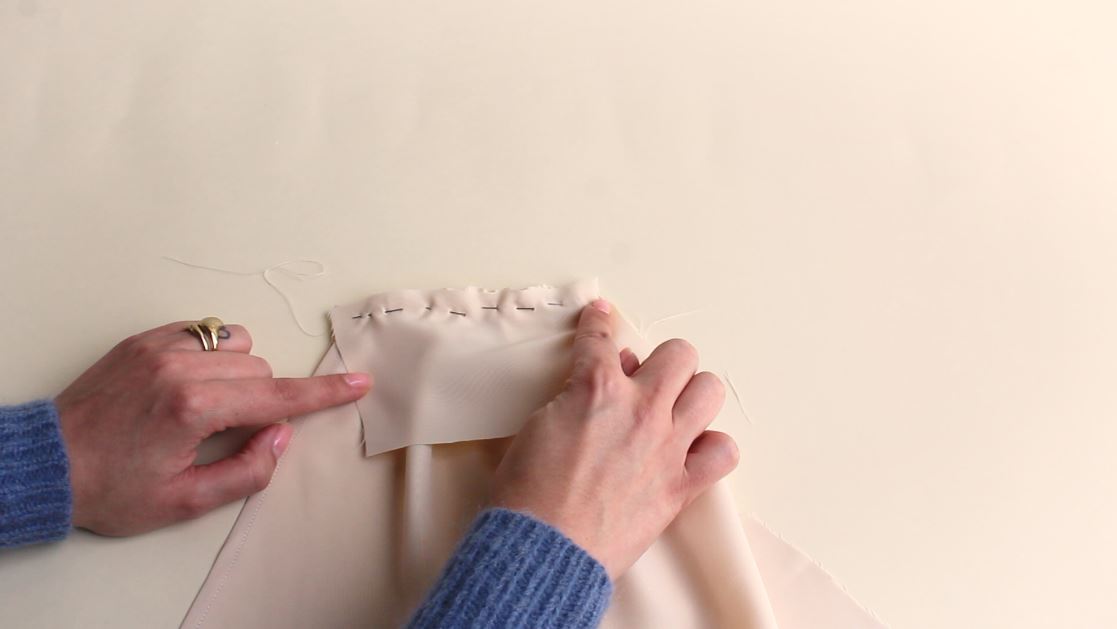
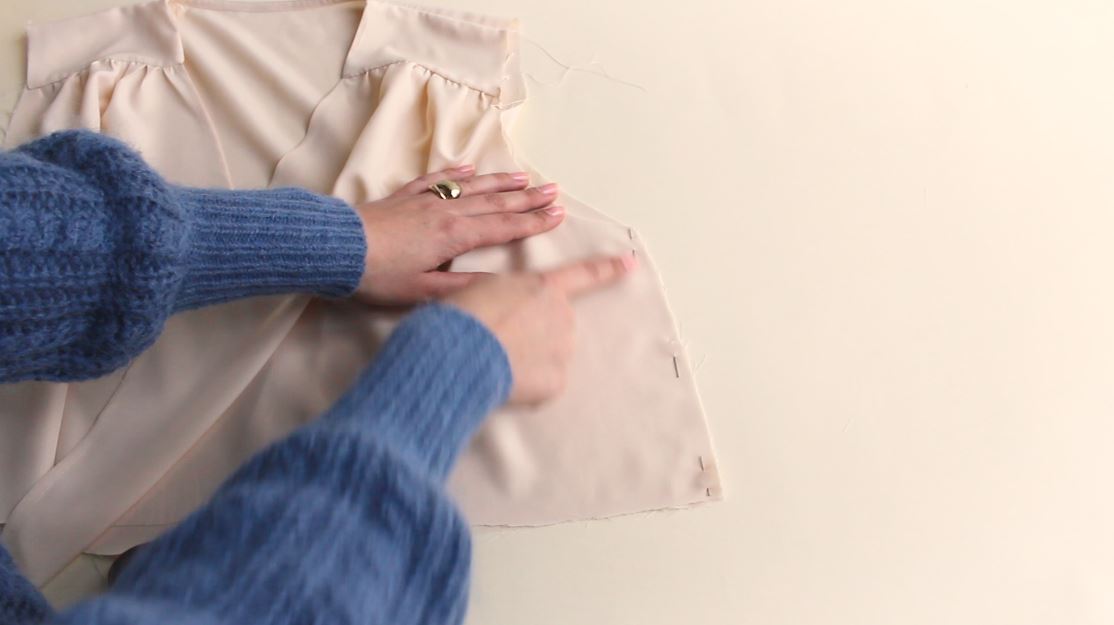
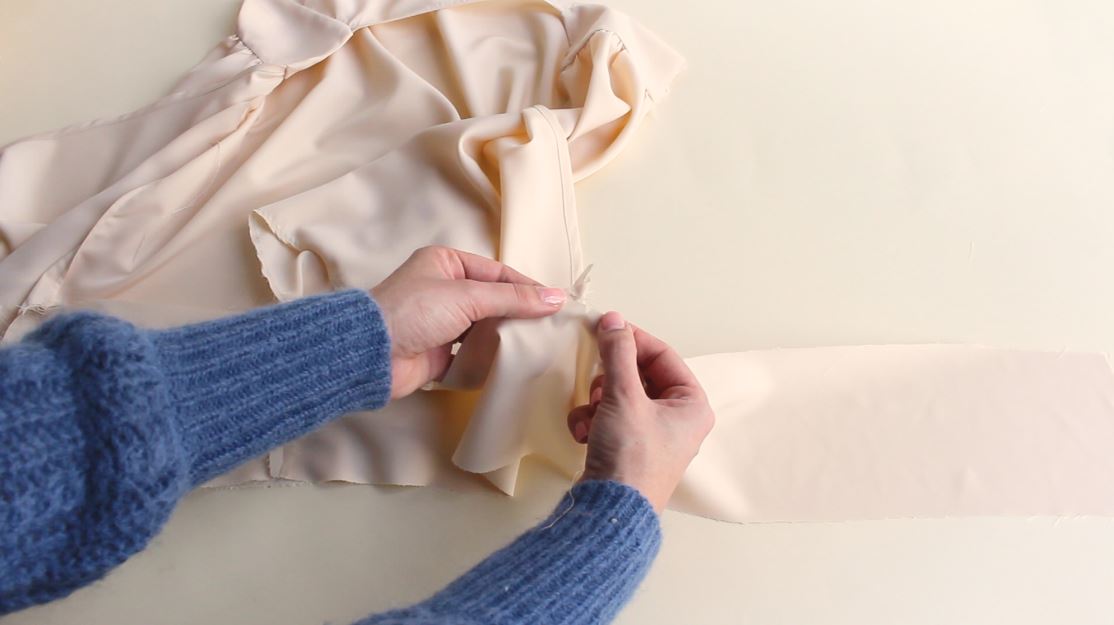
Pin sides of the skirt together and then sew 1cm away from the side seam. Then pin shoulder yoke panels to the back and front of just gathered edge and sew them together.
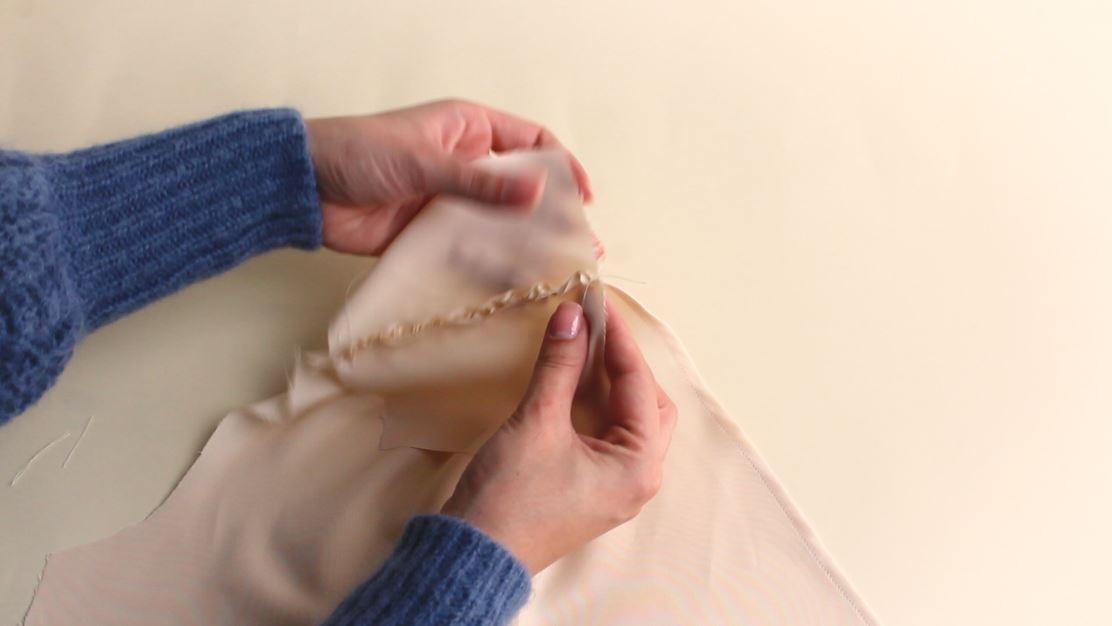
Next, pin the shoulder yoke panels together on the neckline’s edge and sew them together.
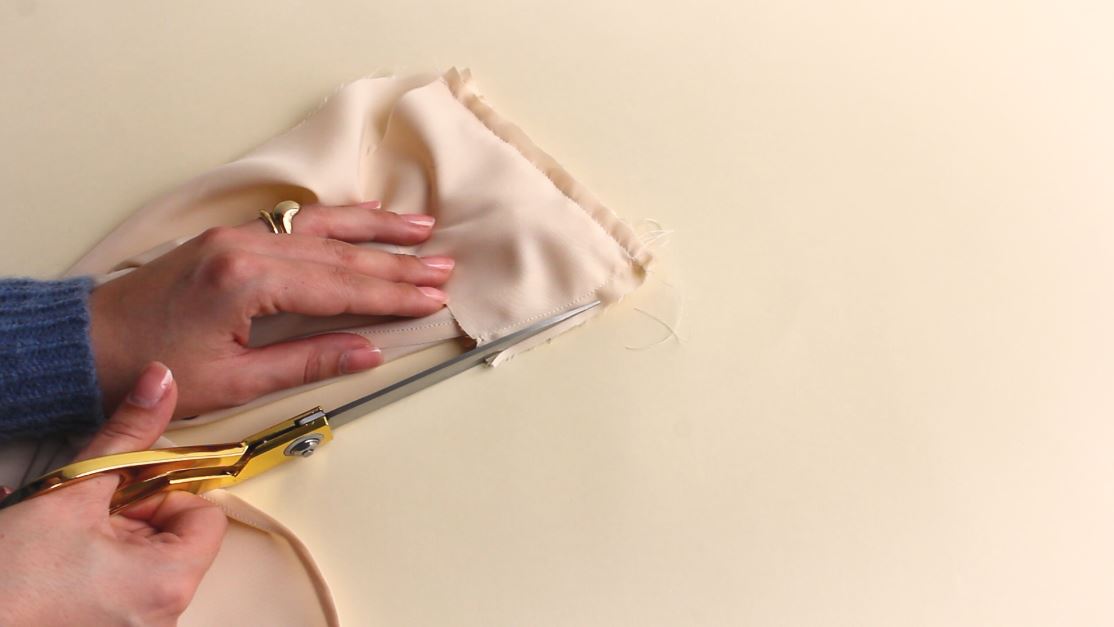
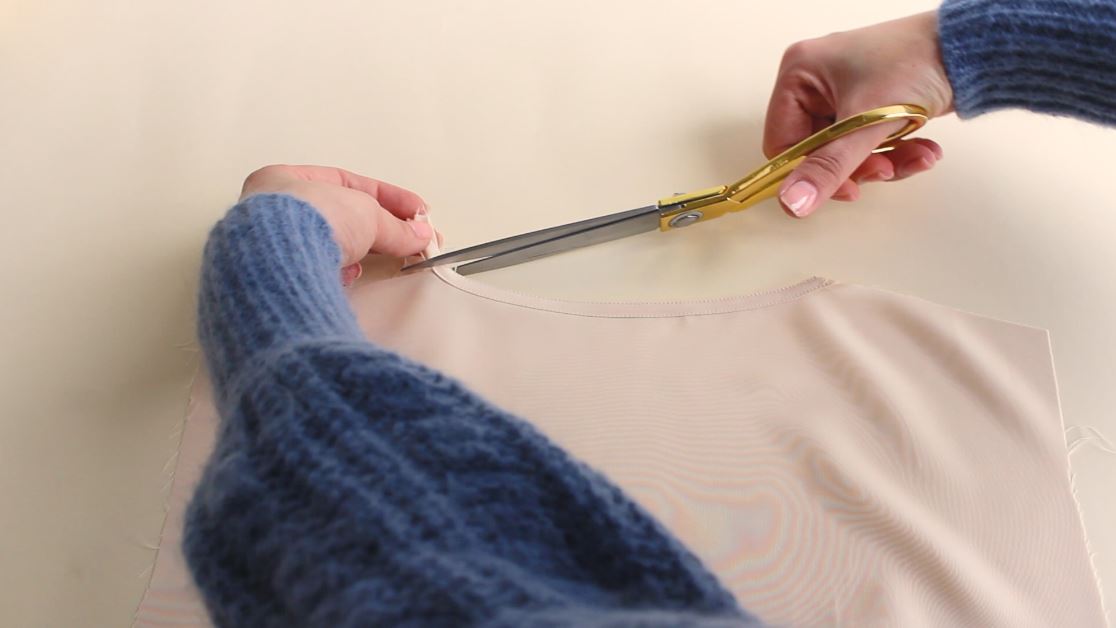
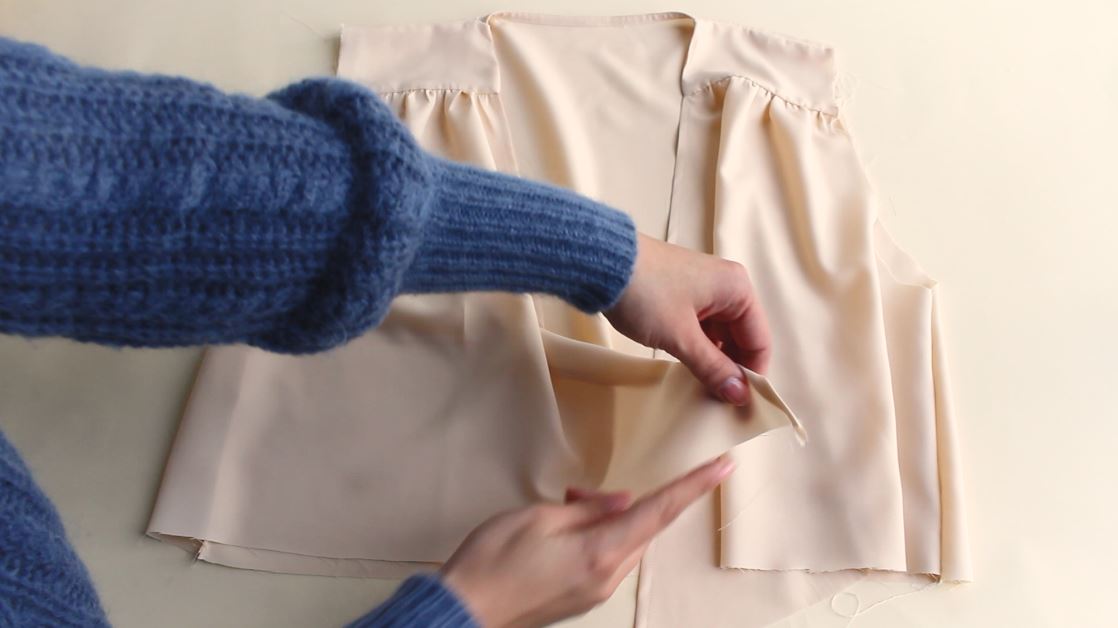
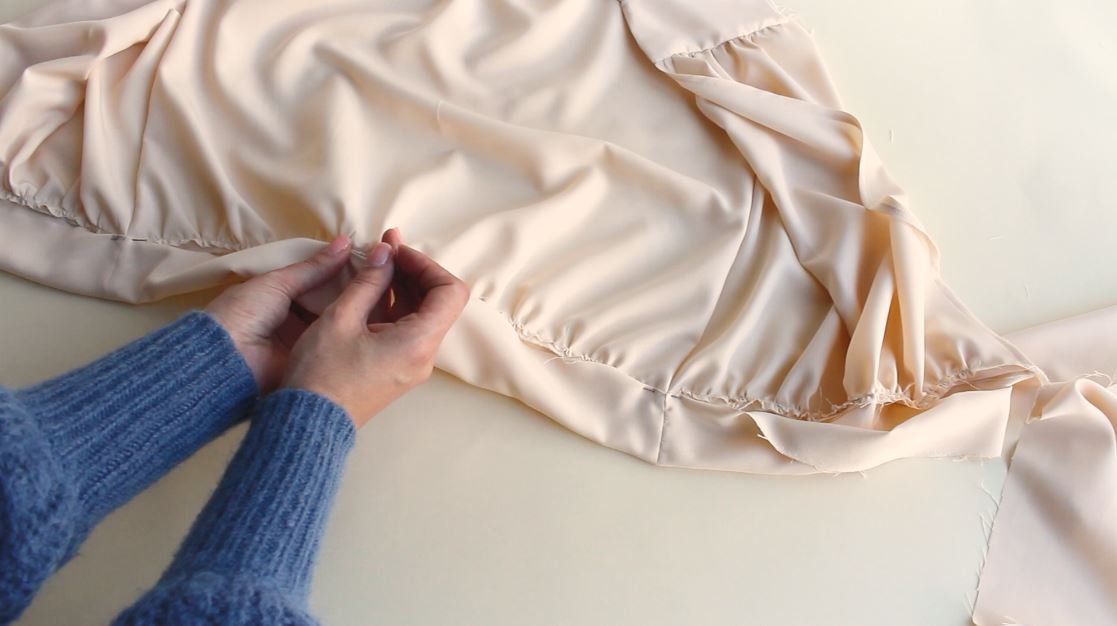
Trim the seam allowances.
Bag out the shoulder yoke.
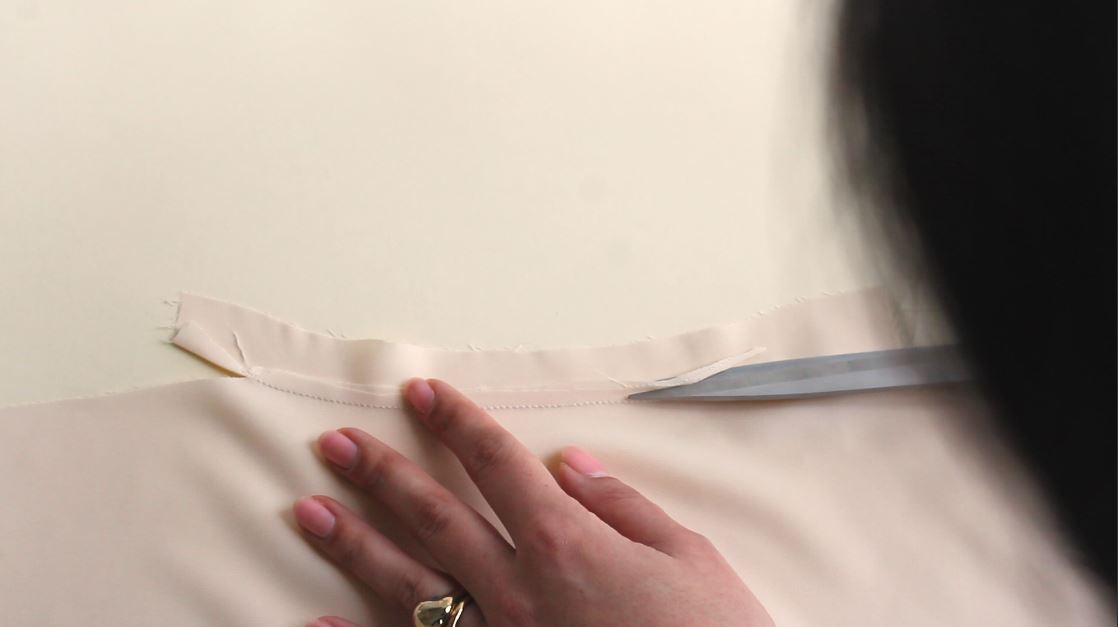
Moving on to the back panel. Take a back neck strap and stitch it to the back neck.
Wrong side to the right side.
Then press the seam open and trim the seam allowance.
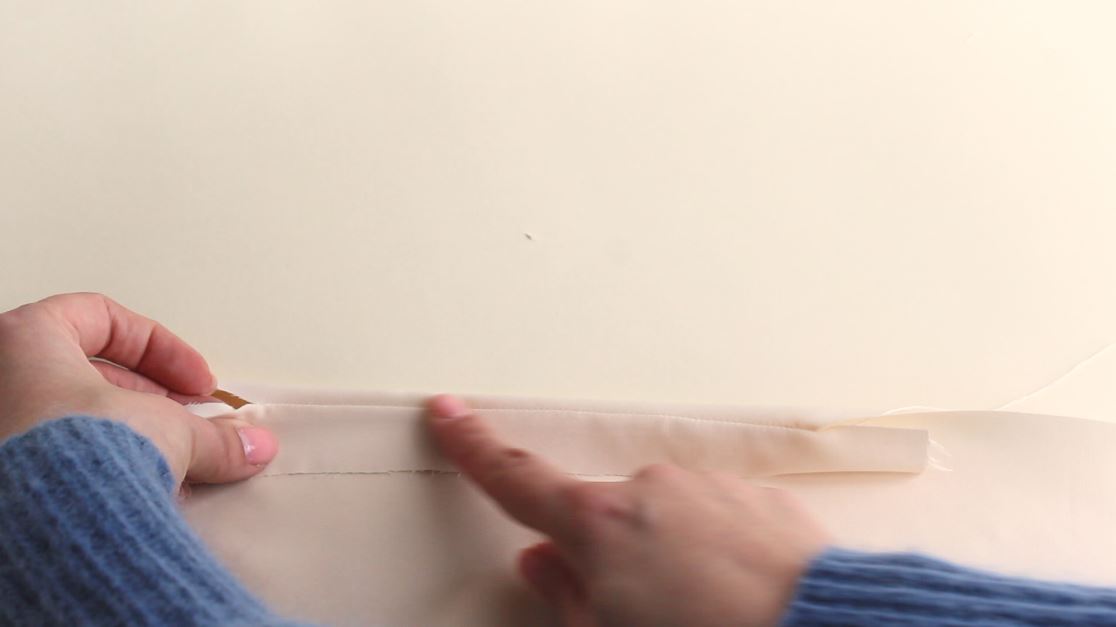
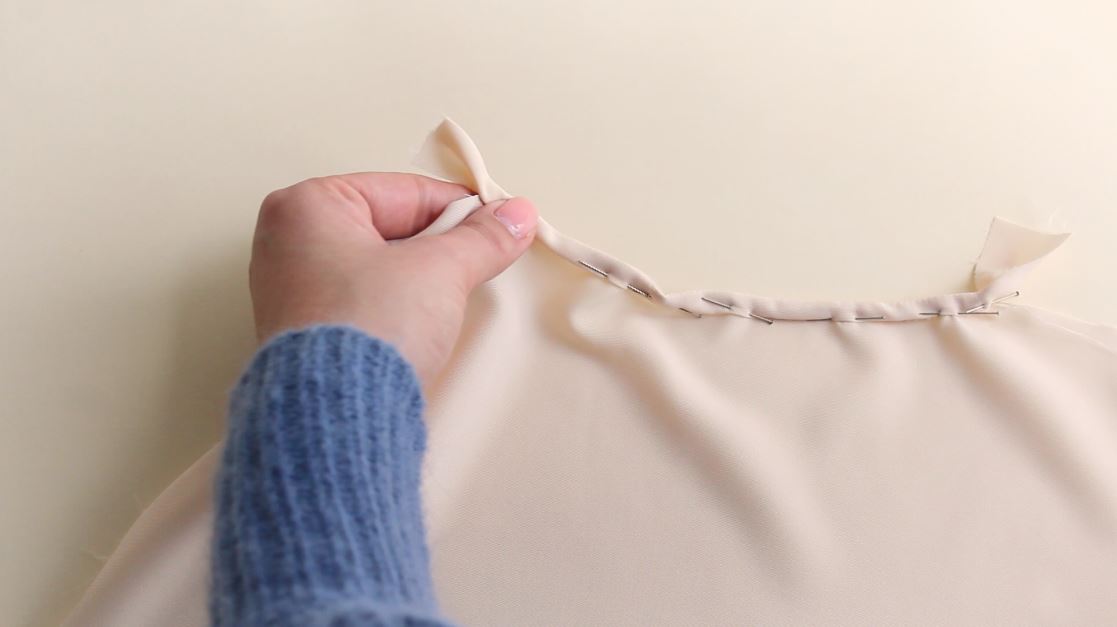
Press in again on the fold so the seam line is on the top. Then double fold strap inside and pin it down.
Topstitch at the bottom and top of just folded neck strap.
Then trim the extra ends.
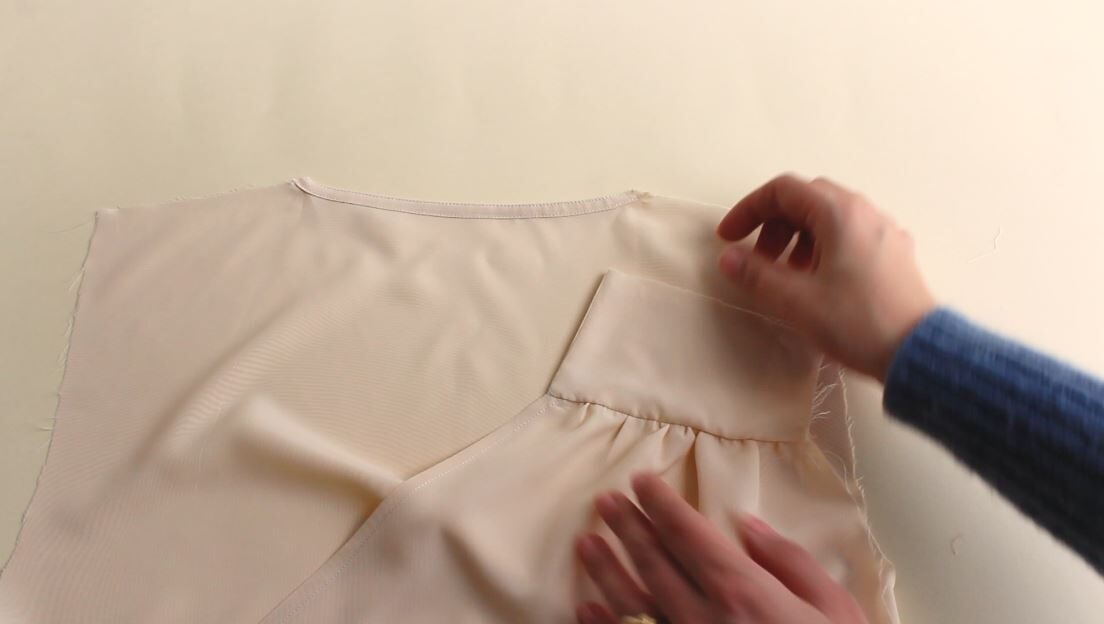
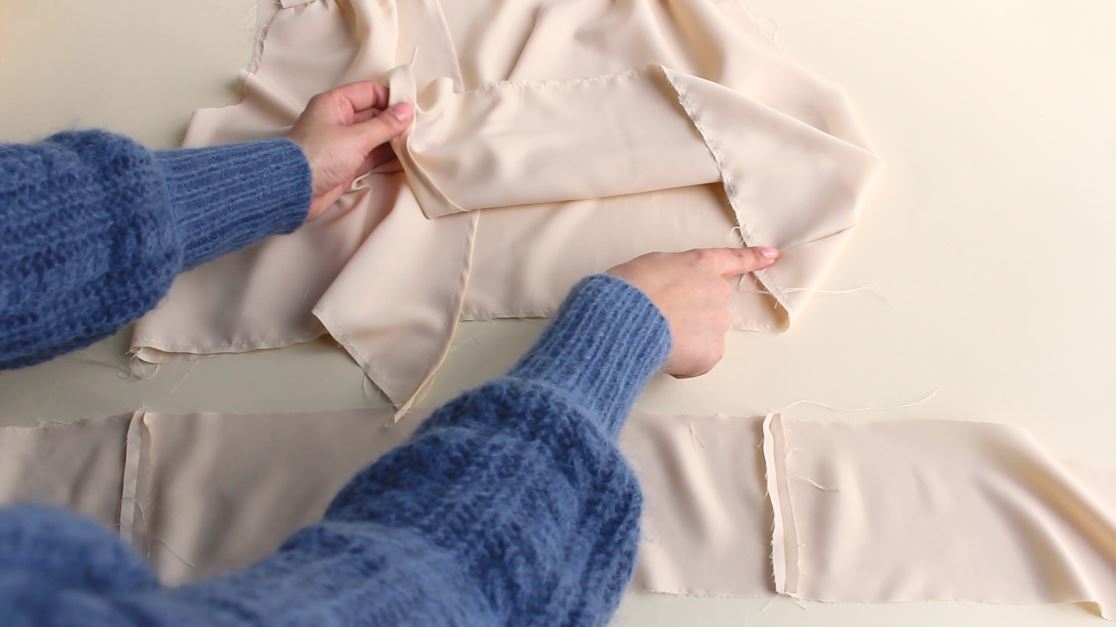
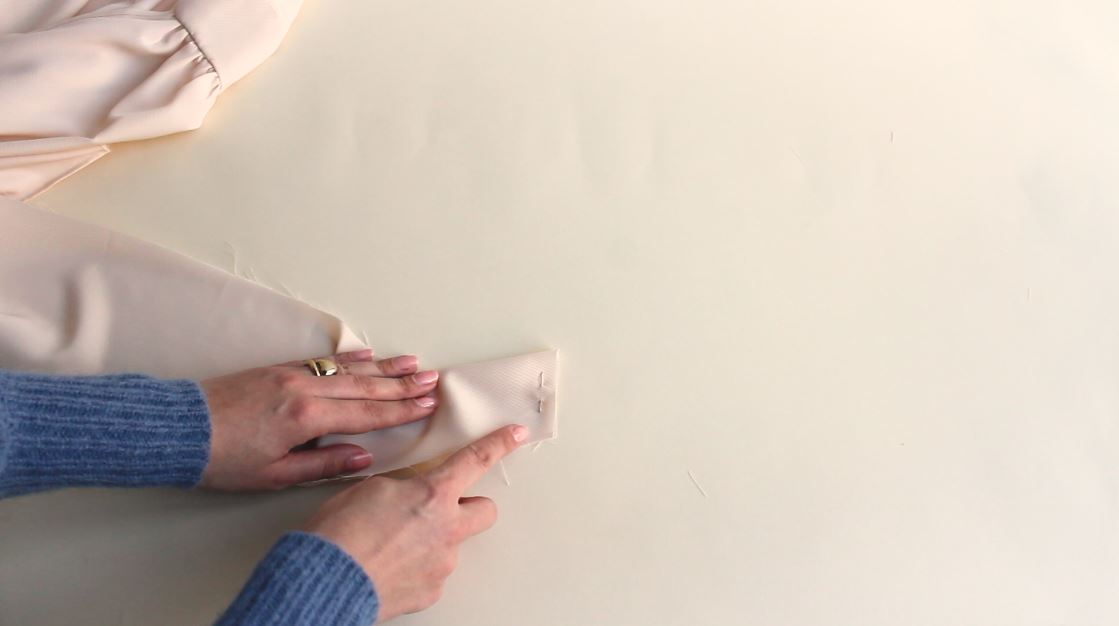
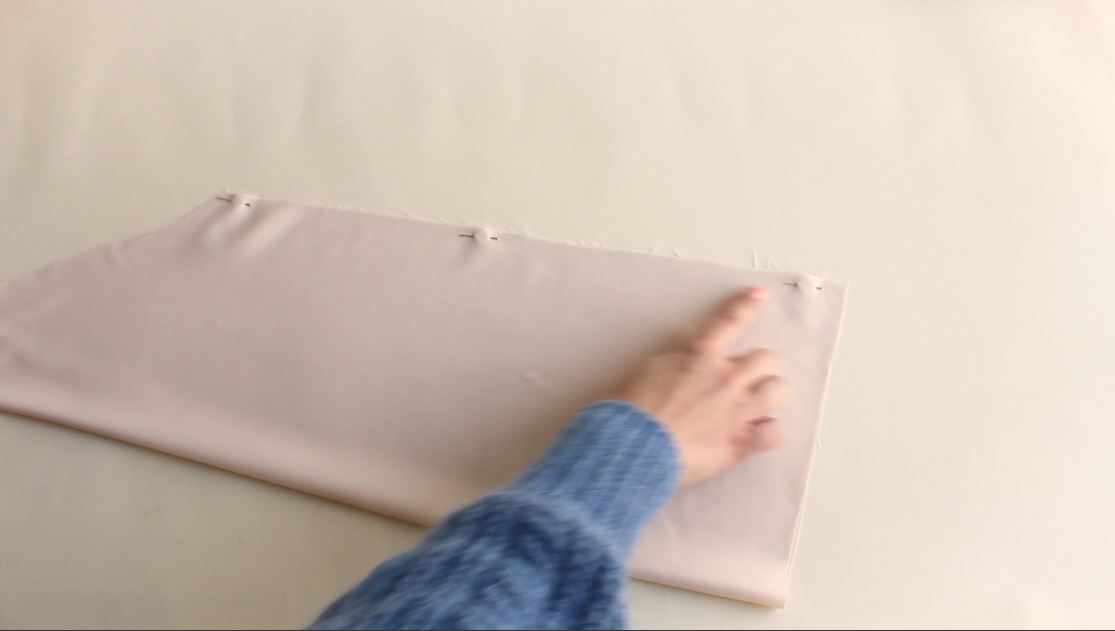
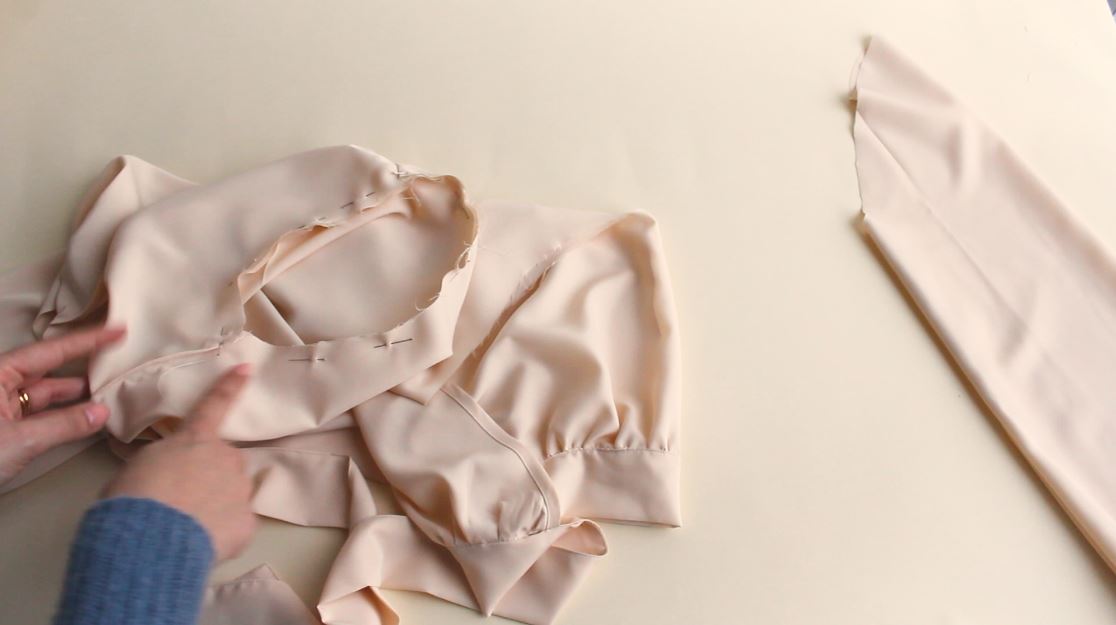
Place back panel on the wrong side and front panel on the right side.
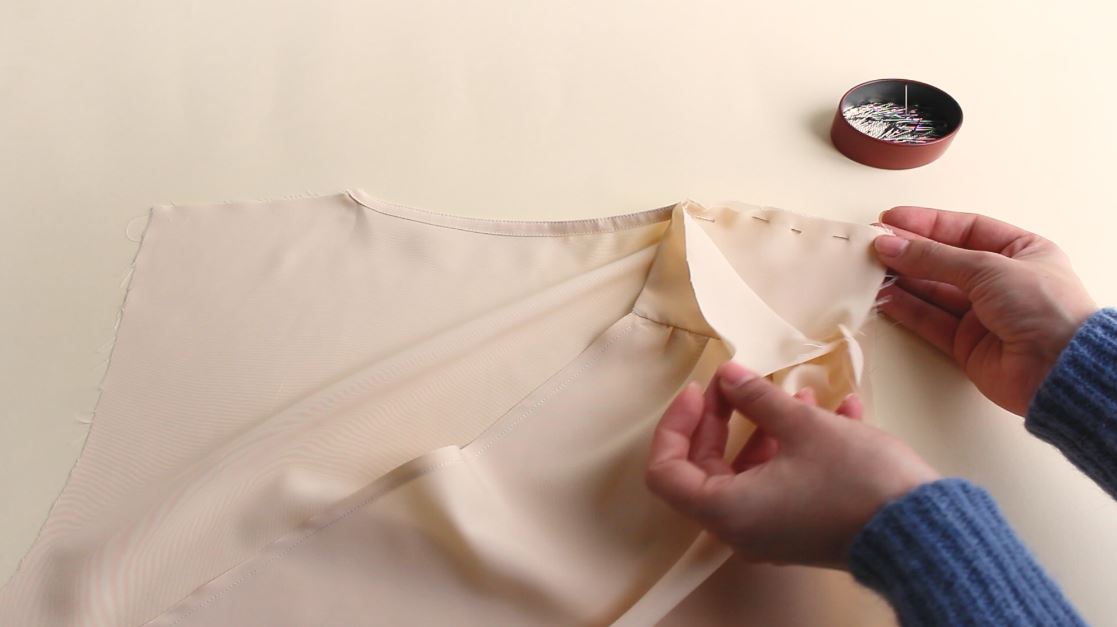
First, pin back panel of shoulder yoke starting by matching the neck edge.
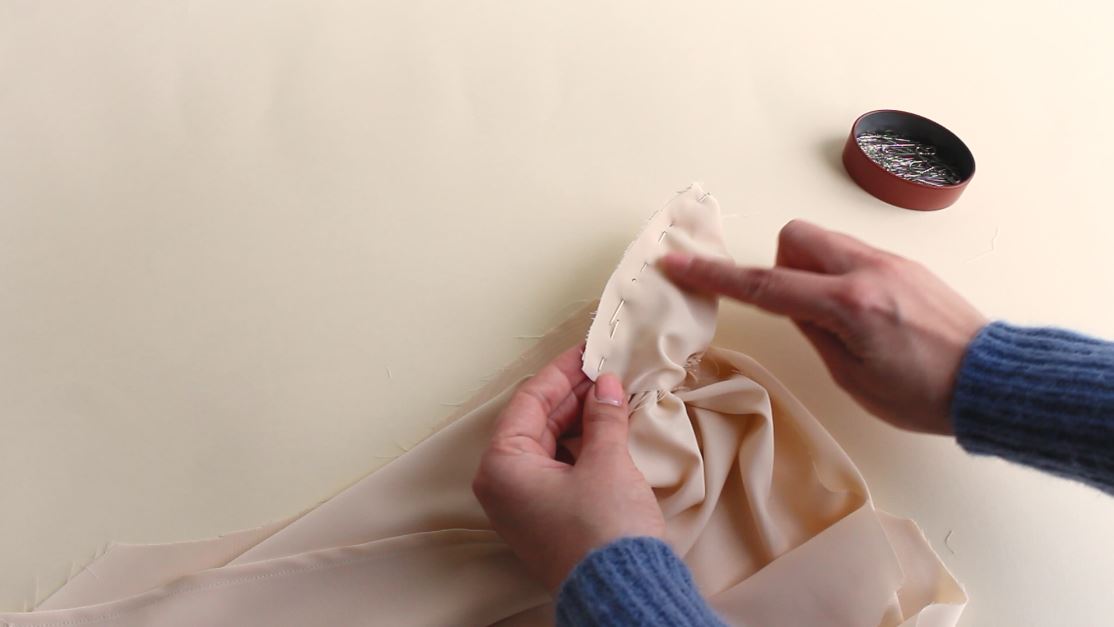
Then fold front panel of the shoulder yoke and pin it down so the back panel’s shoulder edge is in between the front shoulder yoke panels.
If you are having trouble getting though this step remember that there is a sew-along video on how make this blouse available at www.youtube.com/tintofmint
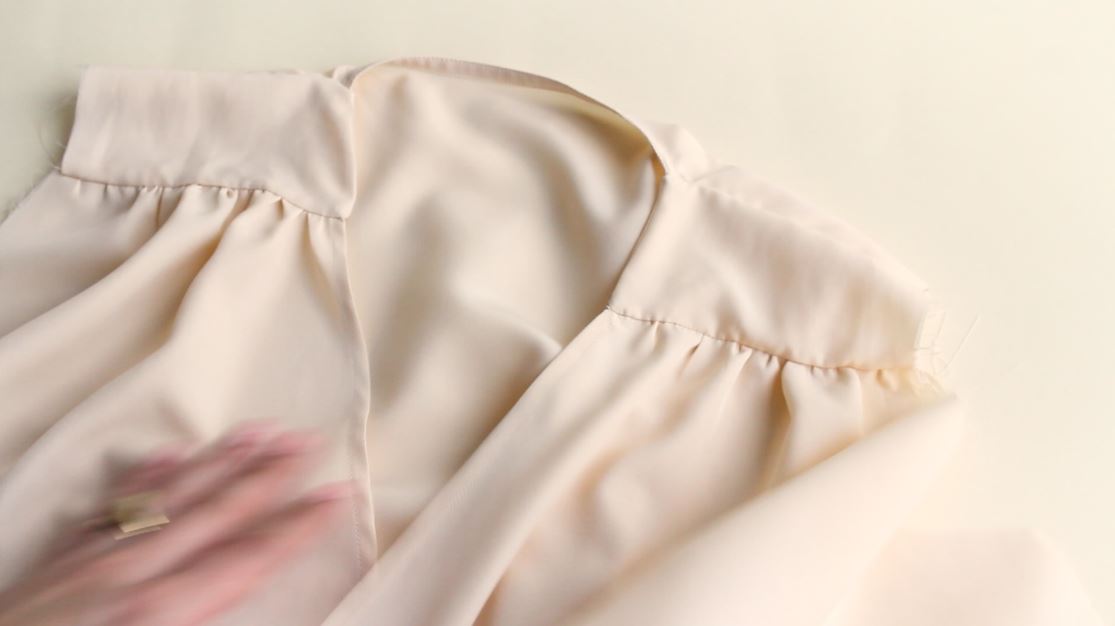
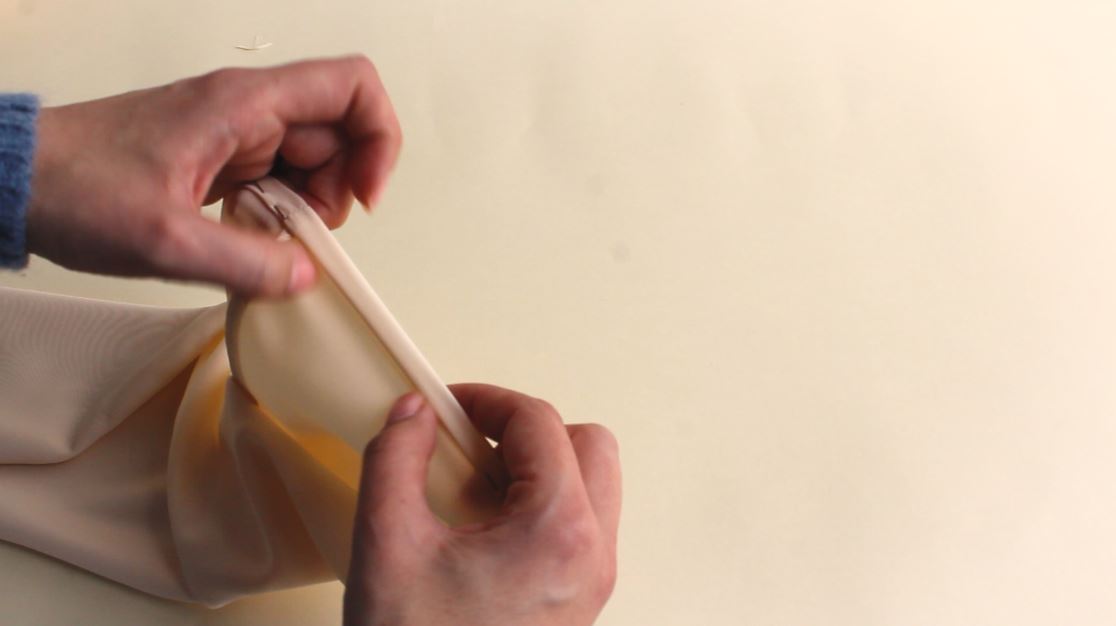
Pull the fabric to turn shoulder yokes on the right side.
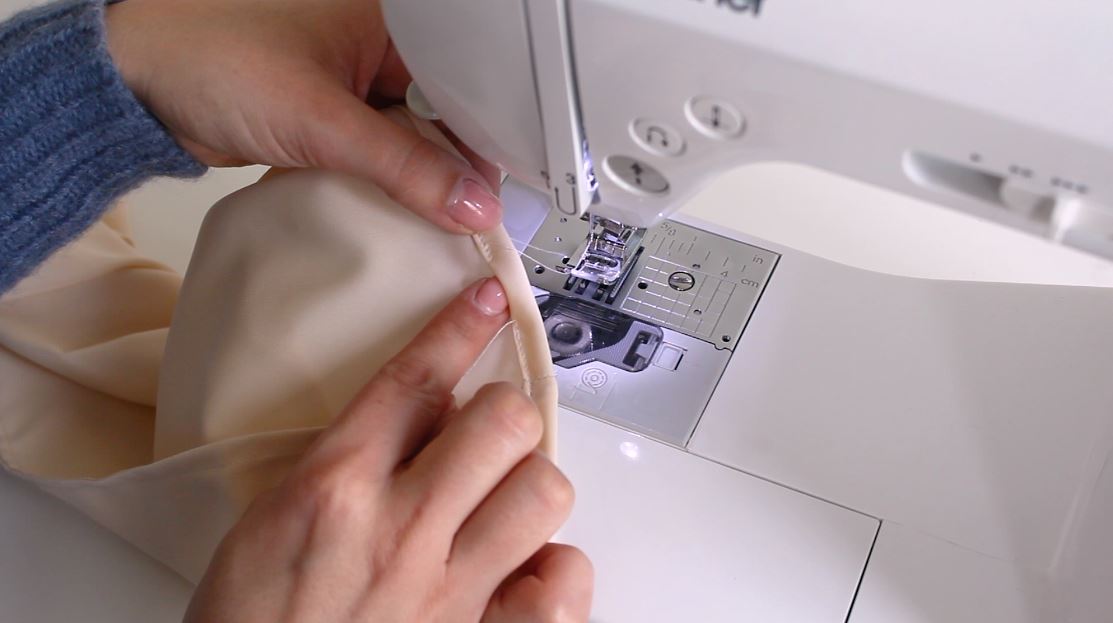
Join the sides with a stitch and overlock or using a french seam technique.
Select the longest stitch length on your sewing machine.
Make a straight stitch on the hem of front and back panels.
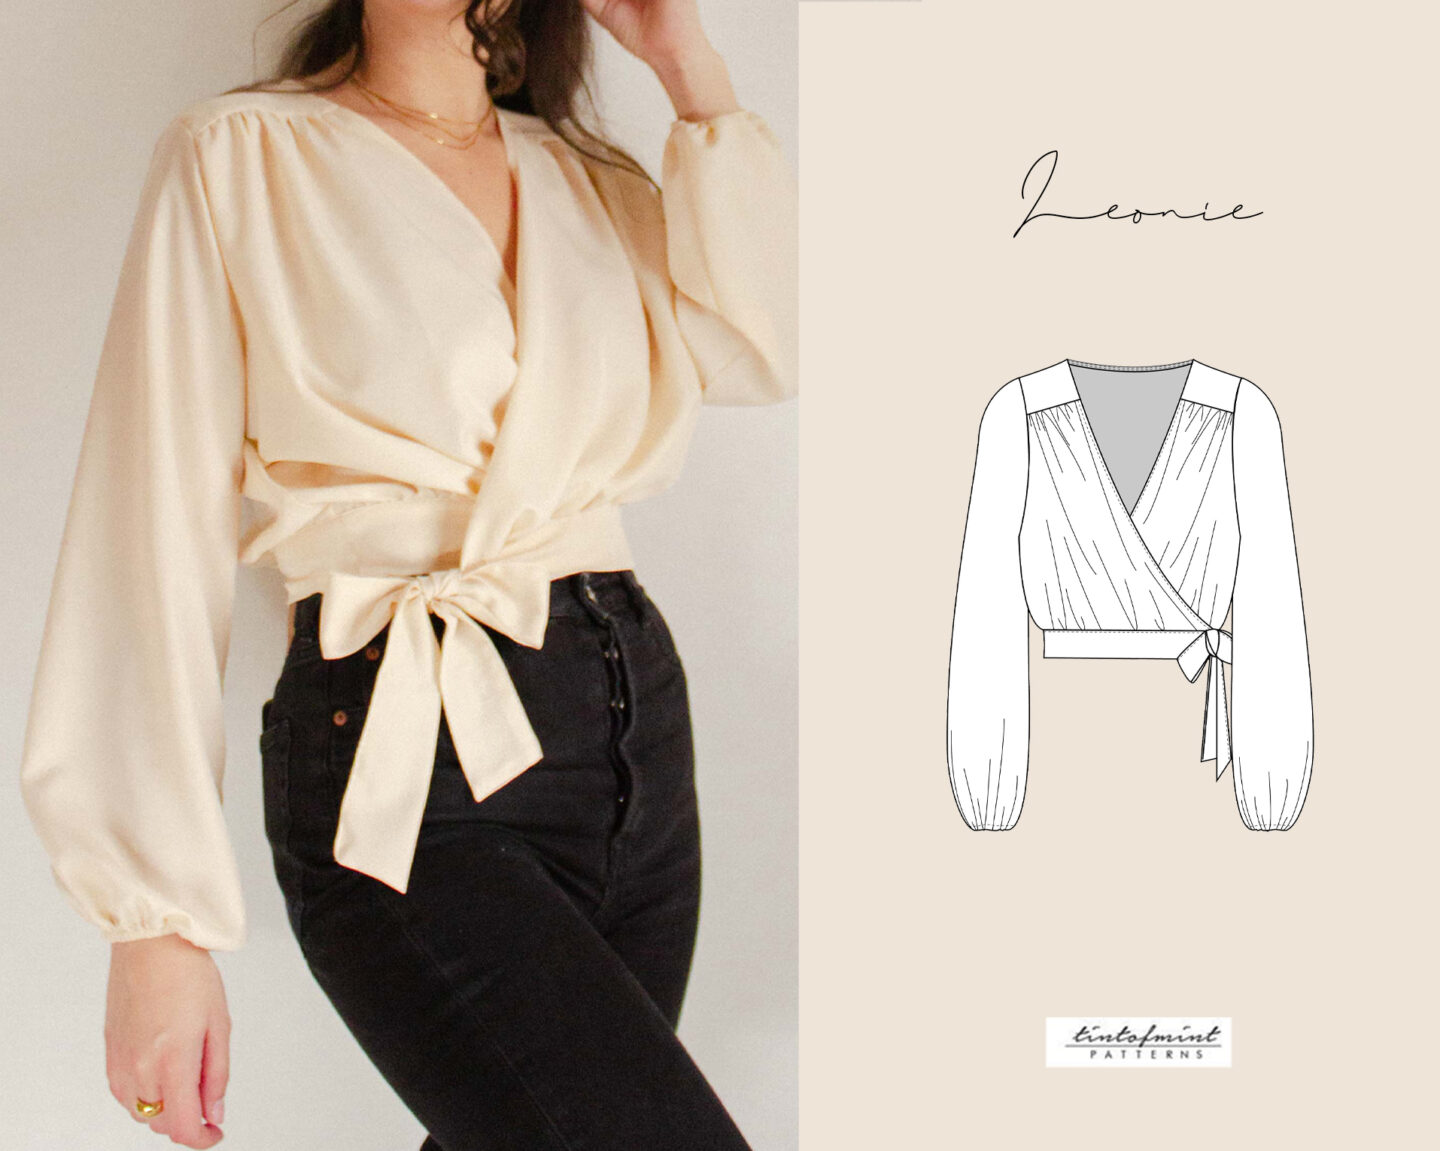
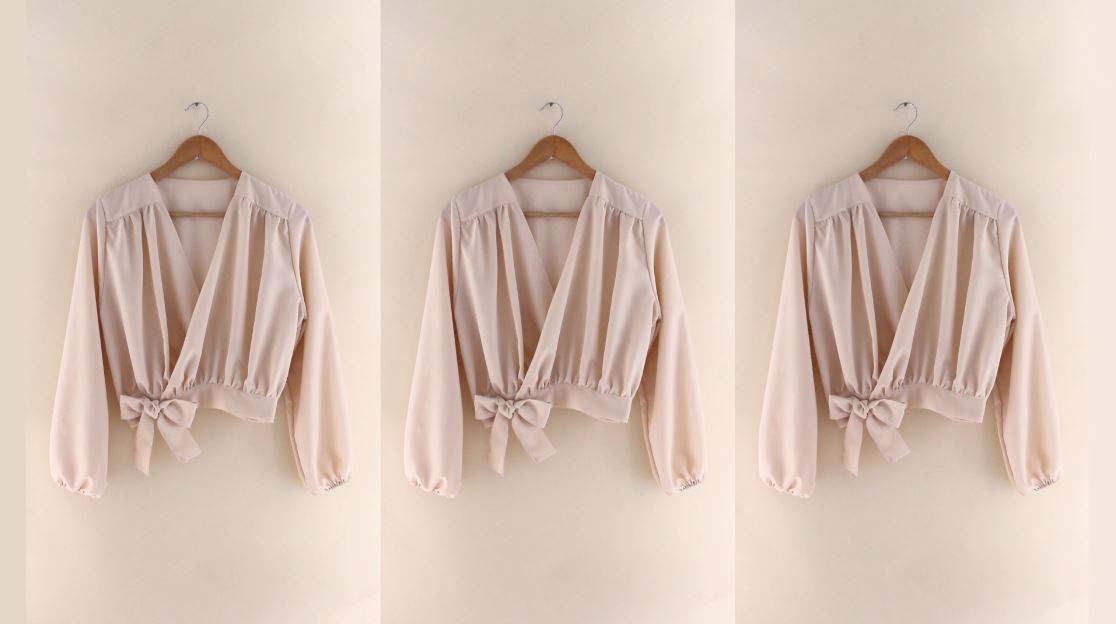
You can wrap this top to the right or to the left depending on which side you prefer.
The rule of thumbs is that the front panel with a shorter belt will be the one that’s at the front. In this case, it’s a left panel.
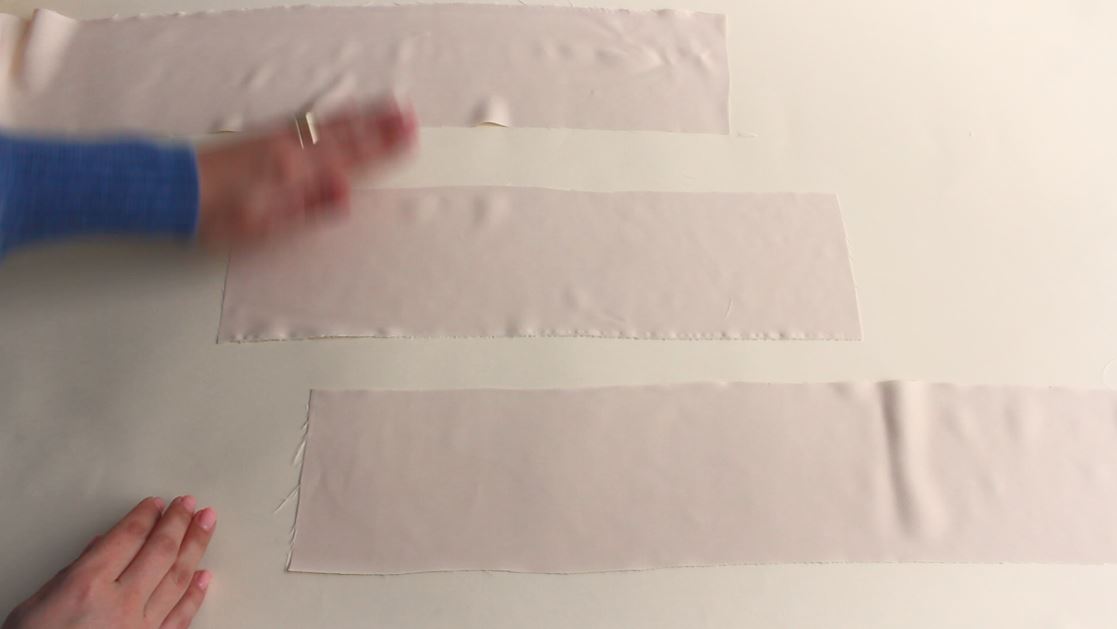
Take waistband pieces and sew them together. Then press the seams open.
Match side seams and front panels with waist notches first.
On the front waistband panels, there is a notch which will determine where the front panel should start for each size.
Then pull the thread to create gathers until the top panels match the waistband’s.
Sew the wrong side of the waistband to the wrong side of the blouse.
Then fold the waistband over the stitch line and pin it down.
Before topstitching the waistband we need to finish off the waistband ends. Fold them in half, stitch, then trim the seam allowance and bag them out. Then continue to fold the waistband.
Next, topstitch the waistband.
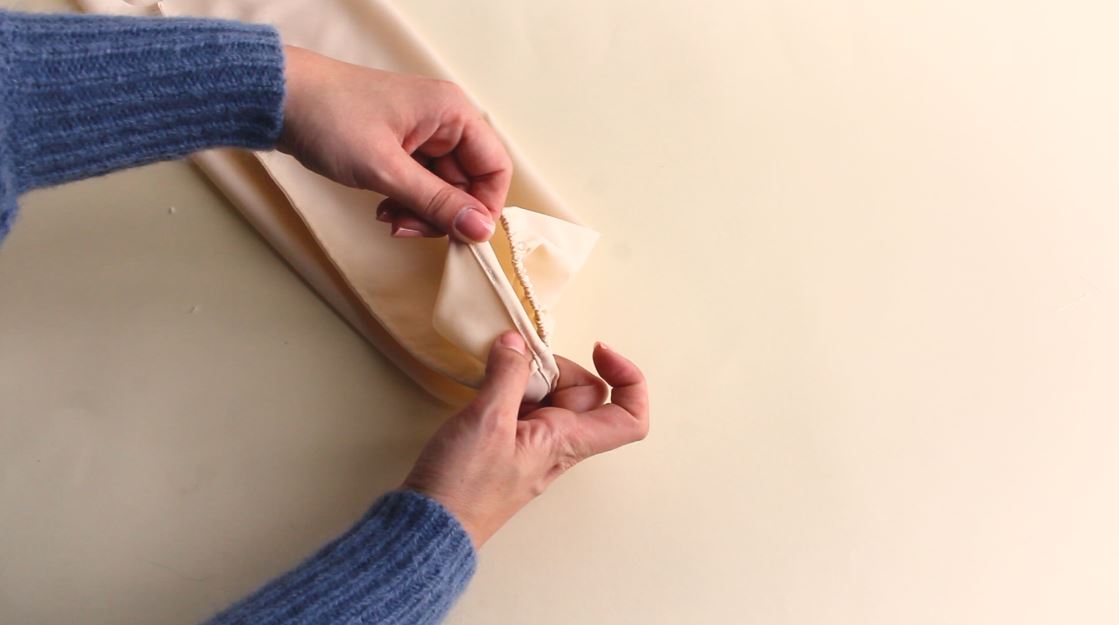
Moving on to the sleeves fold them in half and stitch using a french seam technique.
Fold the sleeve’s edge twice and topstitch.
Leave a small gap to insert the elastic.
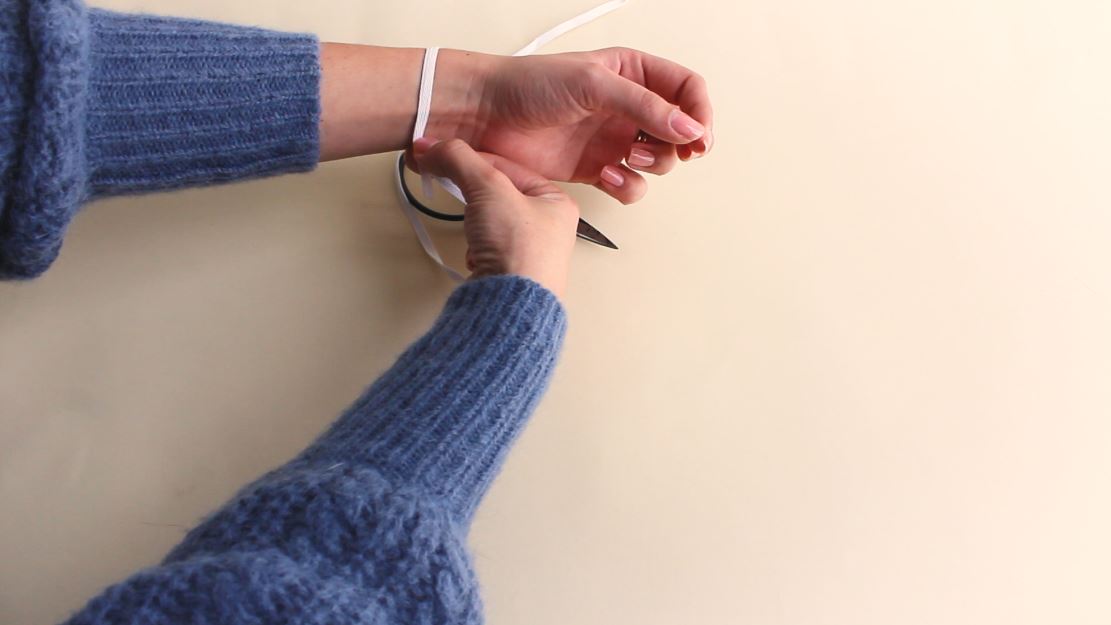
Take an elastic and wrap it around your wrist ( so it’s not tight) and cut with extra 2cm.
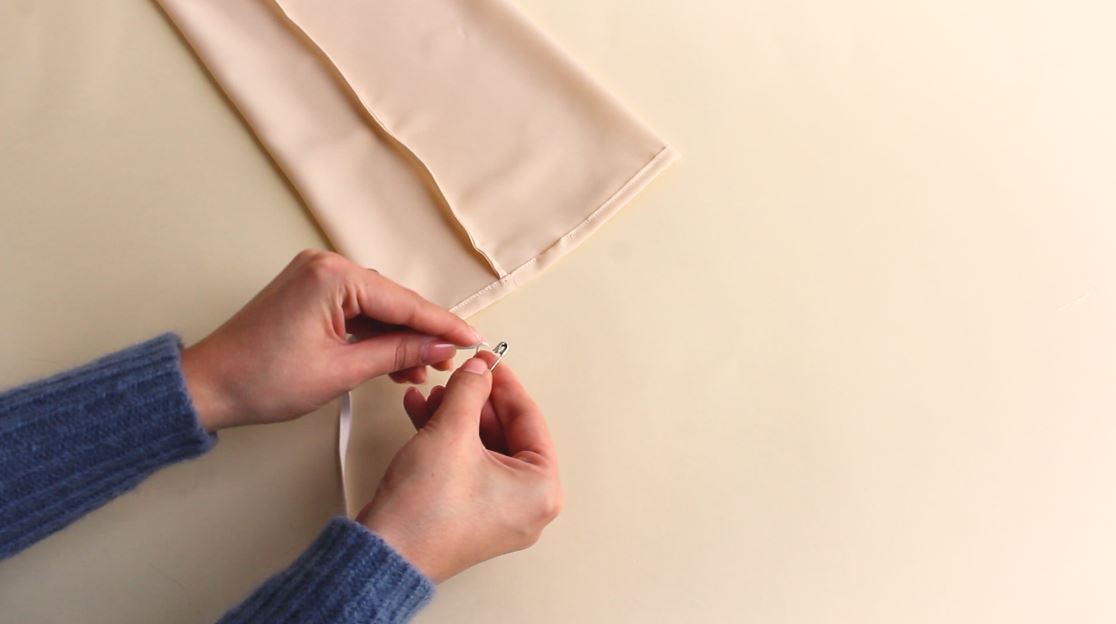
Then using a safety pin insert the elastic to the cuff.
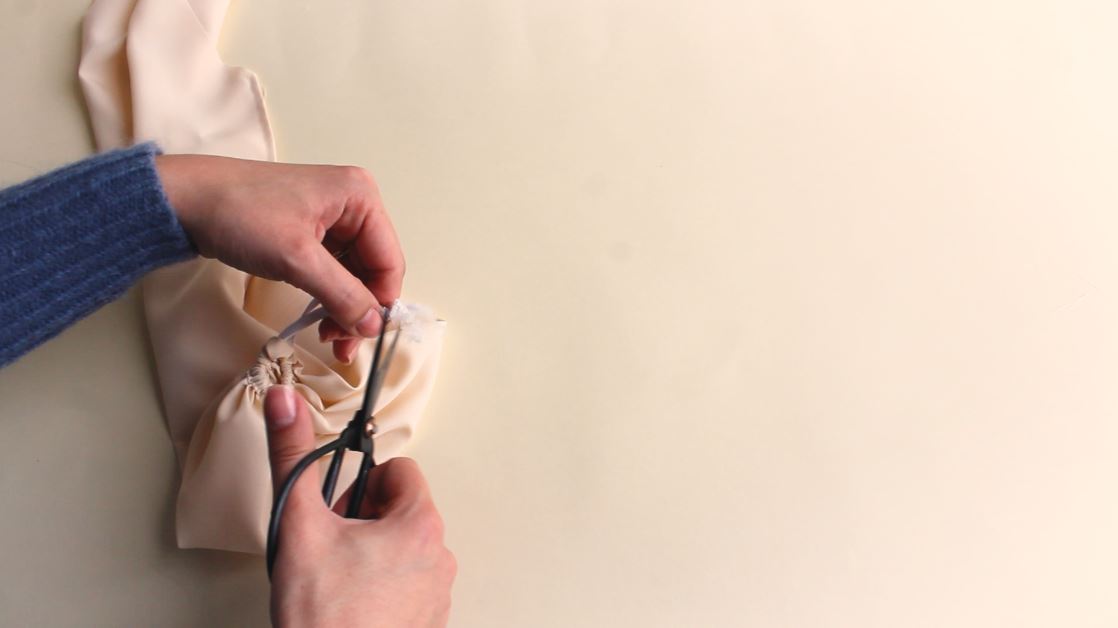
Make a knot and trim the the elstic ends.
Stitch the opening.
As the last step insert the sleeves to the armholes.
I would love to see your finished pieces, so please use a hashtag #tintofmintPATTERNS so I can check out your work!