Welcome back!
Today, I’ve prepared one of the most requested posts — how I take my own photos for my blog and Instagram. You might be surprised to know that around 90% of the photos you see on my feed are taken with a self-timer and without anyone’s help. So, if you’re struggling to find someone who’s always available to take pictures for you, this post is exactly what you need!
I’ll share the camera and accessories I use, along with my top tips on how to start taking photos with a remote and become your own photographer and model in one.
Camera & Accessories
Let’s start with the gear. Below, you’ll find everything I use to take my photos, plus links to shop each item.
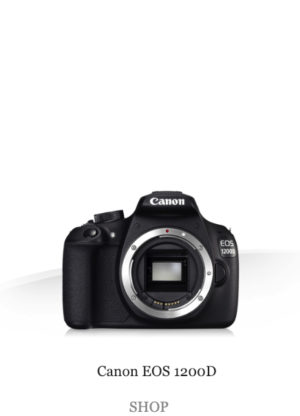
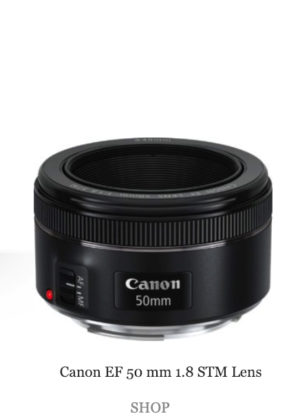
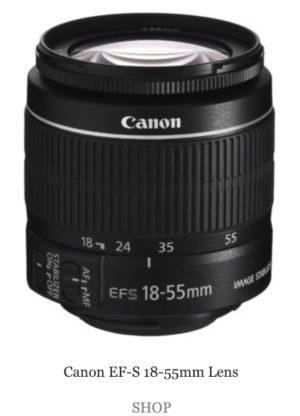
If you were expecting me to pull out the newest Canon with a massive lens, I’ll have to disappoint you — I keep things simple. My camera does everything I need as a blogger. It allows me to shoot high-quality images, create consistent content, and stay mobile when I travel or take photos outdoors.
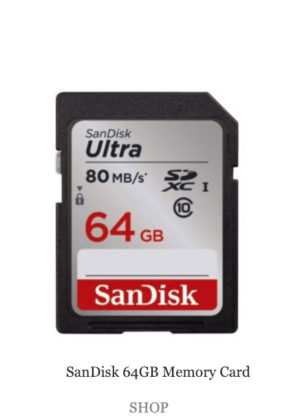
Camera gear I use:
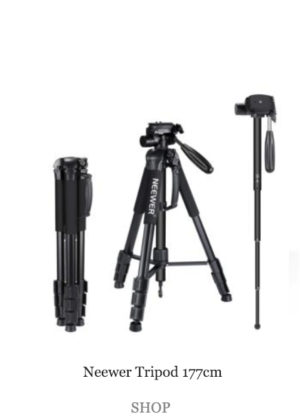
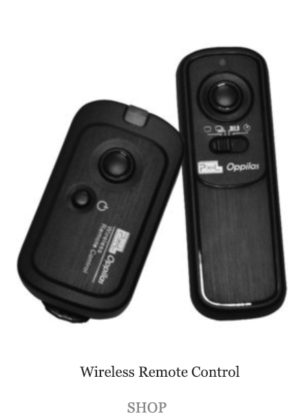
ACCESSORIES
Location
This part is very important. Please, always make sure that wherever you’re shooting, you are safe. Avoid taking photos in abandoned buildings, dark streets, or rough neighborhoods when you’re alone. Safety always comes first!
I usually shoot during the day and like to finish before sunset. I prefer quiet locations where I’m not being watched but still close enough that someone could hear me if needed. Never leave your belongings unattended, and always keep your camera facing you so you can see if anyone is approaching.
When I notice someone walking by, I usually pause, walk back to my tripod, and check the photos I’ve just taken until they pass. Also, be polite if someone asks what you’re doing — most of the time, people are simply curious.
Top Tips
-
Safety first! If you ever feel uncomfortable, just walk away and find a new location. No photo is worth risking your safety.
-
Struggling with focus? Place your bag or an object where you plan to stand, focus your camera on it, take a test photo, then switch to manual focus. Stand where your bag was and start shooting.
-
Don’t want to hold a remote? Set your remote to timer mode, press it, and quickly slide it into your pocket before the photo is taken.
-
Experiment! You’re your own photographer now, so create movement — walk towards or away from the camera, change your poses, and have fun with it.
SHOOT LOCATION AND SETUP
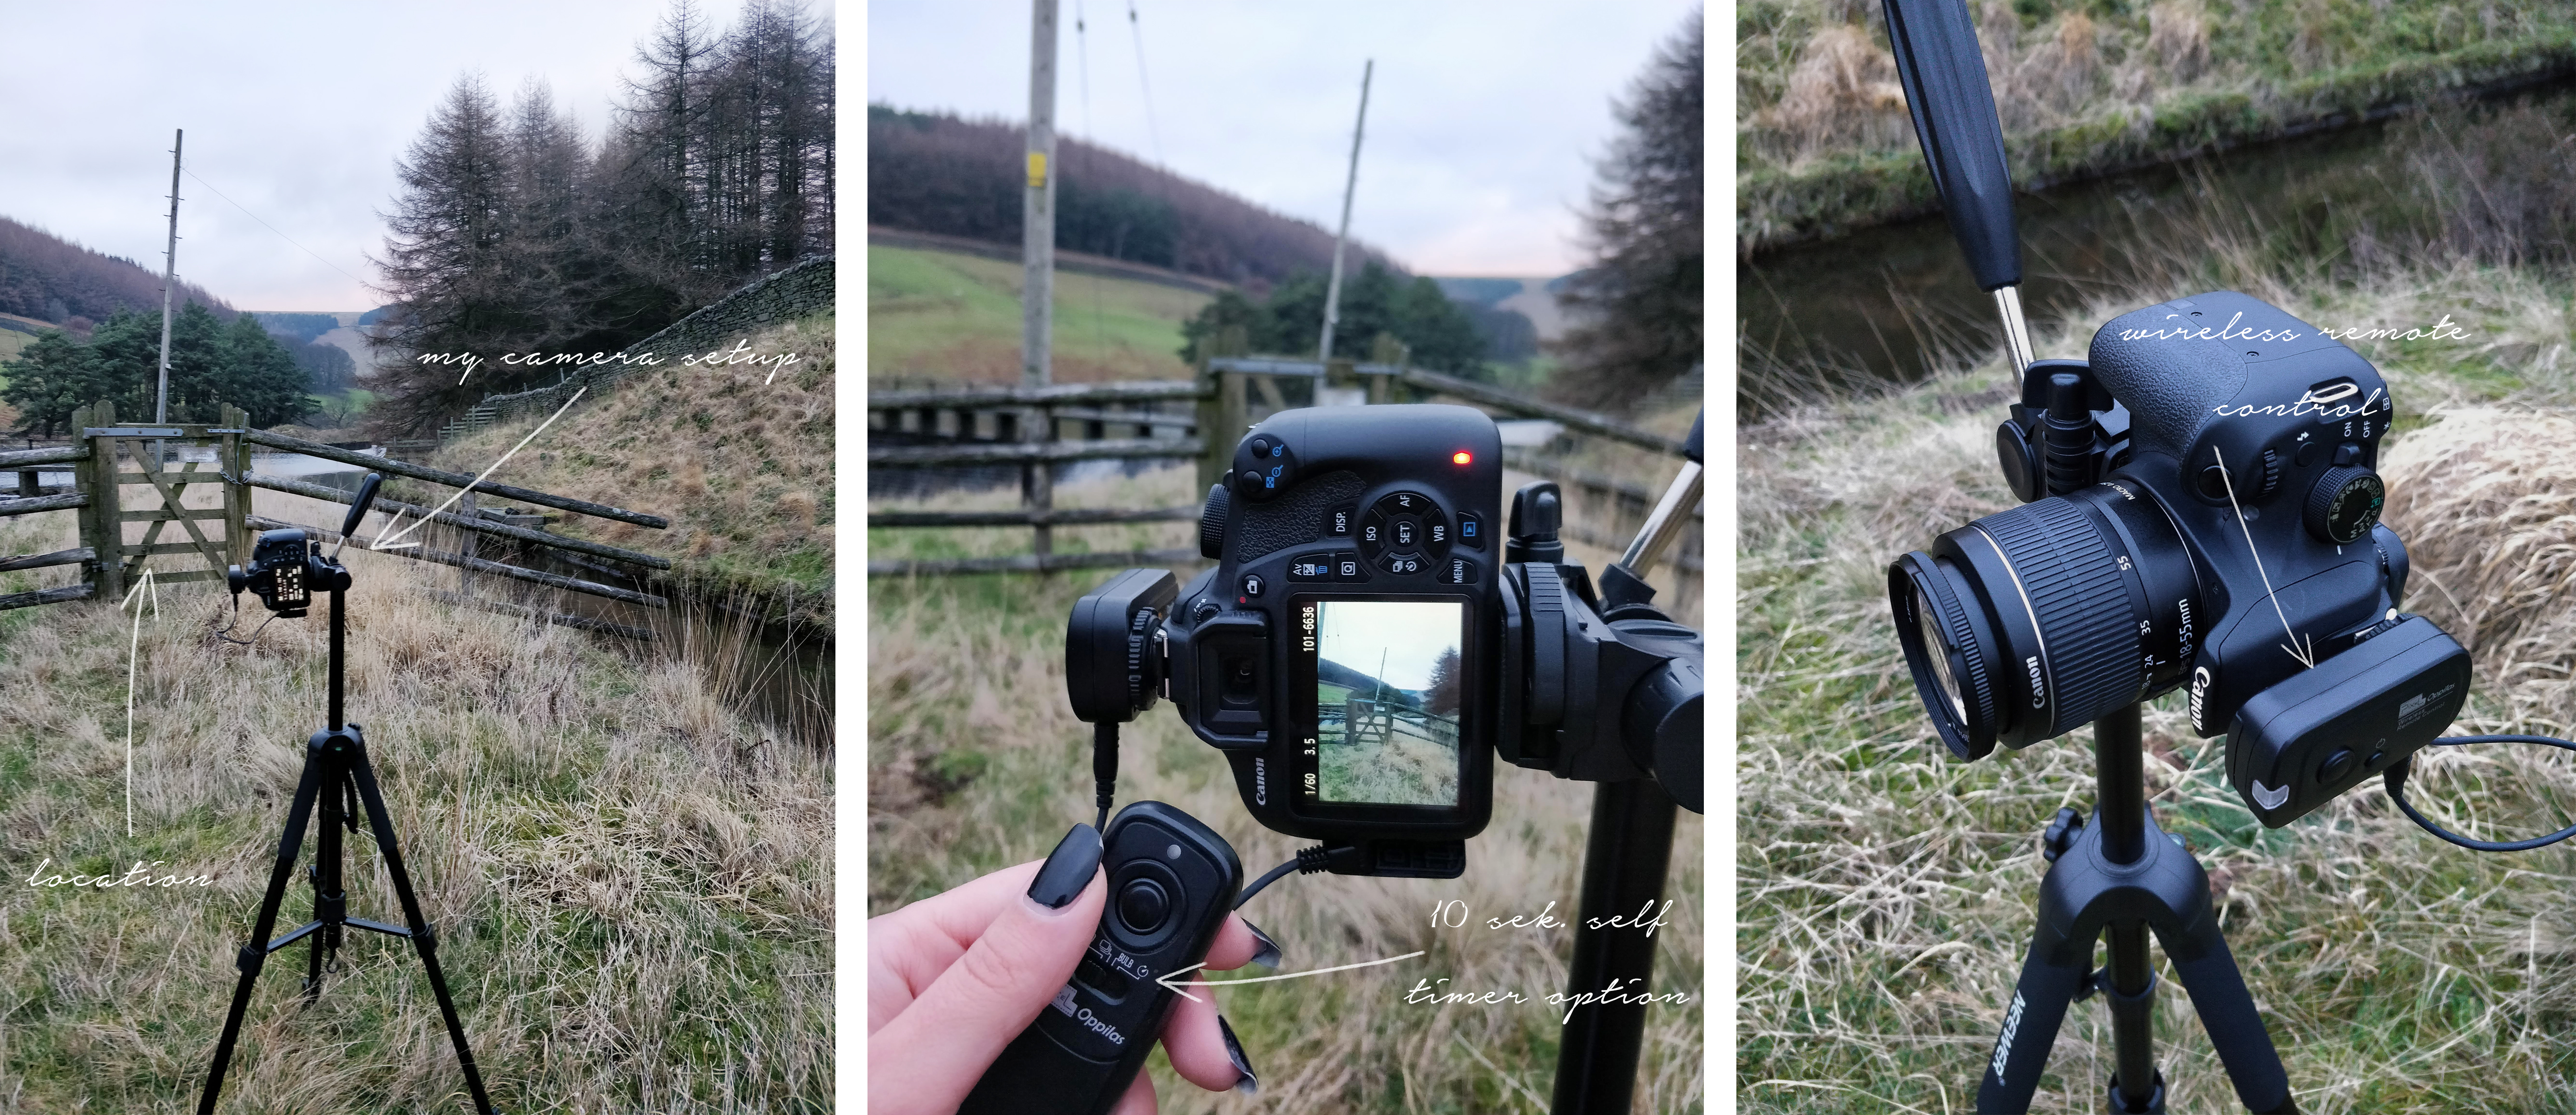
THE RESULTS
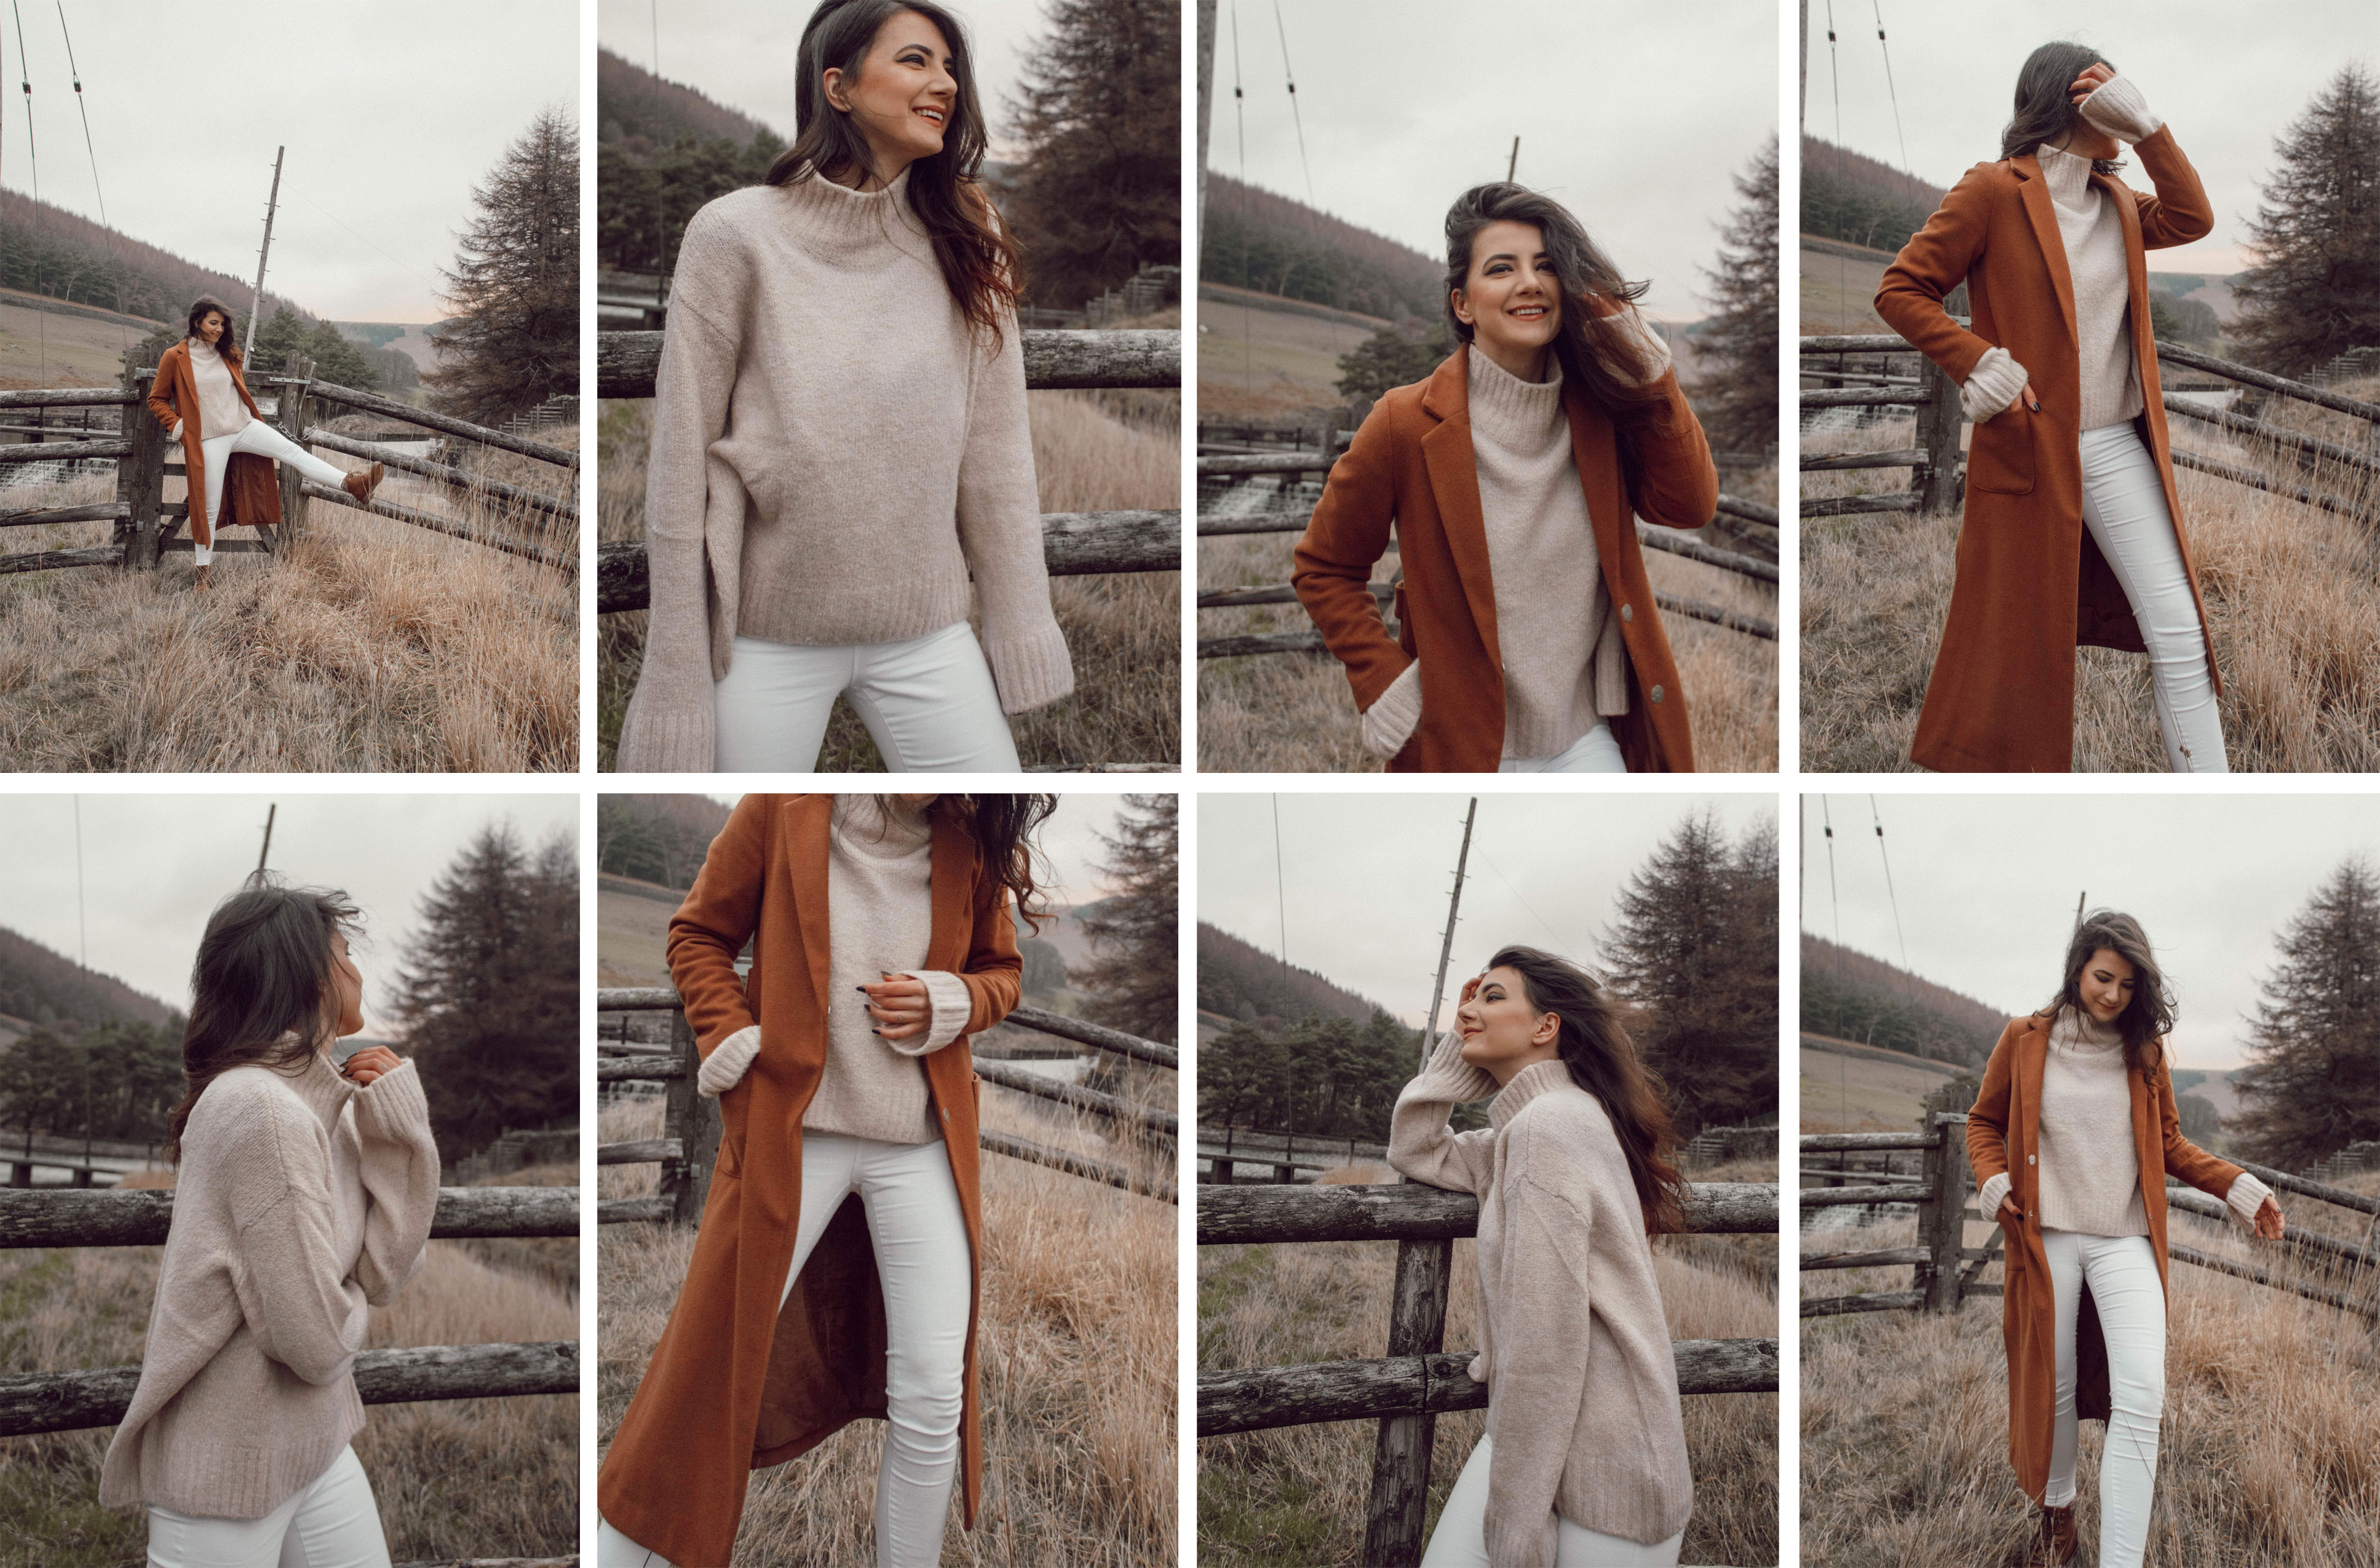
Above, you can see my camera setup from a recent shoot in the Peak District — and the final results. Even though it was incredibly windy that day, I’m really happy with how the photos turned out.
Just for full disclosure, I wasn’t there alone. My boyfriend and I went to the Peak District together. Our car was parked on the side of the road while he was flying a drone, and I was taking photos on the other side of the river. If you look closely, you can even spot the drone in the background of a few pictures from that day!
I hope you’ve enjoyed this post as much as I enjoyed creating it. My goal is to inspire you to step out of your comfort zone, try something new, and have fun with it. Until next time!


