Hello and happy Friday! I hope you’ve had a great week and that your weekend will be even better.
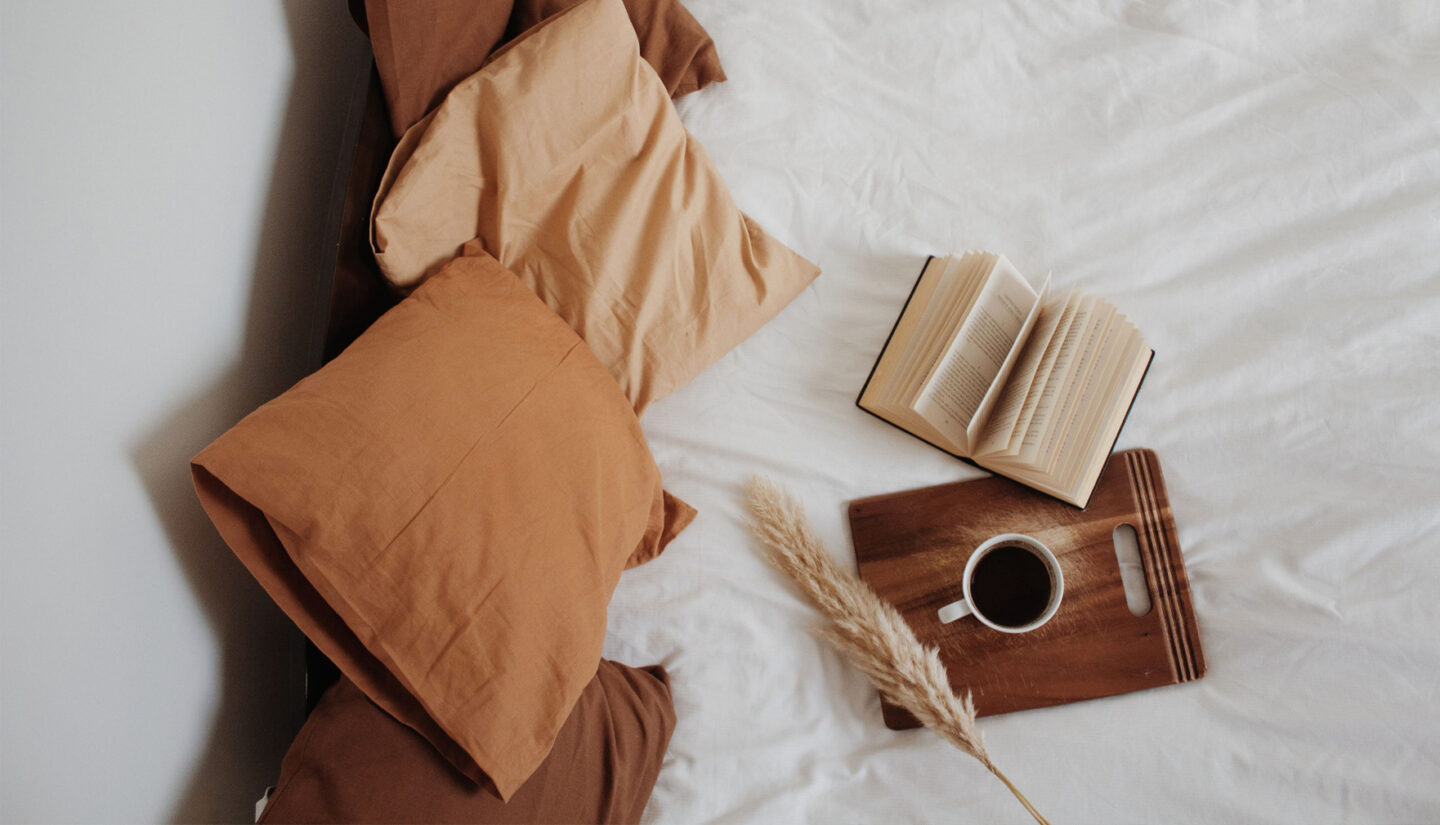
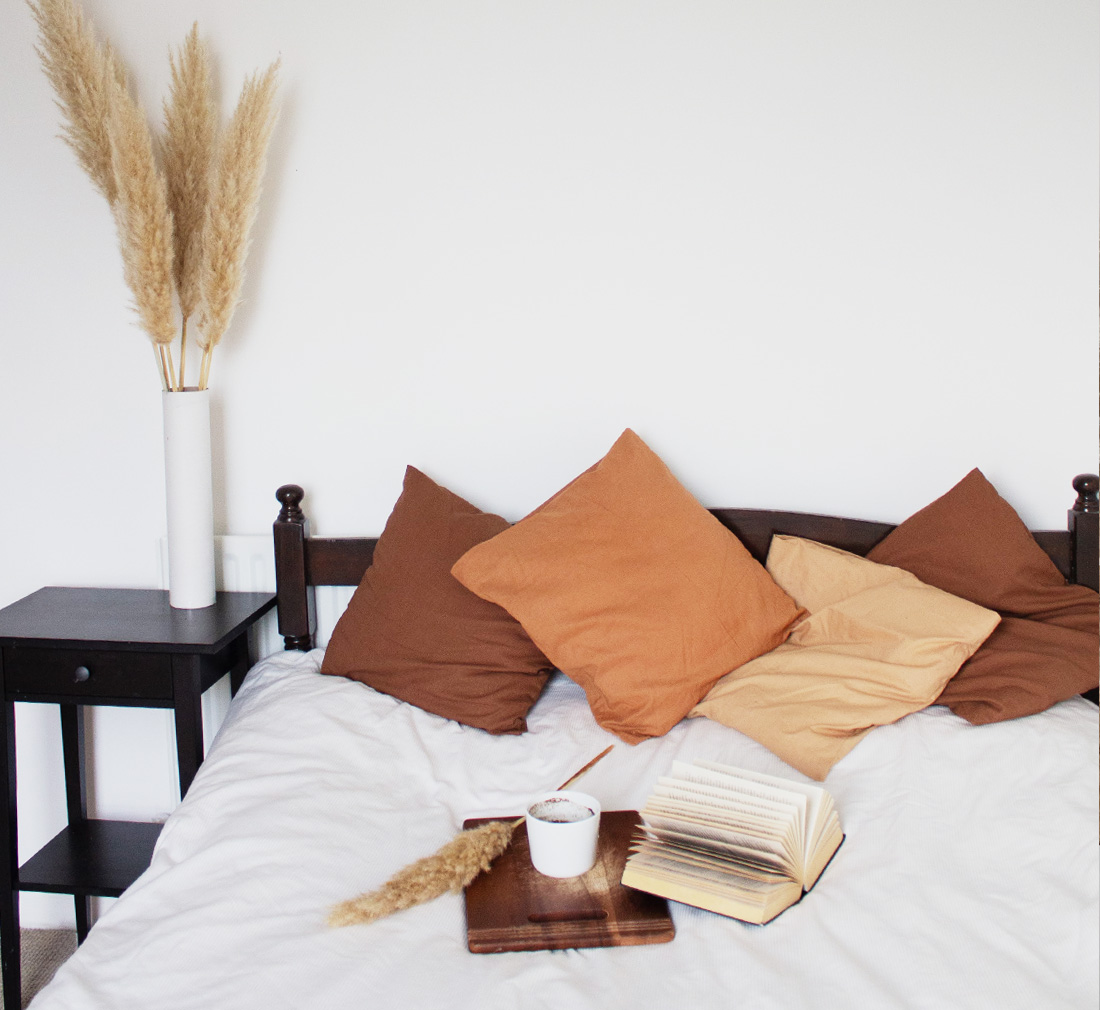
Today I want to share my recent bed makeover. For a while now, I’ve been completely obsessed with linen — I love the texture, the quality, and how timeless it feels. I’ve been thinking about changing all of my bedsheets, but that would take a bit more time (and fabric, of course). So, I decided to start small and begin my makeover with new pillowcases.
Simple Linen Pillowcase Tutorial
If you’re looking for a quick and satisfying sewing project, a pillowcase is a great choice. It’s beginner-friendly, practical, and the result instantly transforms your bed. Here’s how to make one step by step.
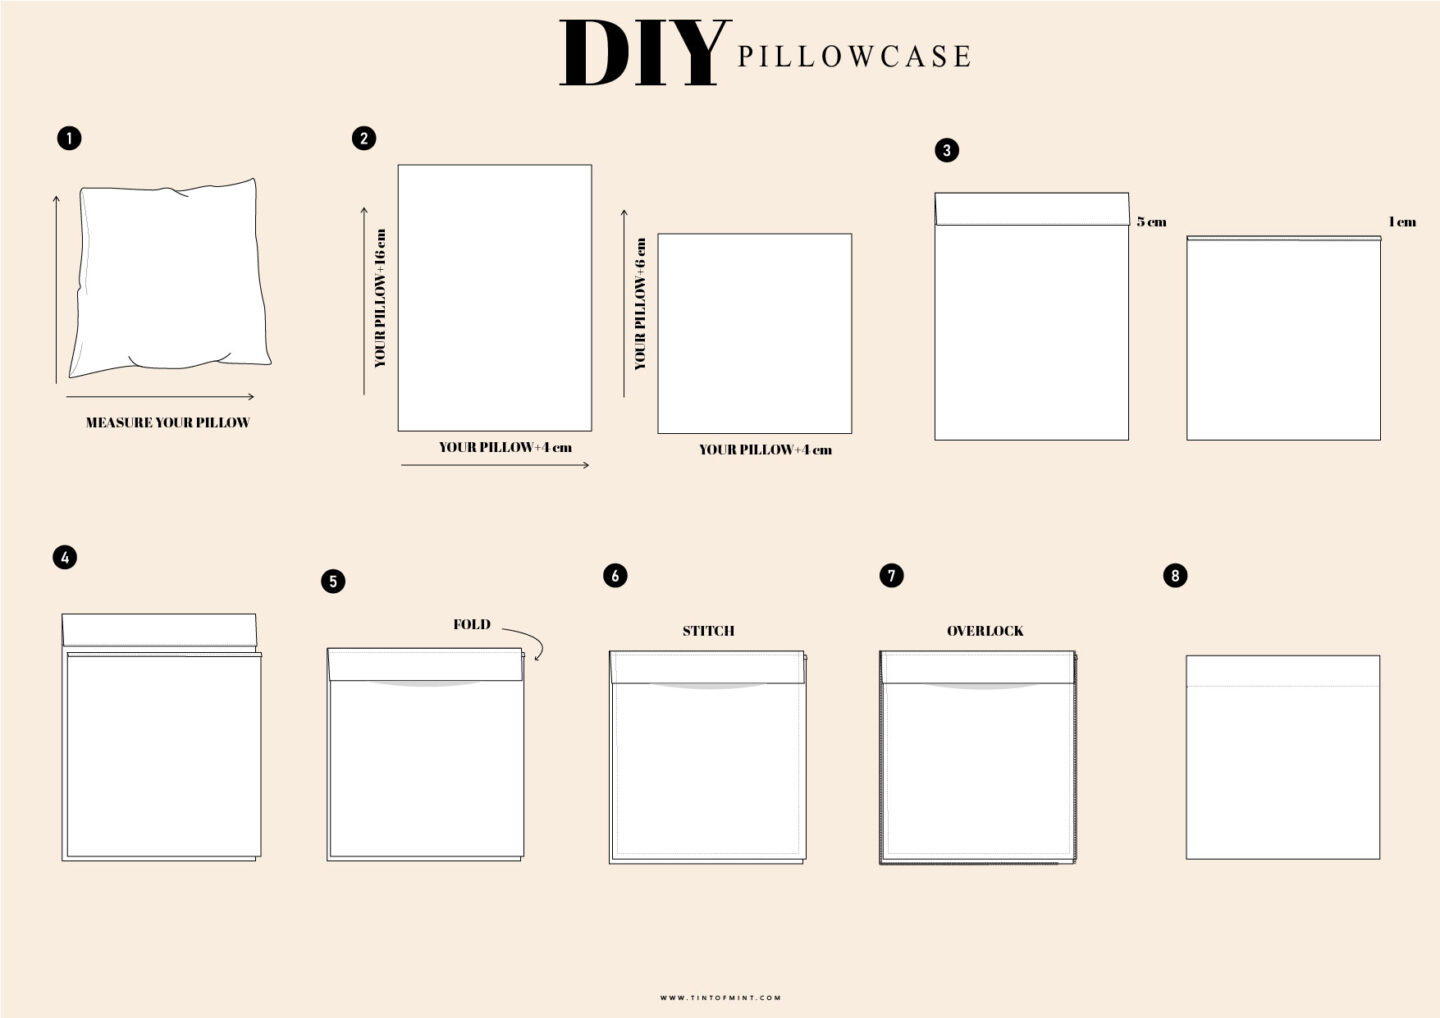
Step 1: Measure your pillow
Start by measuring the width and length of your pillow. It’s important to take exact measurements so the pillow fits snugly without being too tight or too loose.
Step 2: Cut your fabric pieces
You’ll need two rectangles of fabric.
-
For the front piece, add 16 cm to the length and 4 cm to the width of your pillow measurements.
-
For the back piece, add 6 cm to the length and 4 cm to the width.
This extra length will create the envelope-style closure at the back.
Step 3: Finish the edges
Take the longer piece and fold one of the shorter edges first by 1 cm, then again by 5 cm to create a neat hem. Topstitch close to the inner fold.
For the shorter piece, double fold one edge by 1 cm and topstitch as well. This will be the inside overlap of your pillowcase.
Step 4: Assemble the pieces
Lay the longer piece flat with the right side facing up. Place the shorter piece on top, right side facing down, so the hemmed edges overlap by around 10 cm. This overlap will form the envelope opening.
Step 5: Secure the layers
Pin all around the edges to hold the two pieces in place.
Step 6: Stitch the sides
Sew along the remaining three sides using a 1 cm seam allowance. Make sure to backstitch at the beginning and end to secure your seams.
Step 7: Finish the edges
Overlock or zigzag-stitch the raw edges to prevent fraying and give your pillowcase a clean, professional finish.
Step 8: Turn and press
Turn your pillowcase right side out, push out the corners gently, and give it a good press with an iron.
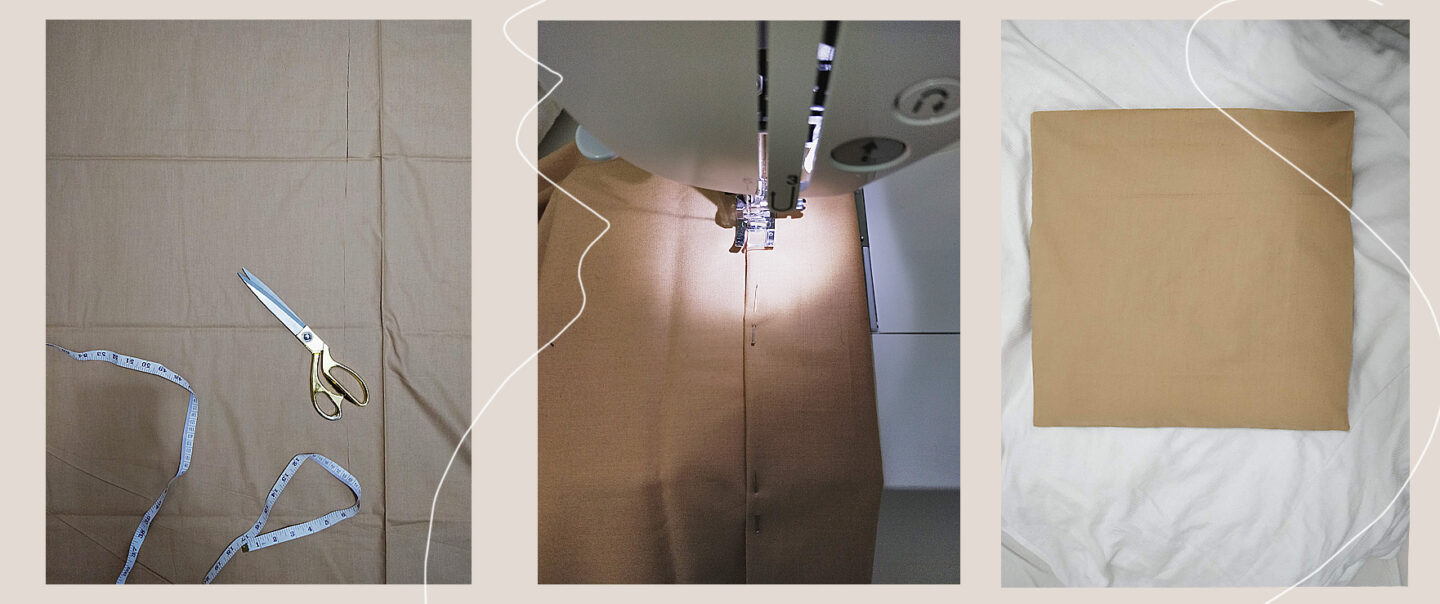
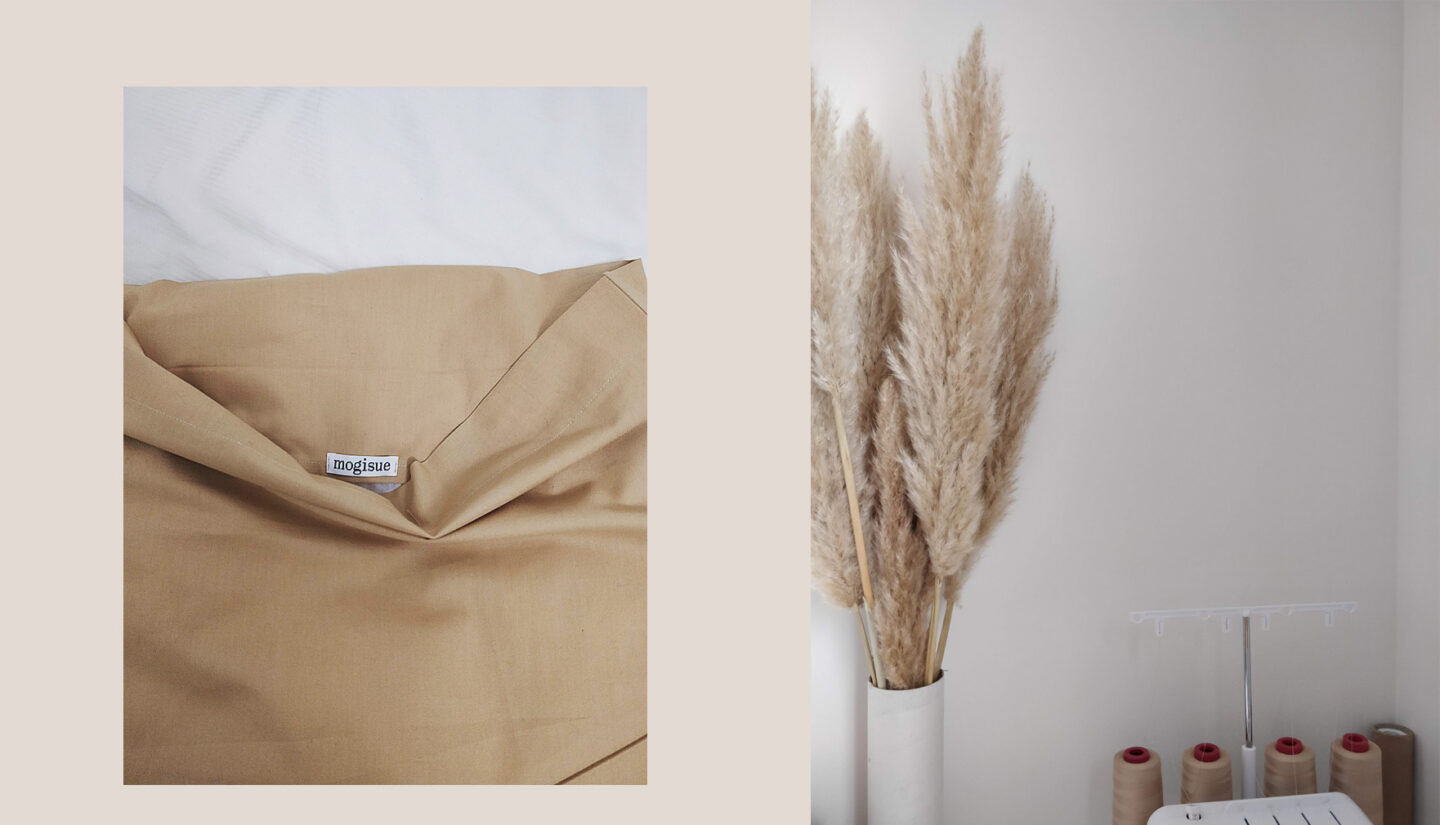
That’s all! A super simple way to make a pillowcase in under ten minutes and just a few easy steps. For mine, I couldn’t resist adding my mogisue label — it instantly made it look more finished and personal. It’s such a small touch, but it really makes all the difference.
I hope you found this post helpful! If you have any questions, feel free to leave a comment below — I’ll be more than happy to help. Until next time, have a wonderful weekend!


Genius! I often make my pillowcases, too, but this sounds like exactly what I need – Never thought of doing it this way. Thanks for such a well-explained, useful tutorial! Great pictures, too.
Author
Thank you Shanta! I’m glad you find this useful! 🙂