DIY DIARIES
NICE, FRANCE
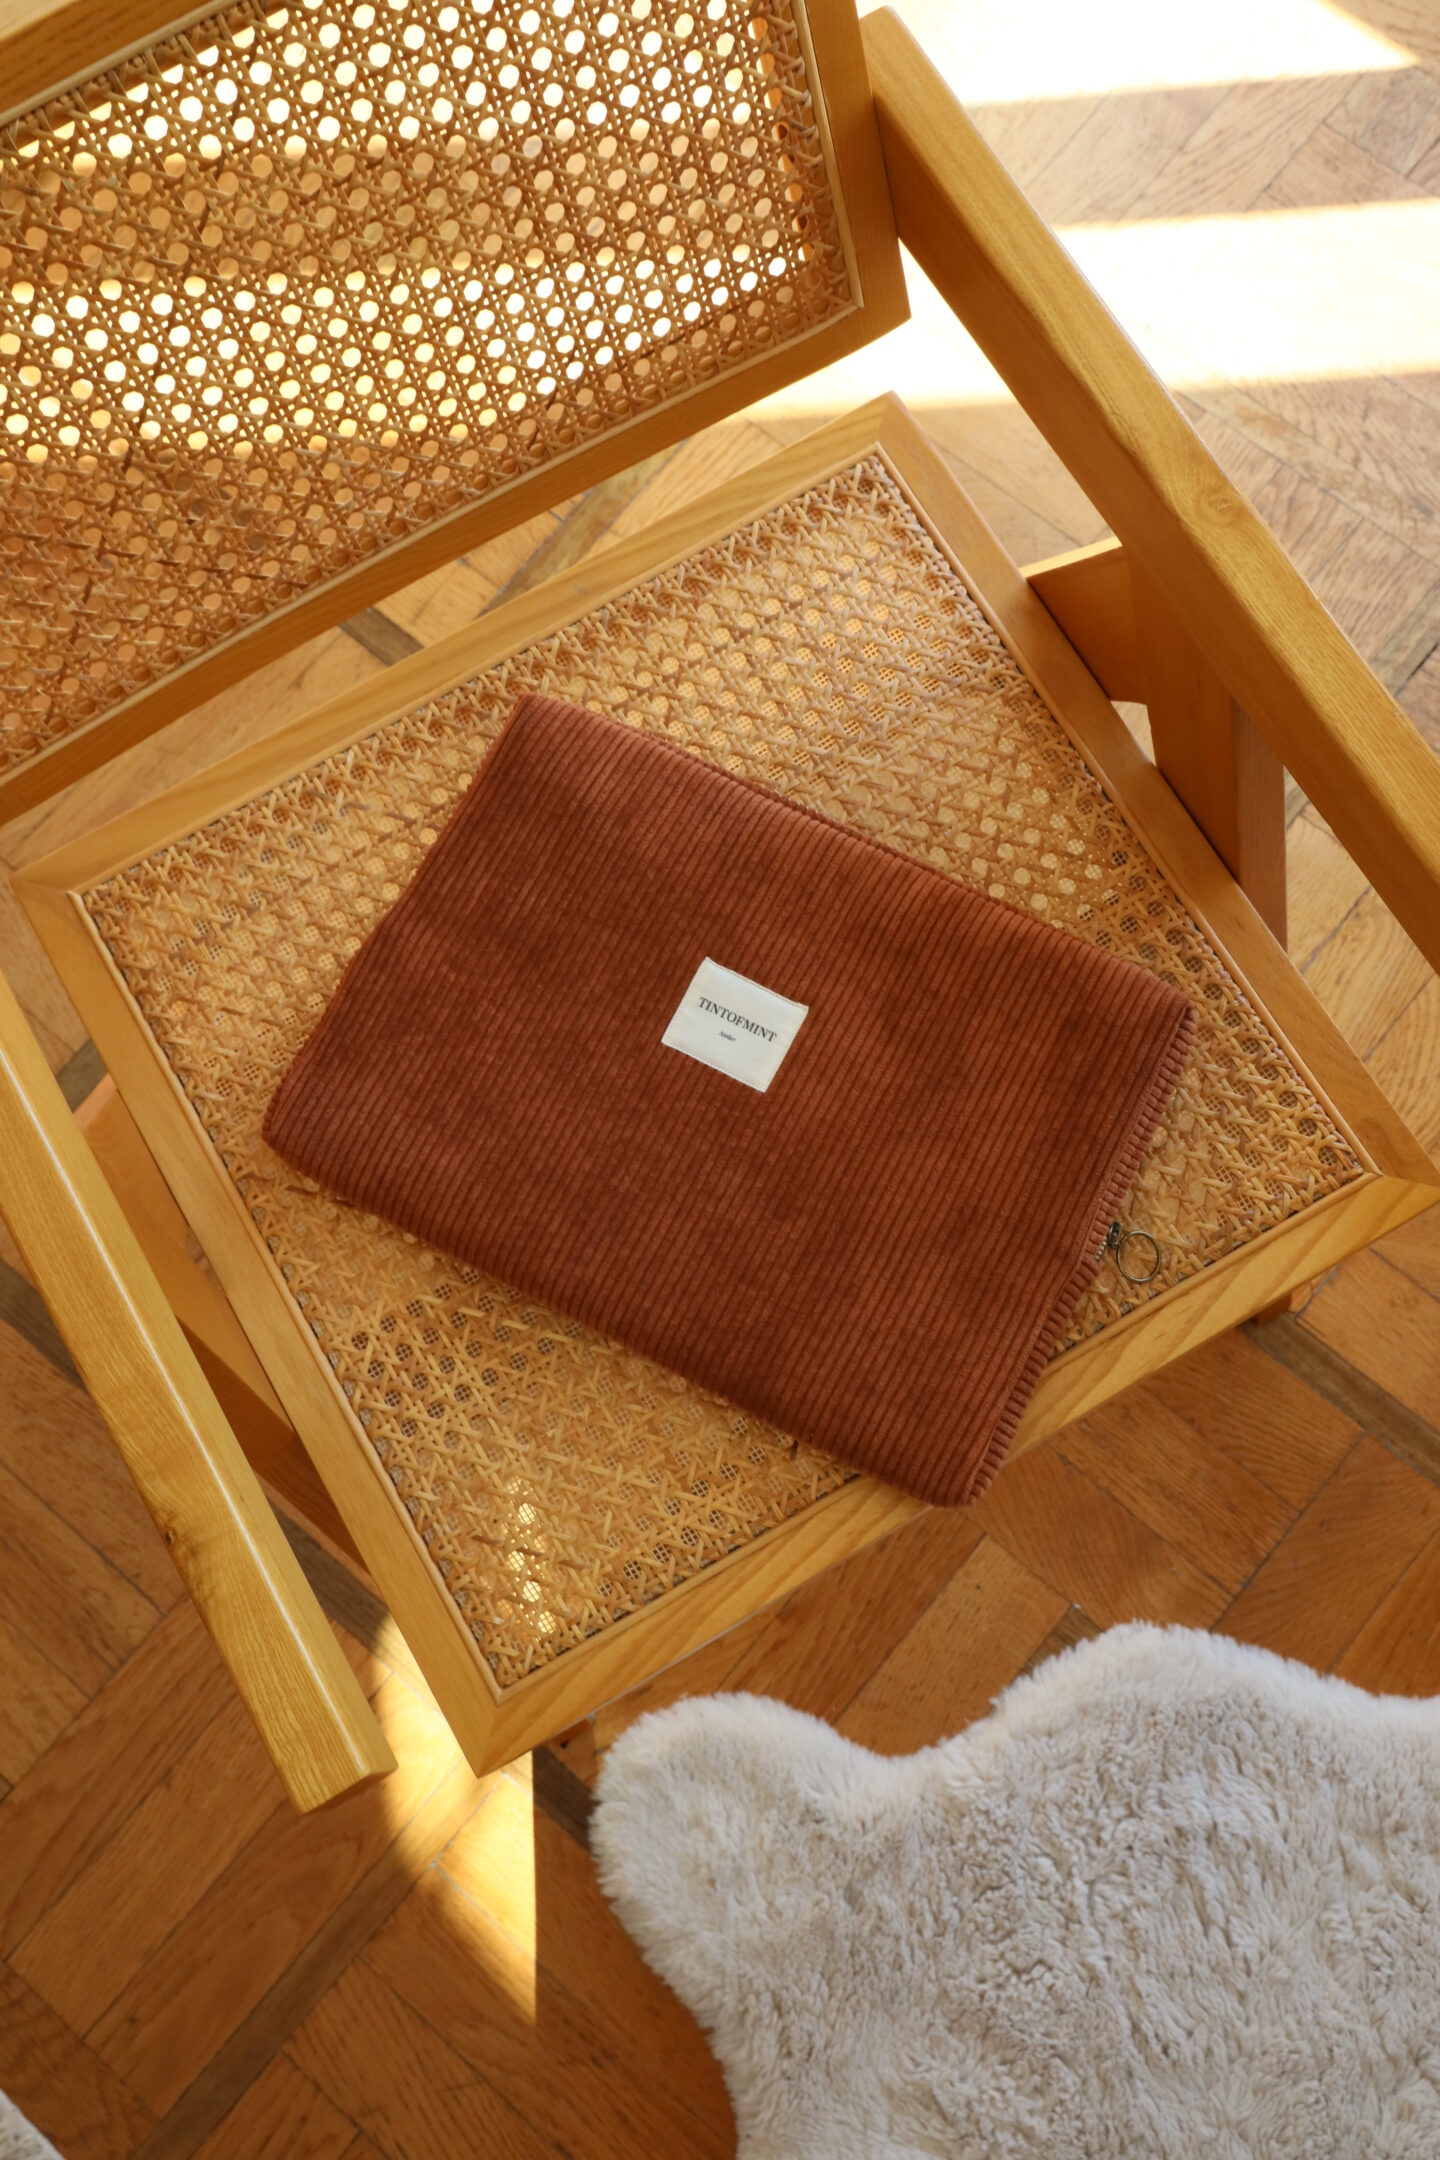
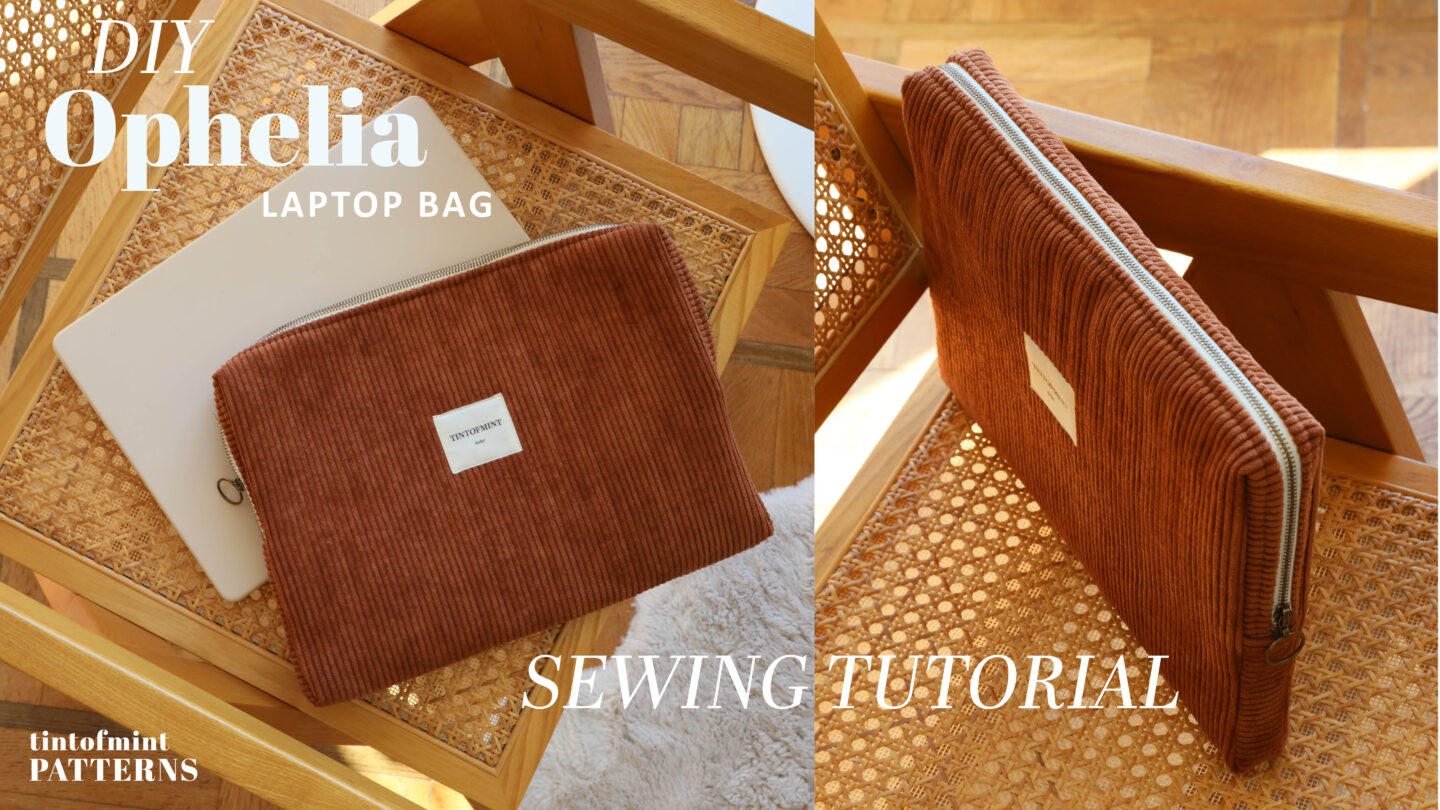
If you’ve been looking for a laptop case that is stylish, protective, and completely customizable, this project is for you. In this tutorial, I’ll show you how I made my own quilted corduroy laptop bag, perfect for everyday use. You can sew along with the step-by-step video and, if you want to skip the guesswork, grab the printable pattern from my shop.
“We delight in the beauty of the butterfly, but rarely admit the changes it has gone through to achieve that beauty.”
― Maya Angelou
I finally tackled a project that has been sitting on my to-do list for ages: making my own DIY laptop bag.
Since I use my laptop daily, having a protective and stylish case is essential. The one I had before was from an older computer, so it did not fit properly anymore. On top of that, it was not my style. I wanted something functional, protective, and personal. That is when I decided to draft a sewing pattern, test out a design, and film the whole process so you can make one too.
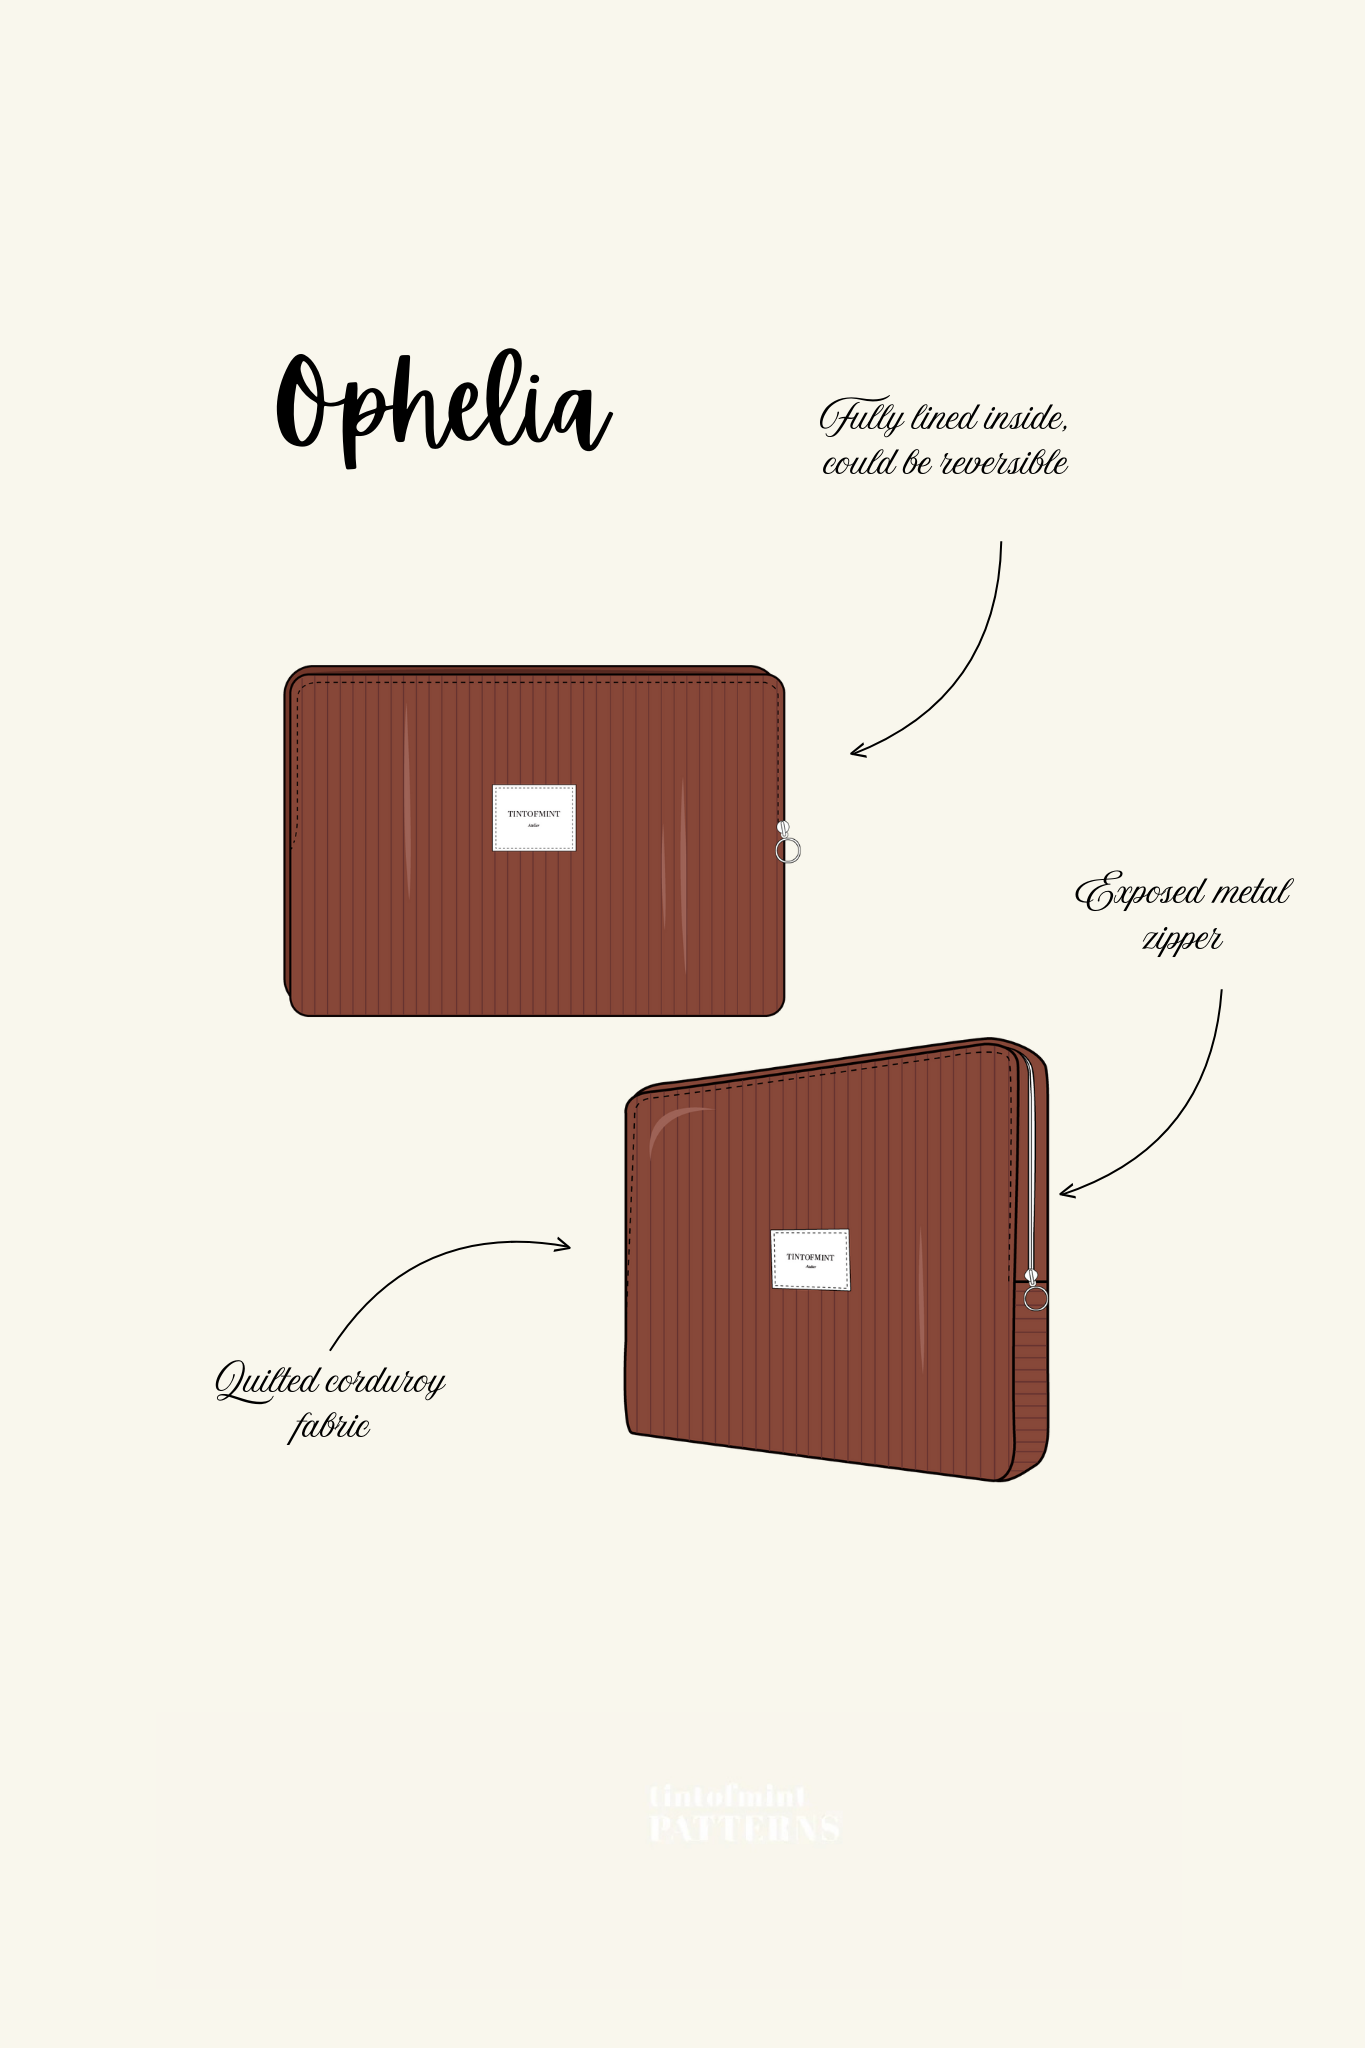
This project is beginner-friendly and inspired by a makeup bag I had sewn earlier. The construction method is simple, and with a little quilting for padding, you end up with a laptop sleeve that looks professional while keeping your device safe.
Printable sewing pattern available in my shop: purchase it once, print at home, cut, and sew. CLICK


Choosing Fabric for Your DIY Laptop Bag
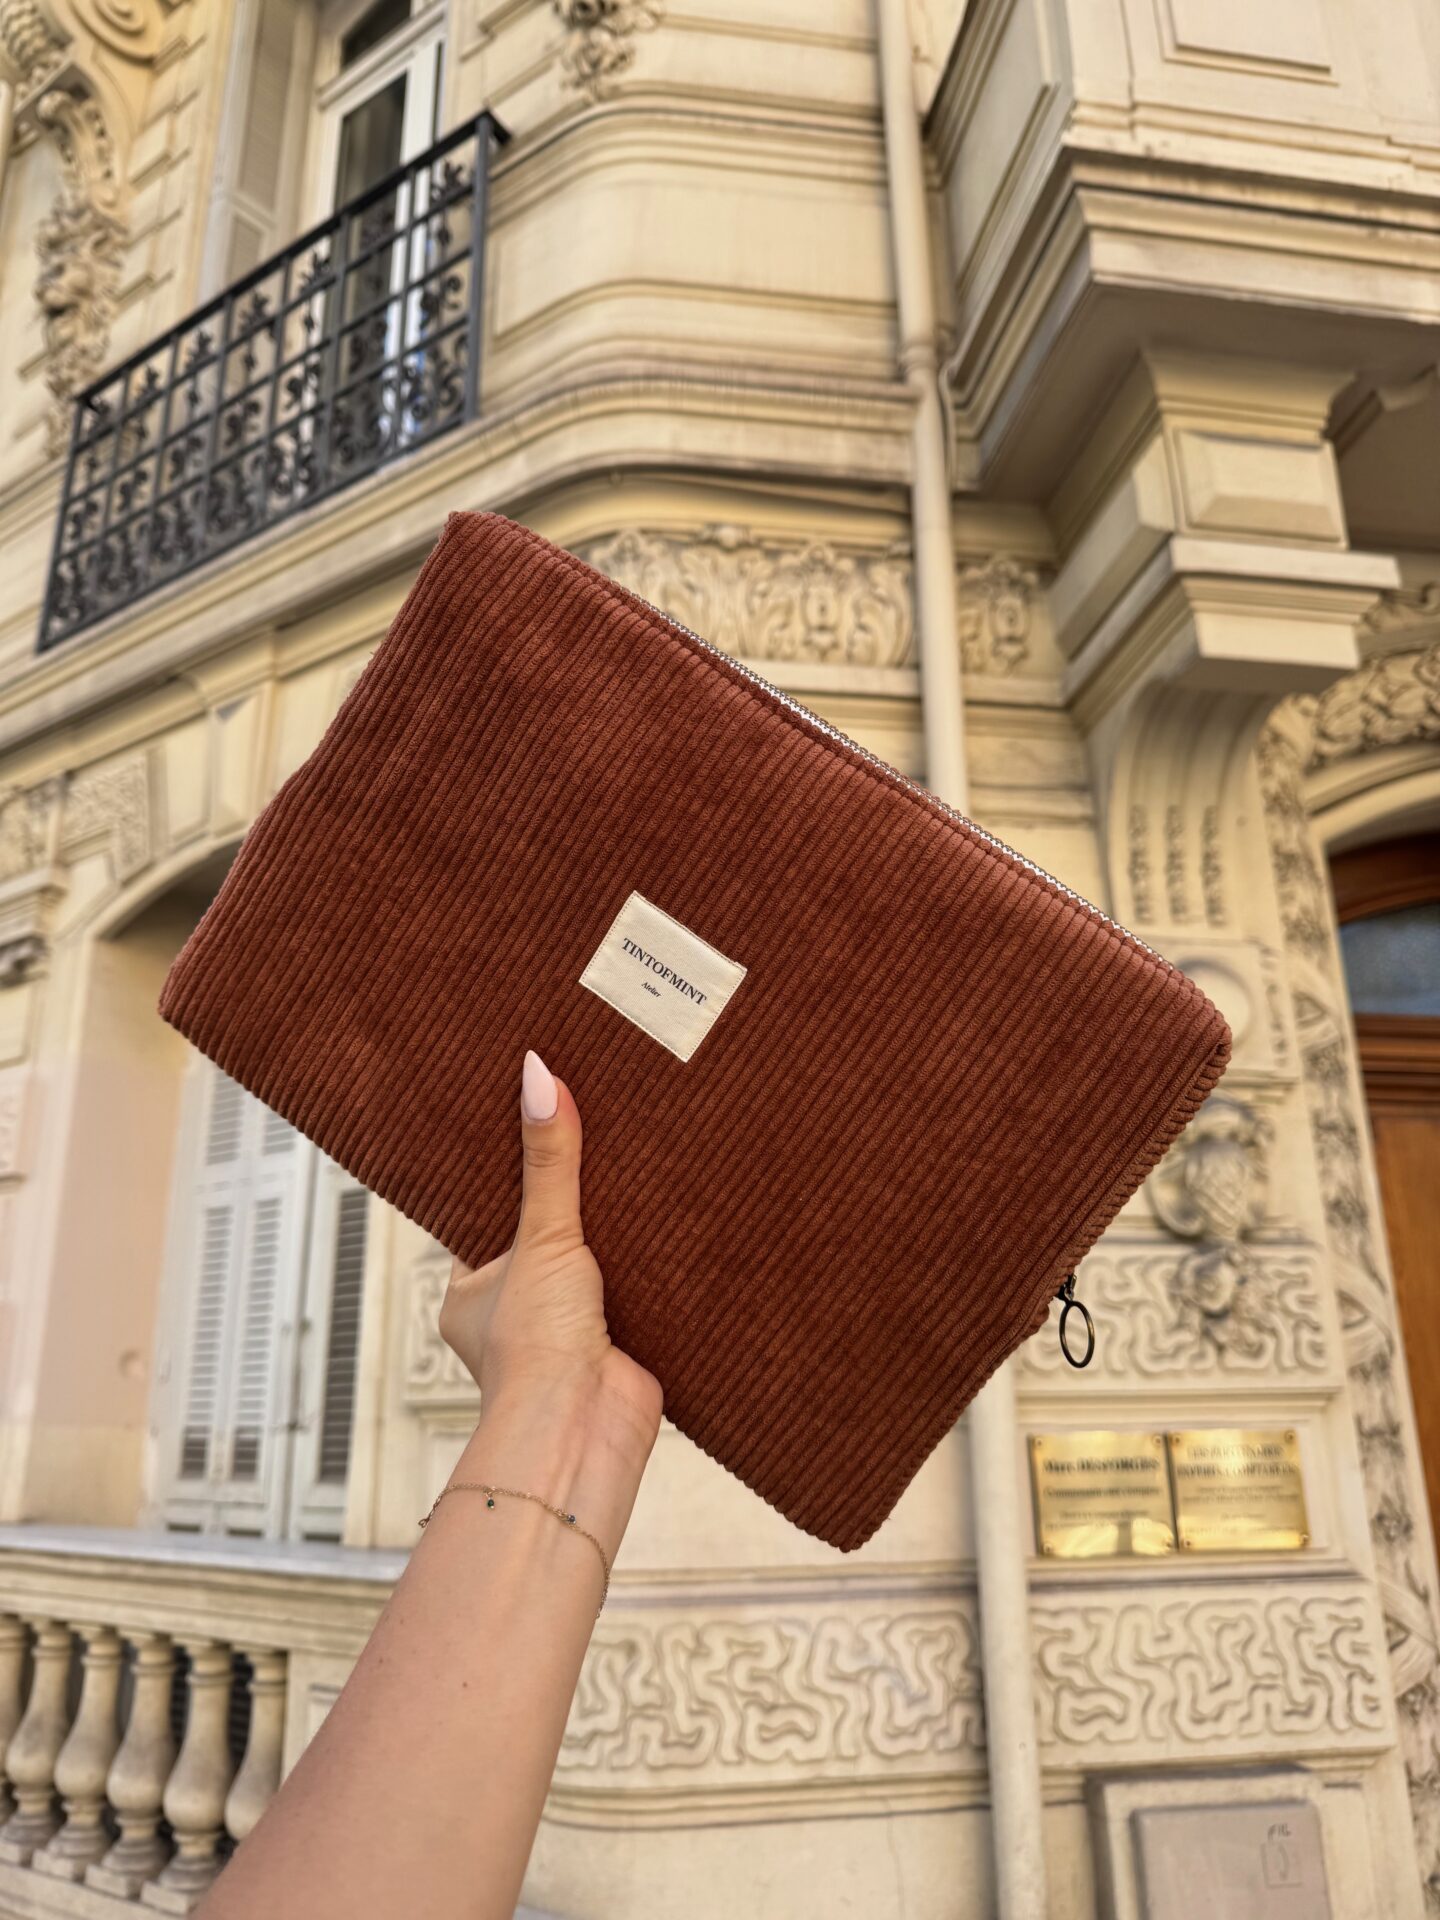
The fabric you choose makes all the difference. Your bag needs to be sturdy, protective, and if you are like me, stylish too. For my bag, I picked a brown corduroy with a fleece backing. Corduroy is one of my favorites because:
- It is durable and structured
- The ribbed texture adds visual interest
- It pairs beautifully with neutral or bold linings
Other good options include:
- Canvas: strong and minimalistic
- Denim: durable and easy to upcycle from old jeans
- Twill: smooth, sturdy, and classic
- Faux leather or vinyl: professional-looking and easy to clean
- Quilting cotton with interfacing: endless prints, beginner-friendly, but needs added structure
For the lining, get creative. I used leftover fabric, but polka dots, florals, or novelty prints work perfectly for a unique finish inside.

Quilting: Extra Protection for Your Laptop
Quilting sounds advanced, but it is actually beginner-friendly. It simply means sewing layers of fabric together: usually your outer fabric, batting or fleece, and sometimes a backing. The result is padded and protective.
I quilted my corduroy with fleece, and it made a big difference. Quilting:
- Adds structure and durability
- Keeps layers from shifting
- Looks professional while staying soft
Tip: Always cut your batting a few inches larger than your pattern pieces. Fabric shifts during quilting, and this prevents gaps at the edges.
You can quilt in straight lines like I did, or try diagonal or crosshatch stitching for more texture.

Materials You Will Need
Here is what I used, along with some alternatives:
- Outer fabric: corduroy, canvas, denim, twill, faux leather, or quilted cotton
- Padding: batting, fleece, or bag foam
- Lining fabric: cotton, polyester, or satin
- Zipper: at least as long as your laptop’s width. Nylon zippers are easier for beginners than metal ones
- Laptop bag sewing pattern: my printable pattern is available for purchase in my shop, and you can resize it for any laptop
- Basic sewing tools: sewing machine, scissors or rotary cutter, clips or pins, seam ripper, thread
Step-by-Step Sewing Process
Here is how I made mine:
- Quilt the fabric. Layer outer fabric and batting or fleece, then stitch evenly spaced lines. I used straight lines about 3 to 4 cm apart.
- Cut your pieces. Use the pattern to cut quilted outer fabric and lining. Trim zipper to size.
- Attach the zipper. Center it along the top edge, stitch it down, and topstitch for a neat finish.
- Sew outer and lining separately. Stitch sides and bottom of each. Leave a small gap in the lining.
- Turn right side out. Pull the bag through the lining gap and press seams.
- Finish up. Stitch lining closed, trim seam allowances, and topstitch around the zipper.
Pro tip: If your zipper feels stiff, rub a little wax on the teeth. It makes the glide smoother.

Lessons Learned
Every project has a learning curve. Here is what I would change next time:
- Add more seam allowance. My bag fits tightly, but extra space would give more flexibility.
- Adjust label placement for better balance.
- Use smoother fabrics when working with zippers. Corduroy can catch easily.
Even with a few hiccups, I love how mine turned out.
Before and After
Old oversized Amazon sleeve compared to new custom corduroy laptop bag.
The difference is night and day. Now my case actually fits and reflects my style.
Watch the Tutorial
If you prefer to learn visually, I filmed the entire process. From quilting the fabric to zipper struggles to the final reveal, it is all in the video.
Watch the DIY Corduroy Laptop Bag Tutorial on YouTube
Get the Sewing Pattern
Want to make your own? I created a printable laptop bag pattern that is available for purchase in my shop. It is beginner-friendly, easy to customize, and works with many types of fabric. CLICK
Final Thoughts
This project reminded me that sewing is not about perfection. It is about creating something functional, beautiful, and personal. My corduroy laptop bag is already a daily favorite, and I know yours will be too.
If you make one, tag me on Instagram. I would love to see your version.
Happy sewing


