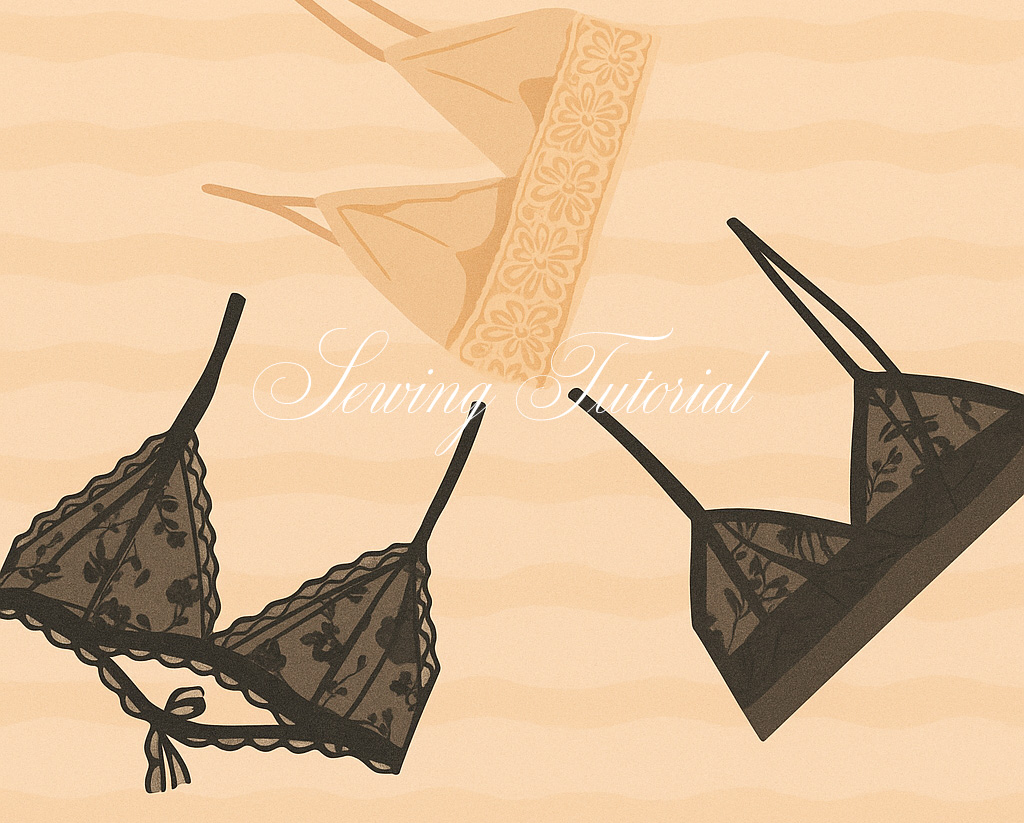
Hi! I hope you are having a beautiful day. Today’s post is all about the handmade triangle lace bras I have been sewing lately. They are simple to make, comfortable to wear, and the styling options feel endless. I also created a quick CAD to show the process step by step, so you can follow along with confidence. Below you will find a clear guide to help you make your own soft lace bra at home.
What you will need
Stretch lace or soft knit (light to medium stretch works best)
Matching foldover elastic or picot elastic for edges
Underbust elastic, 1 to 2 cm wide
Bra straps with sliders and rings, or elastic you can turn into straps
Bra hooks and eyes, or extra length to tie at the back
Optional trims: narrow lace, decorative picot, small bow
Tools: sewing machine with a stretch or zigzag stitch, overlocker optional, stretch needle, scissors, pins or clips, measuring tape, chalk or washable pen
Before you cut
Sizing: Measure your underbust and bust. A triangle cup is very forgiving. If in doubt, cut a test cup in scrap fabric, hold it in place, and tweak height or width by 0.5 to 1 cm.
Grain and stretch: Place the cup so the greatest stretch runs horizontally across the bust for comfort.
Seam allowance: Add 6 mm to seams unless your trim or foldover elastic will finish the edge.

Step by step guide to make a simple lace bra
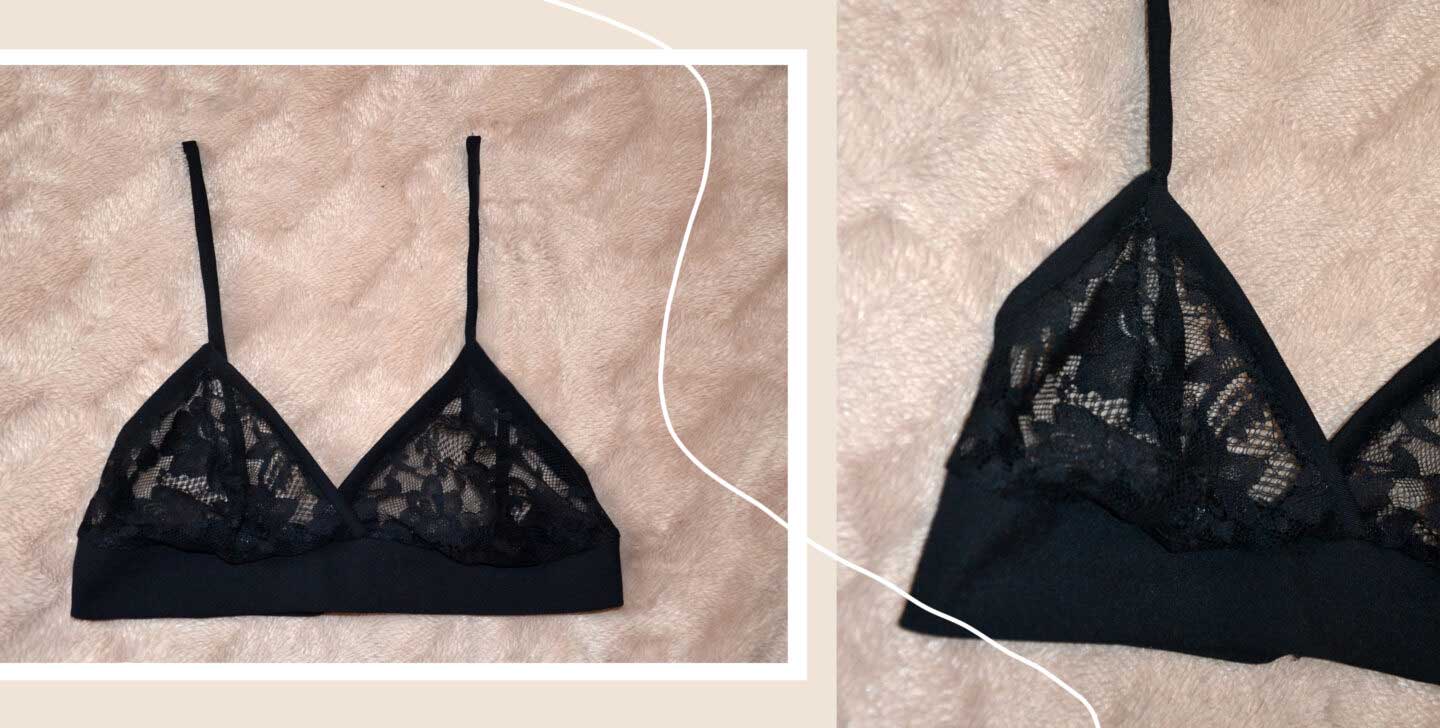
Cut the cups
Cut two identical triangle pieces from your chosen lace or knit. Mirror them so you have a left and a right cup.Join the cups
Place the cups right sides together along the center seam. Stitch with a narrow zigzag or straight stitch and gently press. If your lace is sheer, you can topstitch the seam allowance to one side for a flat, pretty finish.Finish the cup edges
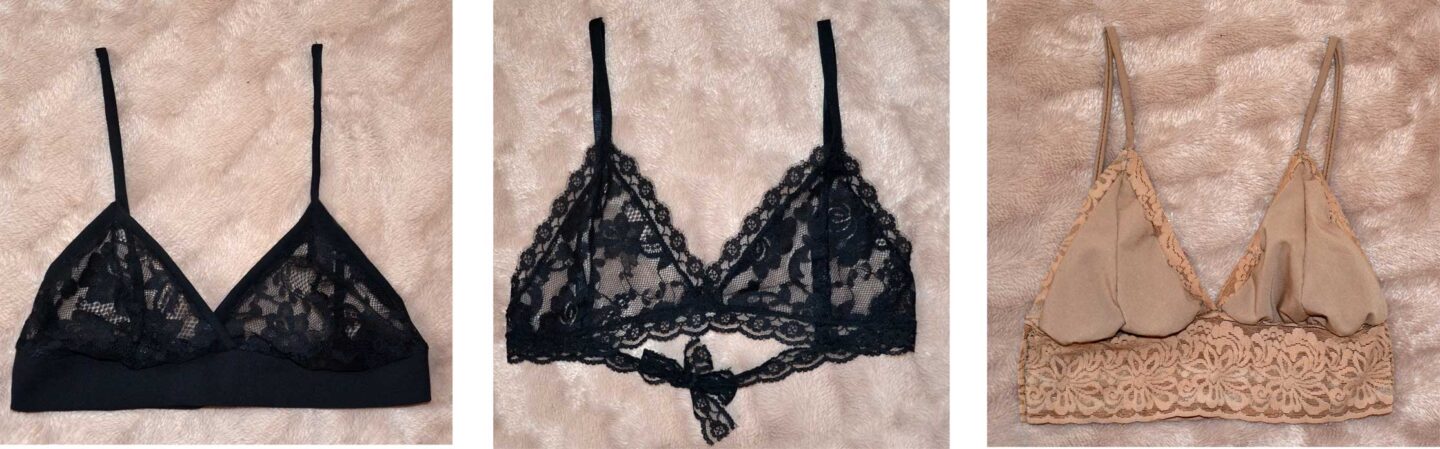
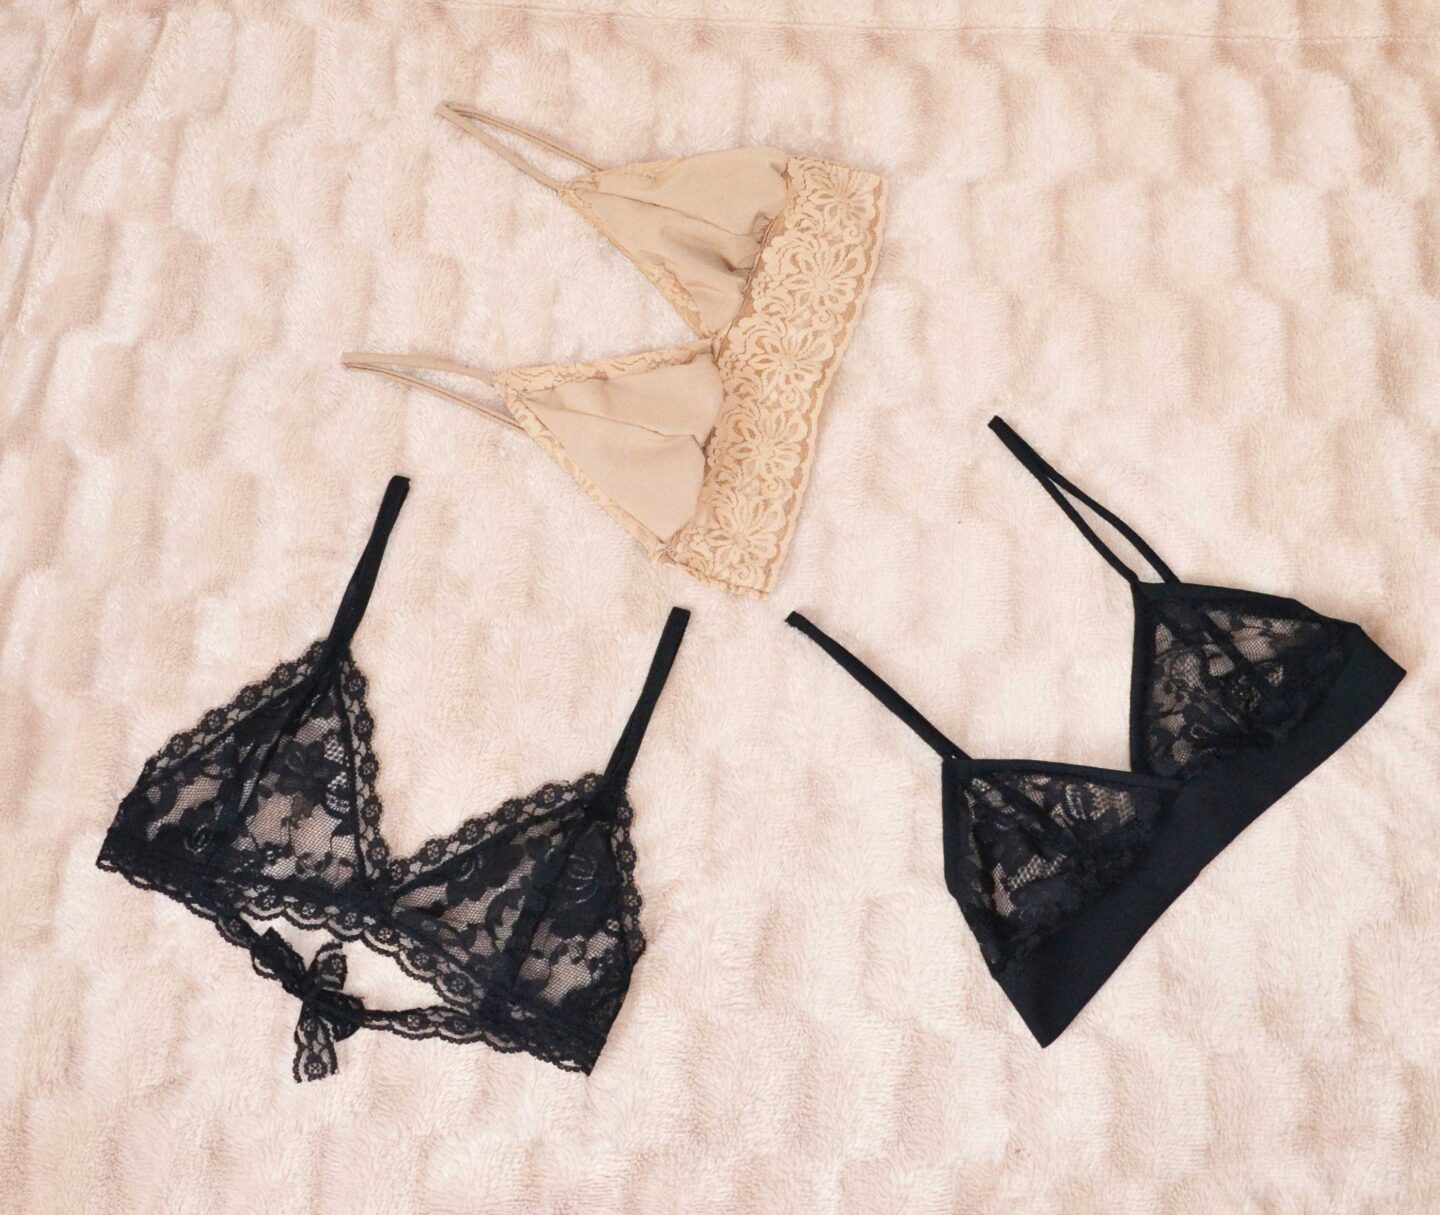
Bind the raw edges with foldover elastic or attach a narrow lace trim. I used trim on all edges for an interesting, delicate look. Use a gentle zigzag to keep the stretch.Add the underbust band
Cut a bottom band piece the width of your ribcage plus overlap for hooks or tying. If you prefer a tie-back, make this panel longer. If you prefer hooks, keep it shorter and plan for a hook-and-eye closure.
Stitch the cups to the top edge of the band, right sides together. Press the seam down toward the band.Insert the underbust elastic
Finish the lower edge of the band by encasing underbust elastic. Fold the edge over the elastic and stitch with a zigzag, keeping the tension even. This gives gentle support and a clean finish.Attach rings and straps
Add a ring to the top corner of each cup or sew the straps directly to the cup edge. Thread sliders and adjusters onto the straps, then secure the straps to the back of the band at comfortable positions. Try the bra on and adjust strap placement if needed.Close the back
If using hooks, stitch the hook-and-eye set to the band ends. If you made a tie-back, finish the ends neatly and test a bow closure for comfort.Final touches
Trim any loose threads, press lightly, and add a small bow or decorative detail at center front if you wish.
Fit tips
Gapping at the neckline: Increase strap tension slightly or trim the neckline by 0.5 cm and reapply elastic.
Band rides up: Shorten the underbust elastic or tighten the hook position.
Cup feels small: Add 0.5 to 1 cm to the cup outer edge and rebind.
Cup feels large: Take a slightly deeper center seam or tighten the neckline elastic.
Care
Hand wash in cool water with a gentle detergent and lay flat to dry. This keeps the lace and elastic in good shape.
Make it your own
Add a scalloped lace edge at the neckline for a romantic finish.
Use contrast elastic for a modern look.
Swap the back for a wide mesh wing or a crisscross strap design.