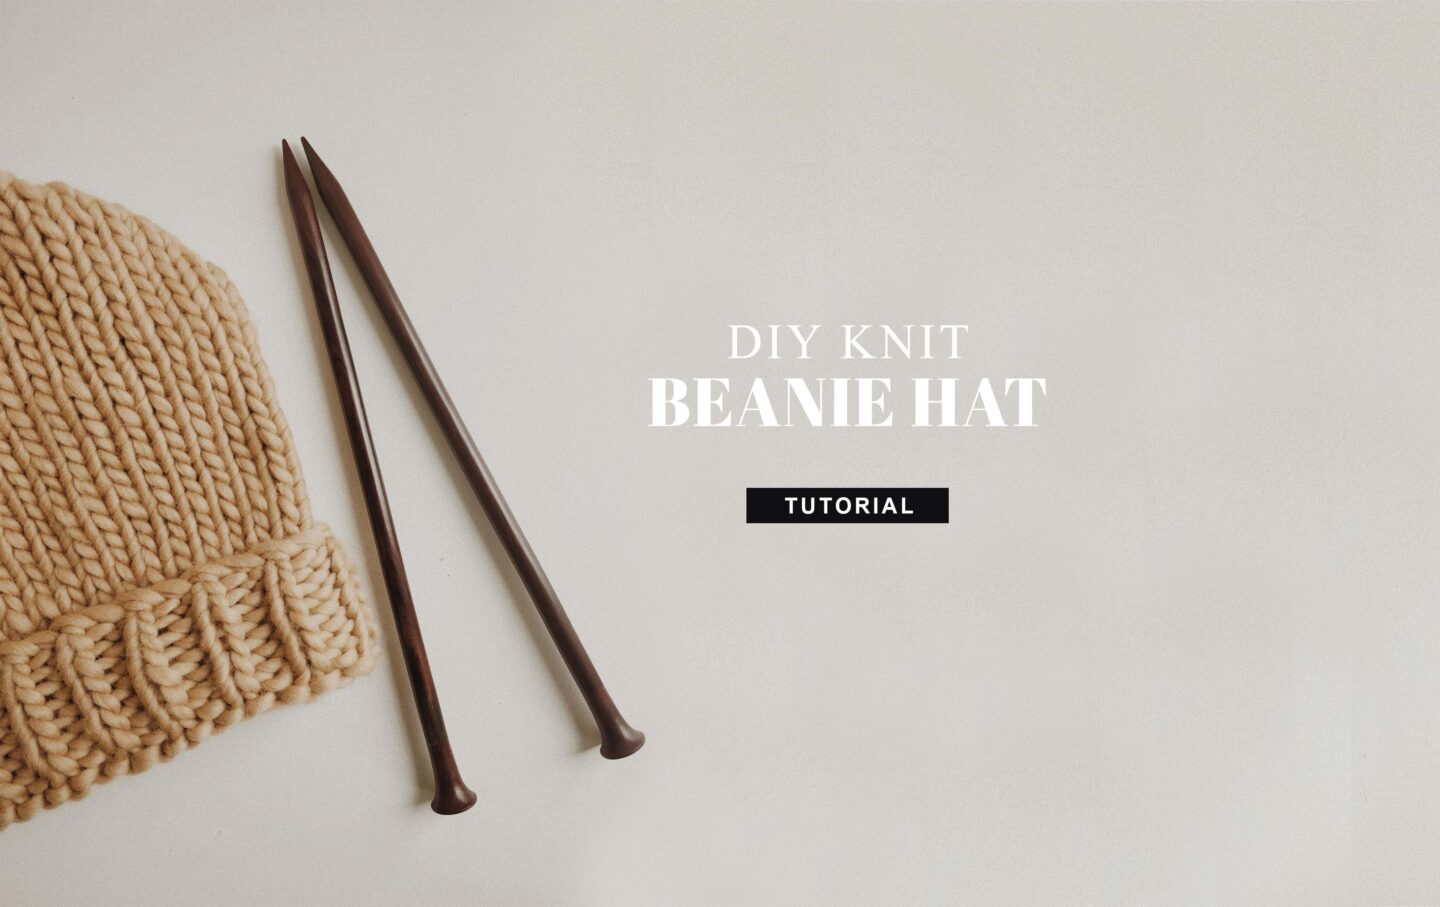
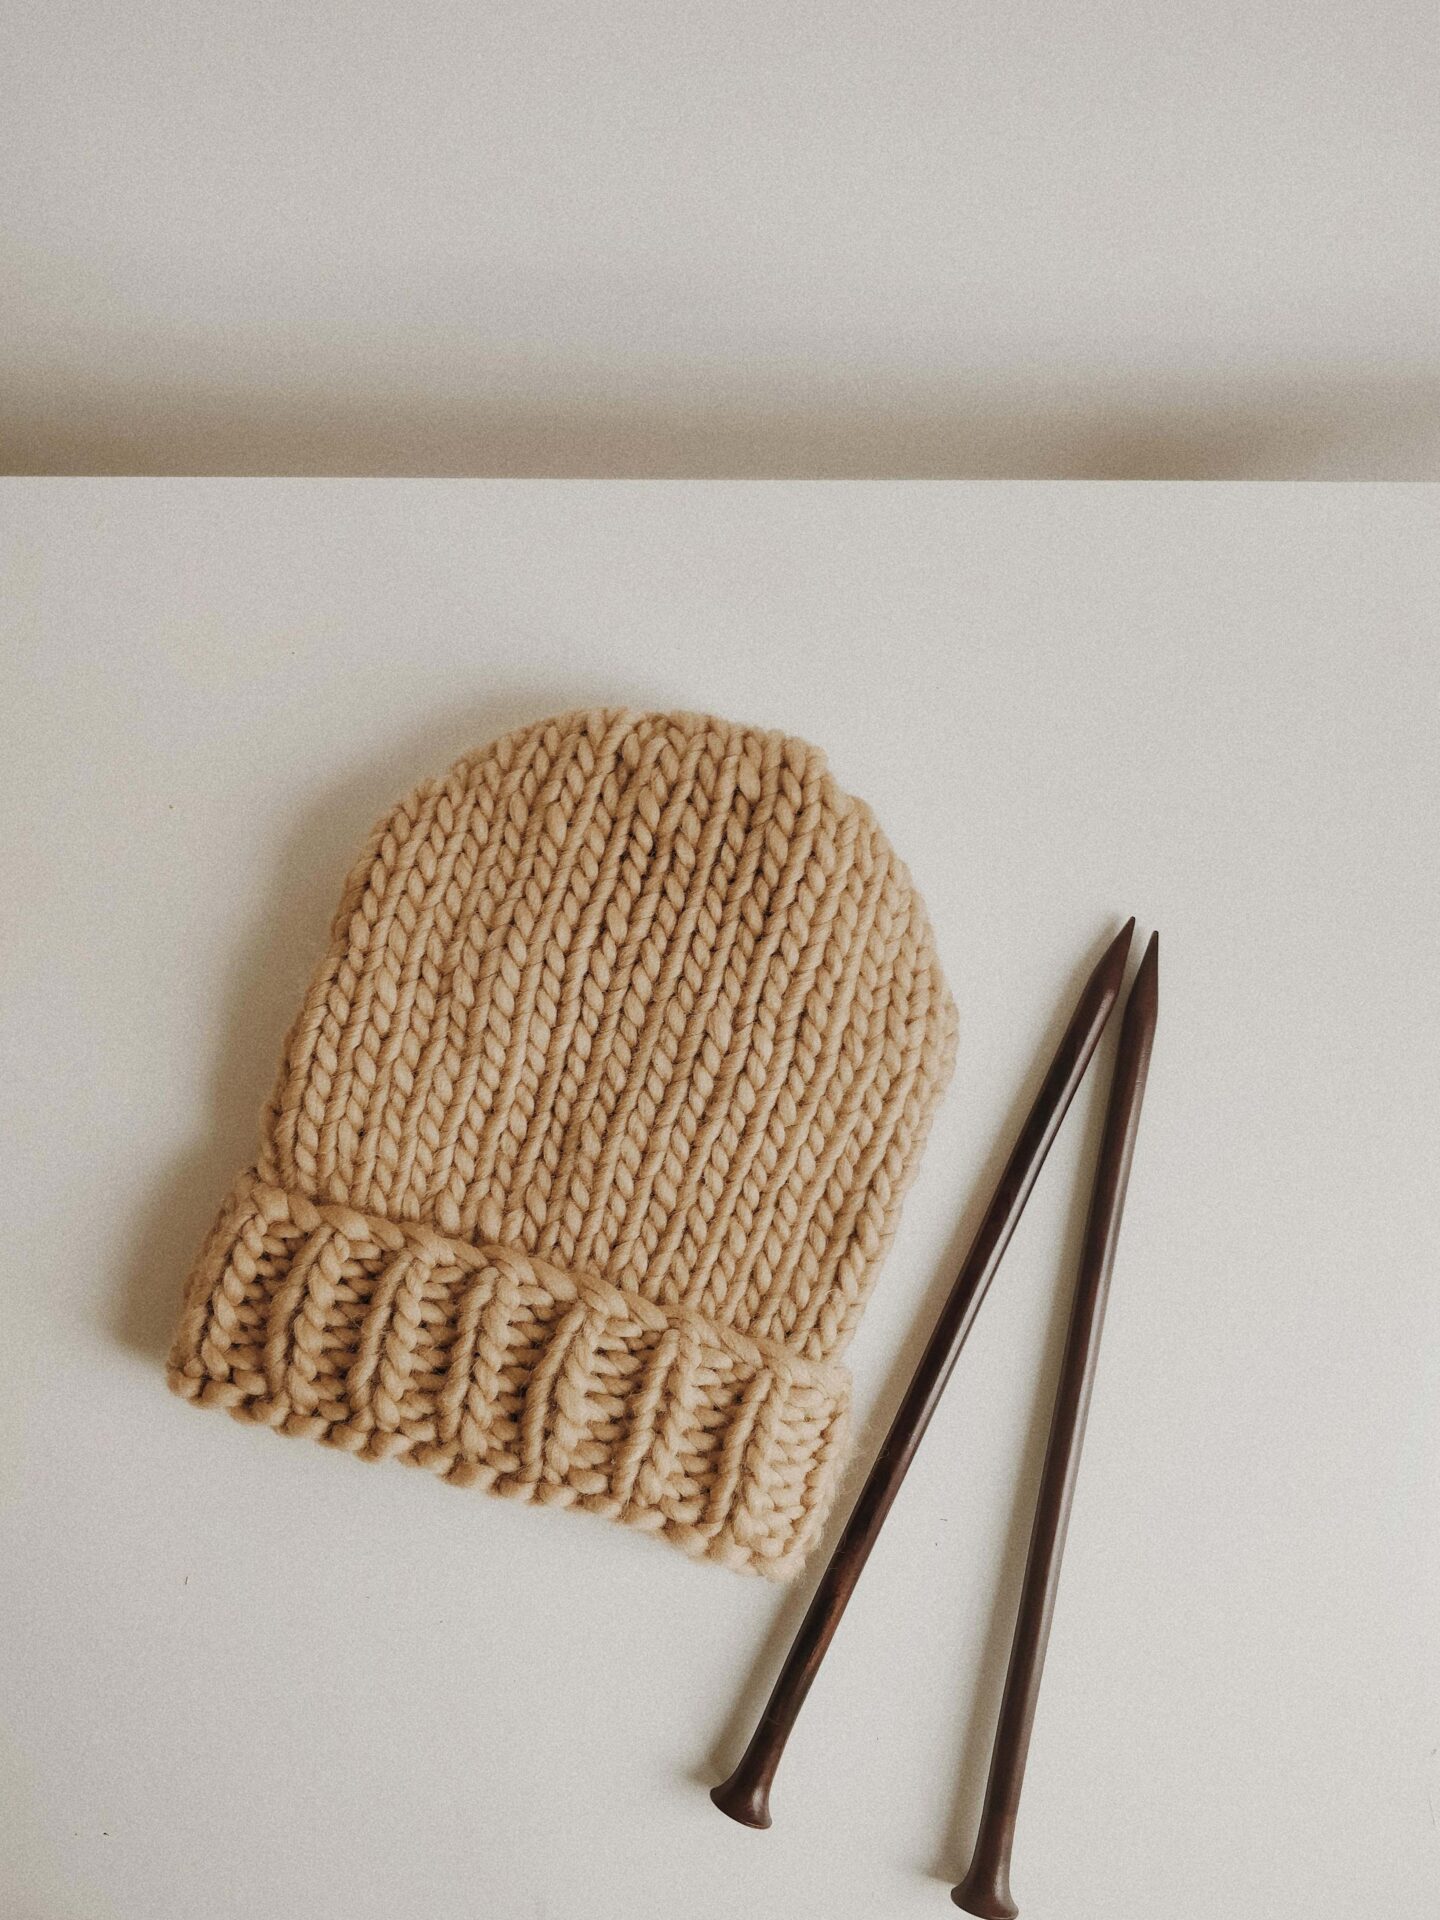
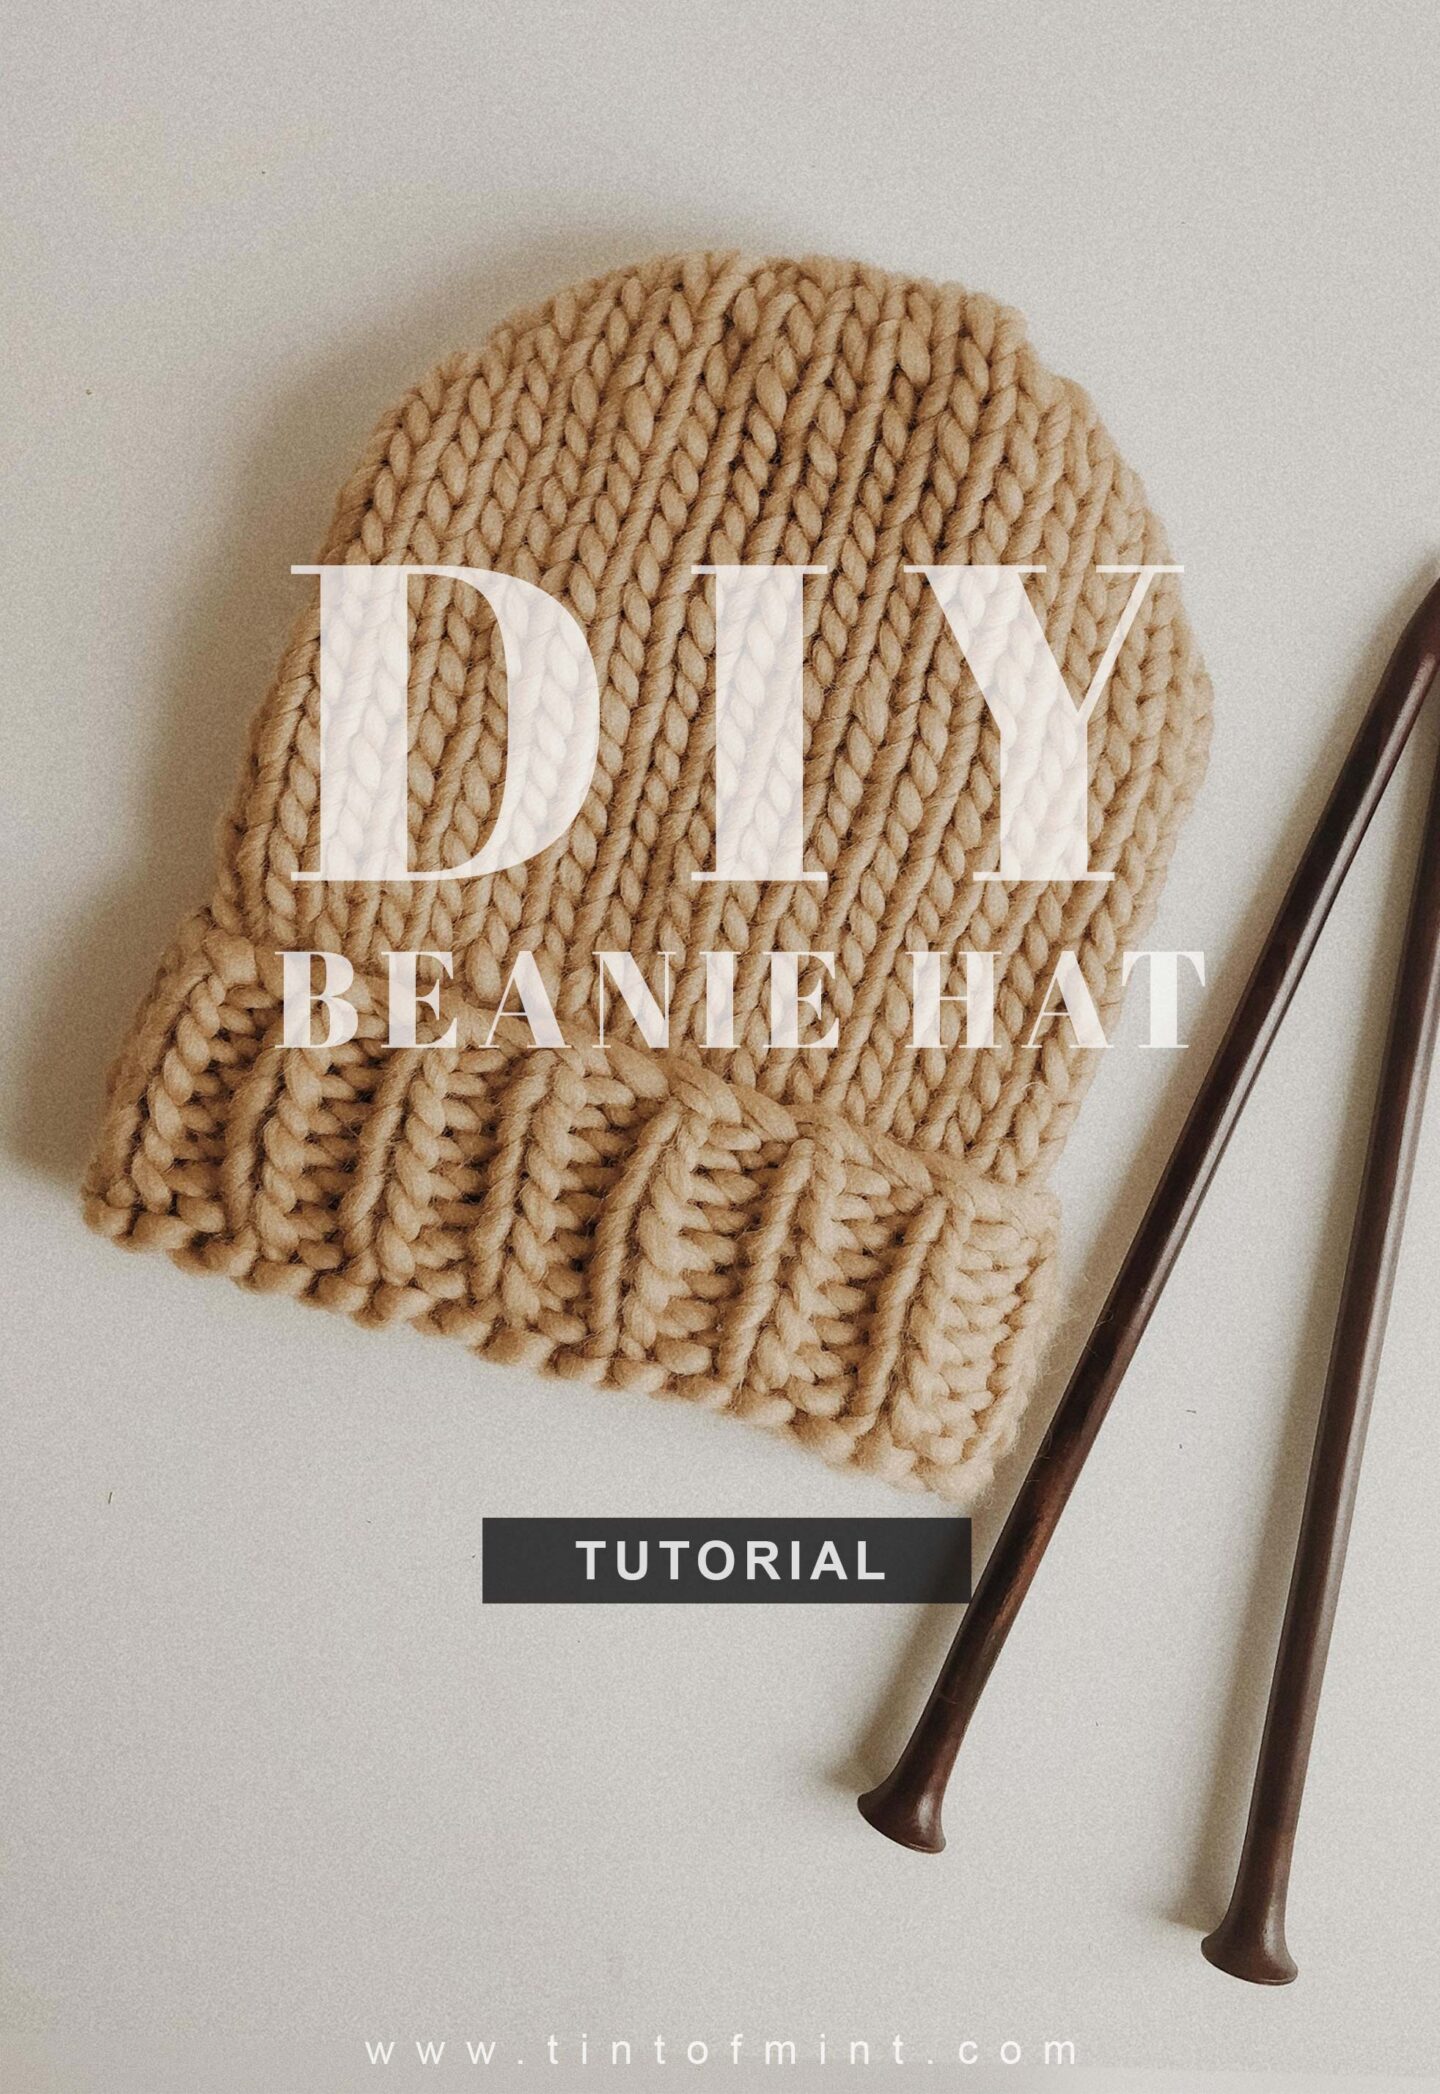
While organizing my things, I found one extra ball of wool left from the jumper I knitted recently. If you haven’t seen it yet, it’s the chunkiest and warmest jumper I own. I’ll leave the link (HERE) if you’d like to check it out. So, I decided to make myself a beanie hat. I know it’s April, and I probably won’t need it until next winter, but it’s nice to have a small knitting project to work on between the bigger ones.
To make this hat, I used a pattern from Wool and The Gang (CLICK ). It’s super easy and straightforward, and all you need to know is how to knit a 1×1 rib stitch and a stocking stitch. Simple! I also took some time to make a few tutorials on these knitting techniques, in case you’d like a little extra help.
HOW TO KNIT: STOCKING STITCH
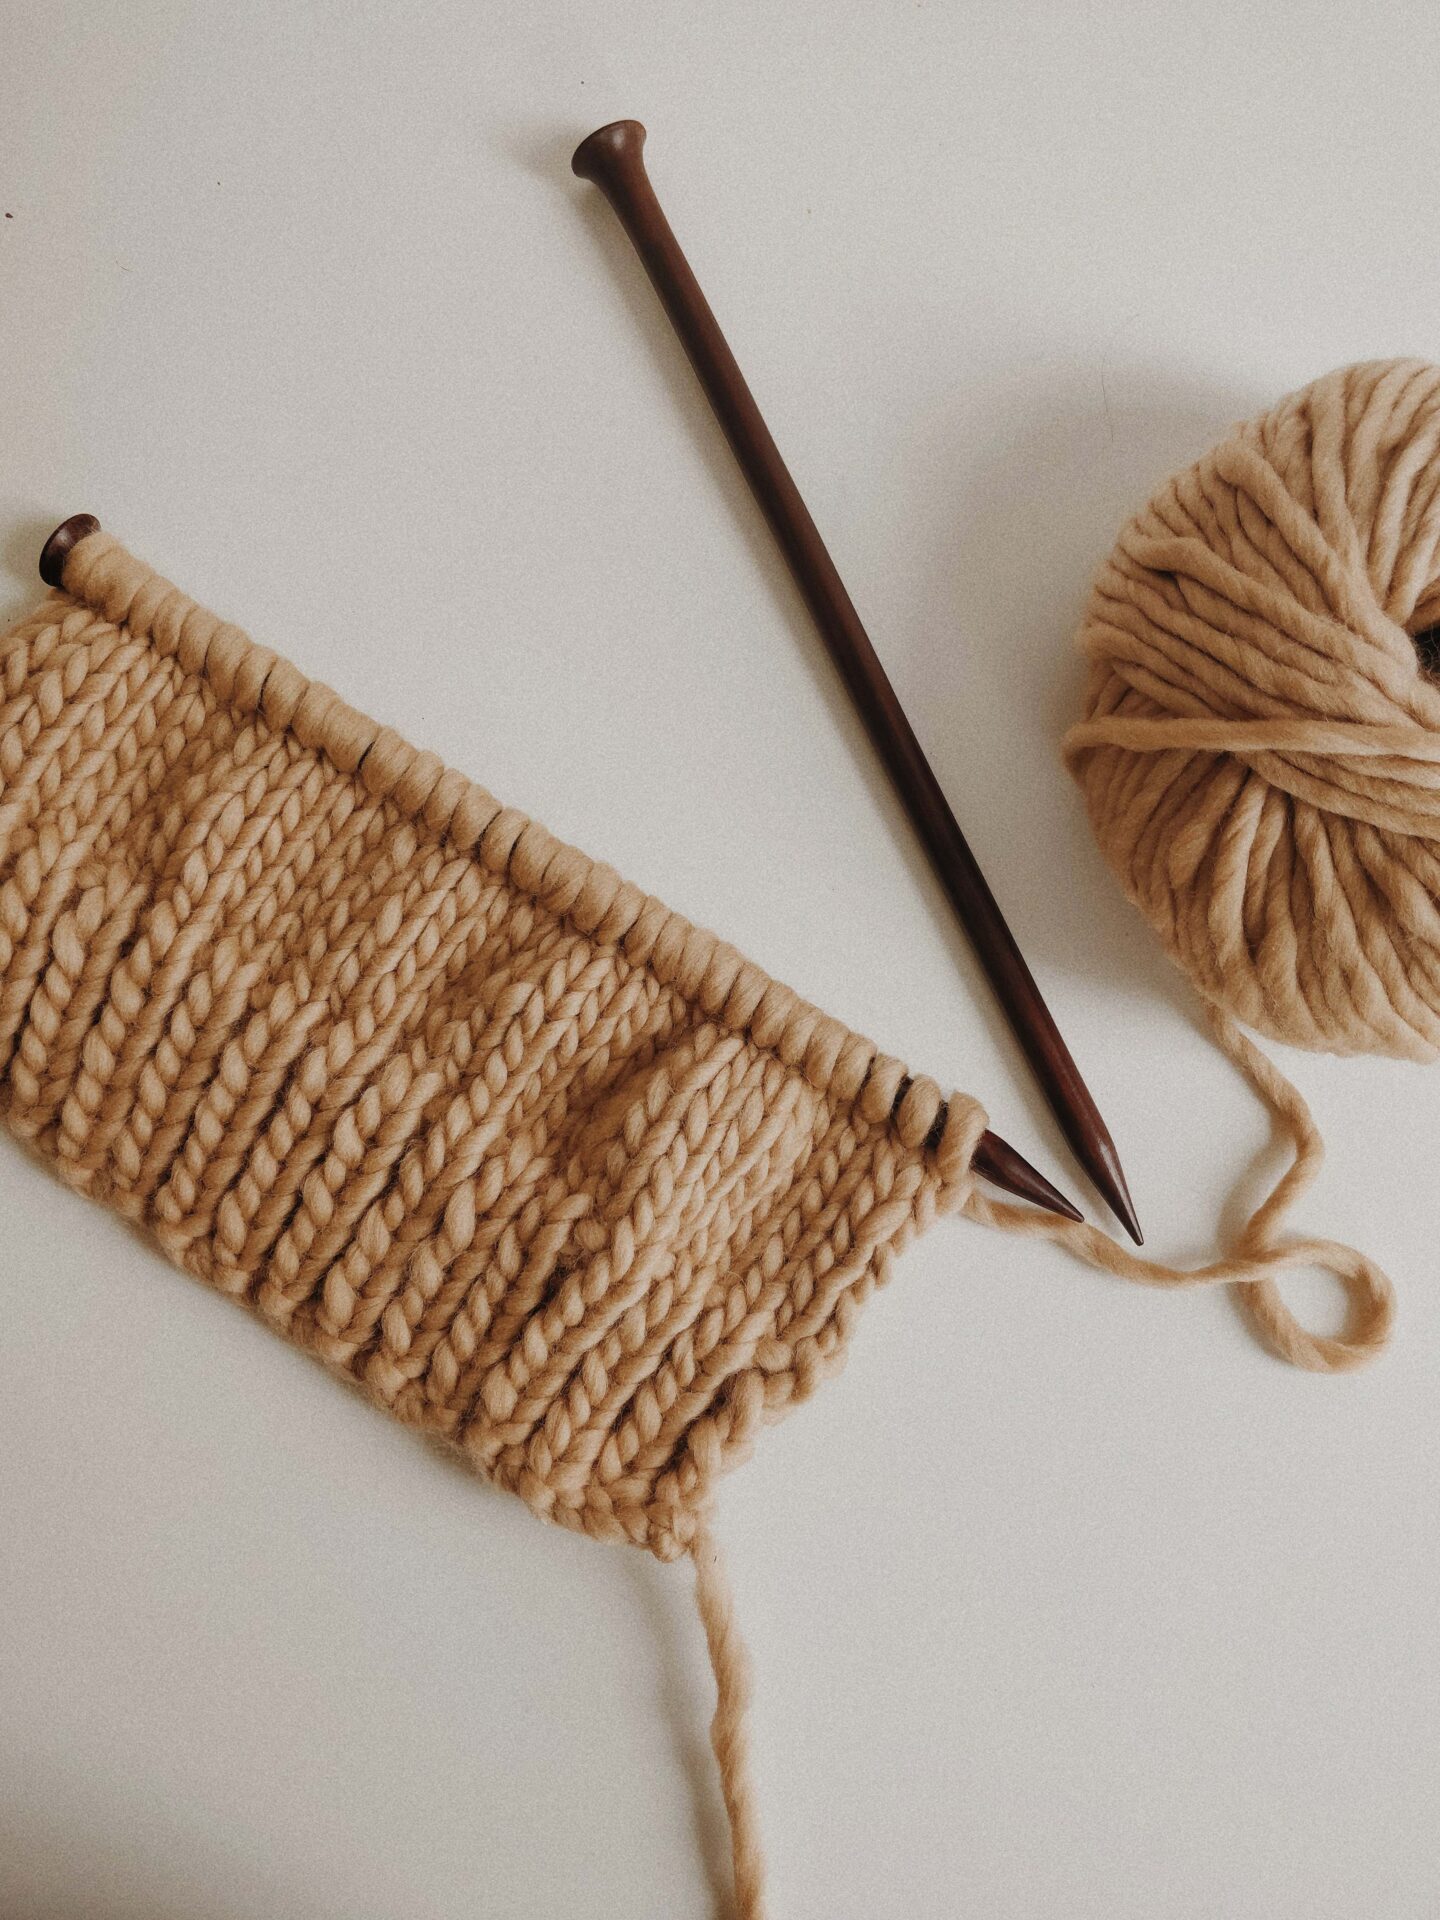
Stocking stitch, also known as stockinette stitch, is one of the most basic stitch patterns. It’s created by alternating rows of knit and purl stitches. The right side of the fabric shows a soft “V” pattern, while the wrong side has a subtle bar texture. In this tutorial, I’ll show you how to create the stocking stitch step by step.
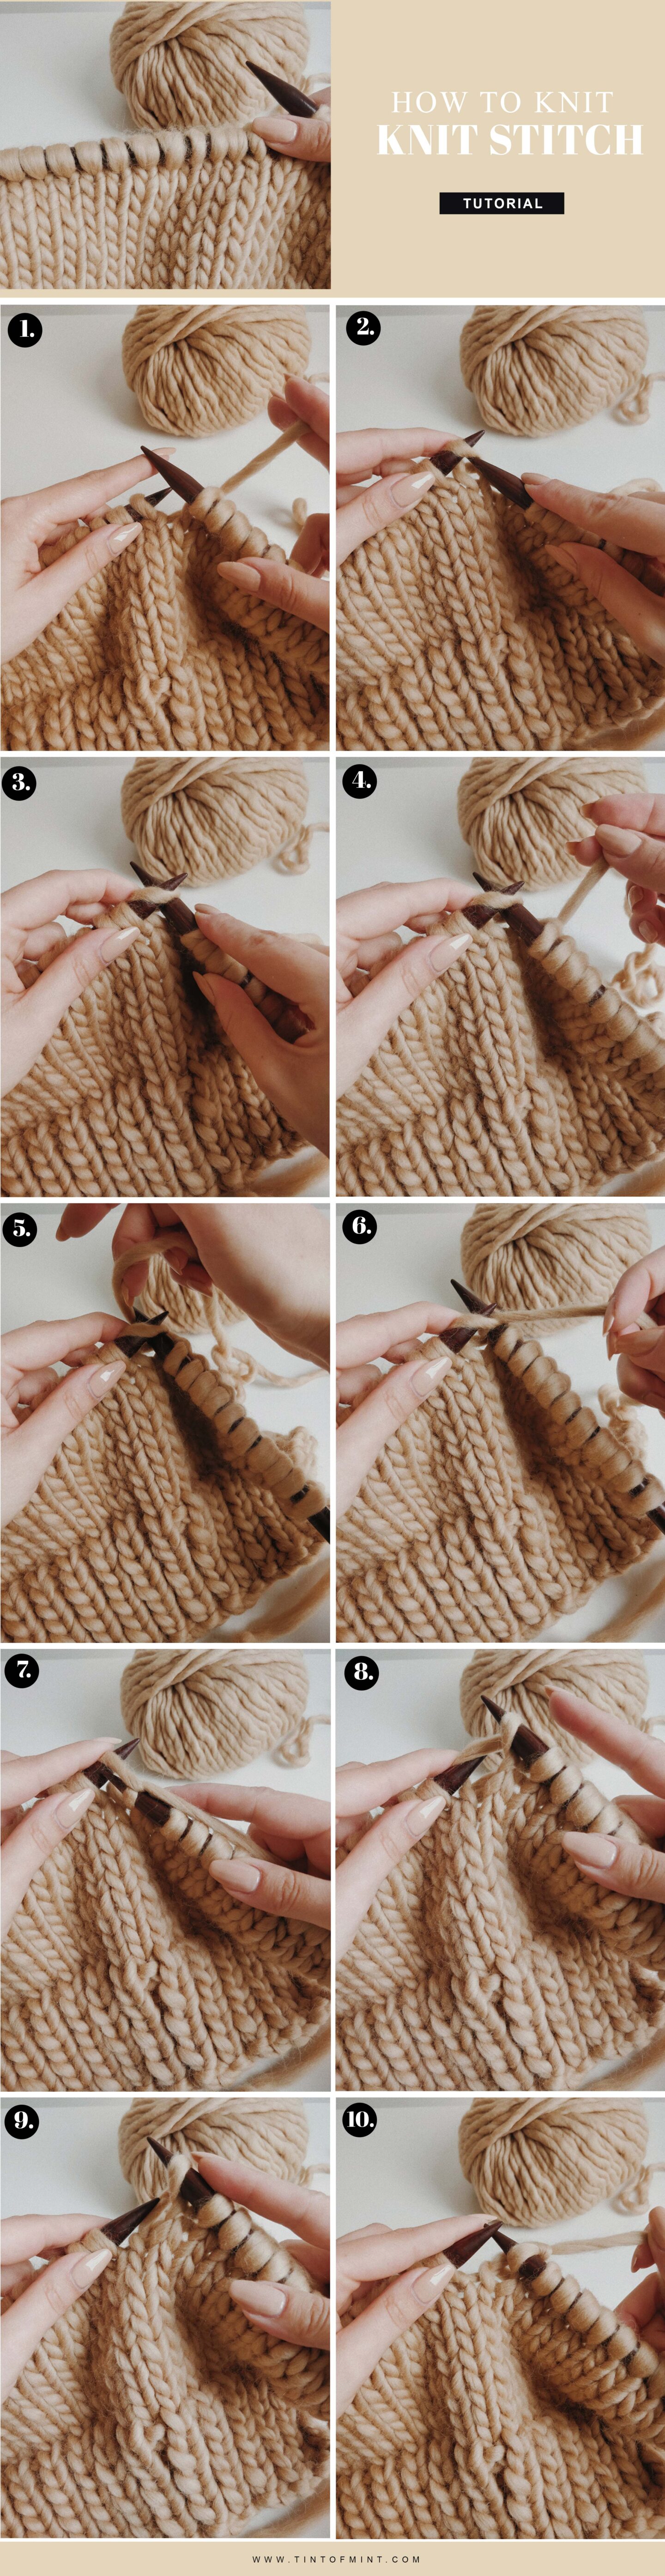
HOW TO KNIT: KNIT STITCH
The knit stitch is the first thing you’ll learn on your knitting journey. Once you master it, you can build on many other techniques and use it as the foundation for almost every project. To make a knit stitch, hold your work in your left hand and insert the right needle into the first stitch. Wrap the yarn around the right needle clockwise and pull it gently towards you. Then slide the stitch off the left needle.
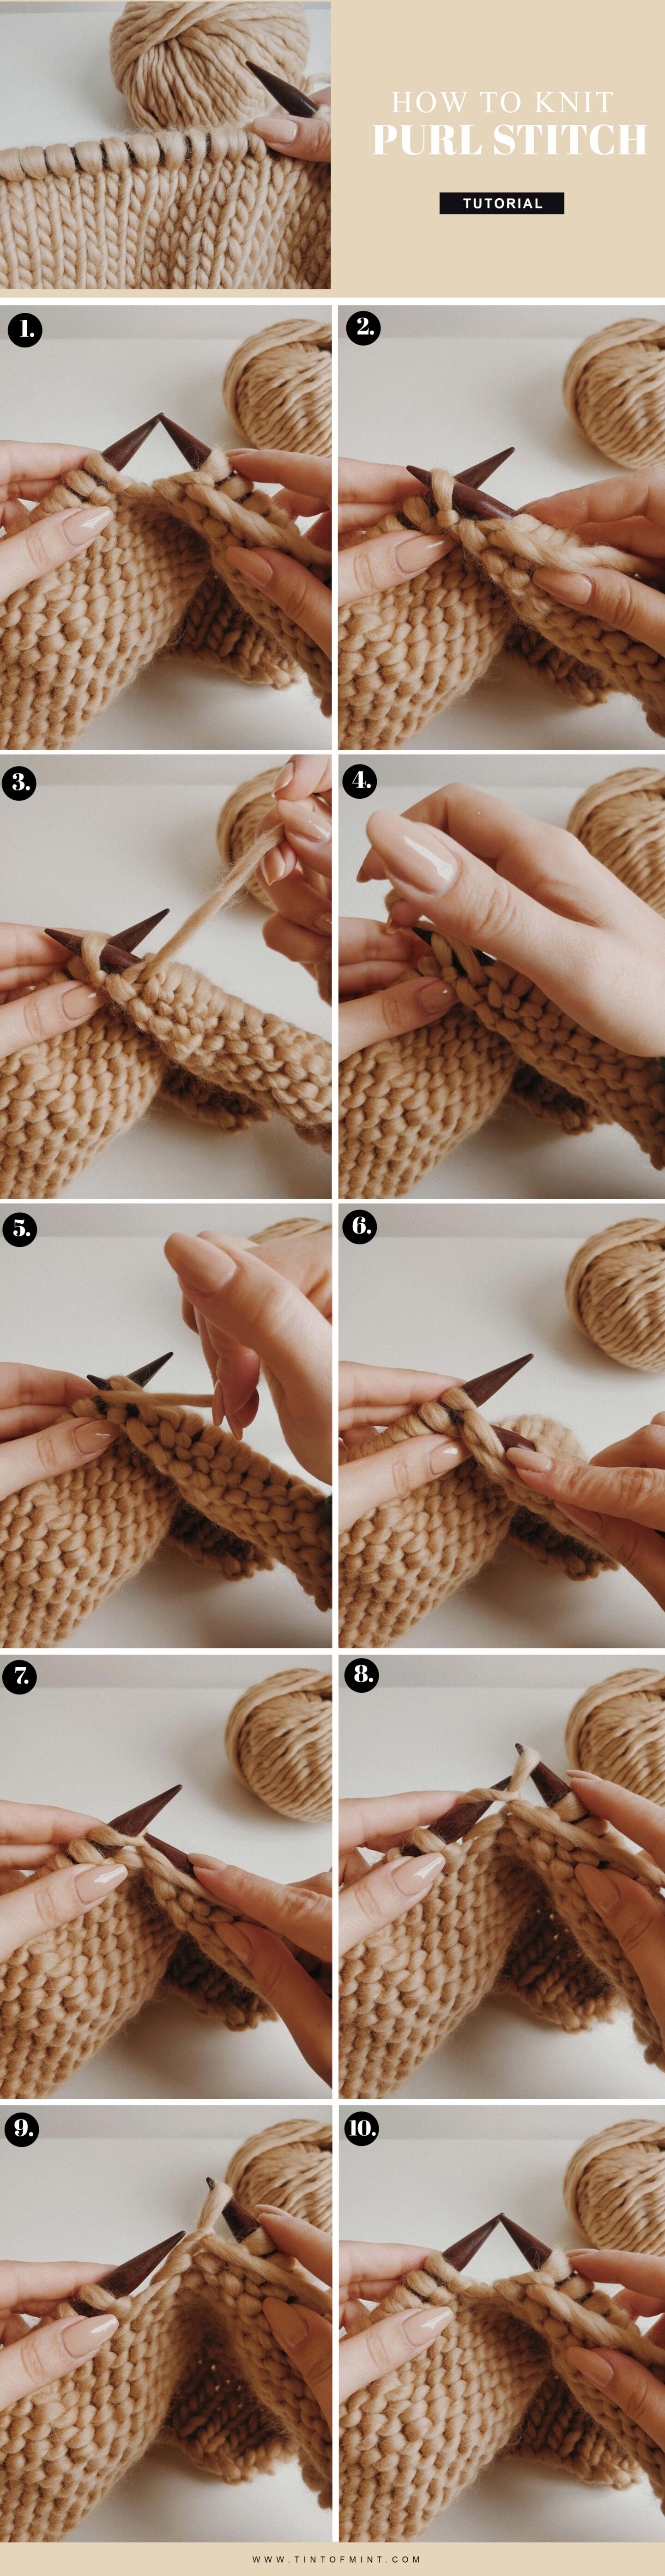
HOW TO KNIT: PURL STITCH
The purl stitch is the second basic stitch to learn in knitting. A purled stitch has a small bump at its base, which gives the fabric its distinctive texture. To make a purl stitch, hold your work in your left hand and insert the right needle into the front of the first stitch. Wrap the yarn around the right needle anti-clockwise and pull it gently away from you. Then slide the stitch off the left needle.